


In Jedi Survivor you use "Stims" to heal up. You start with just two, and whenever you rest at a bongfire
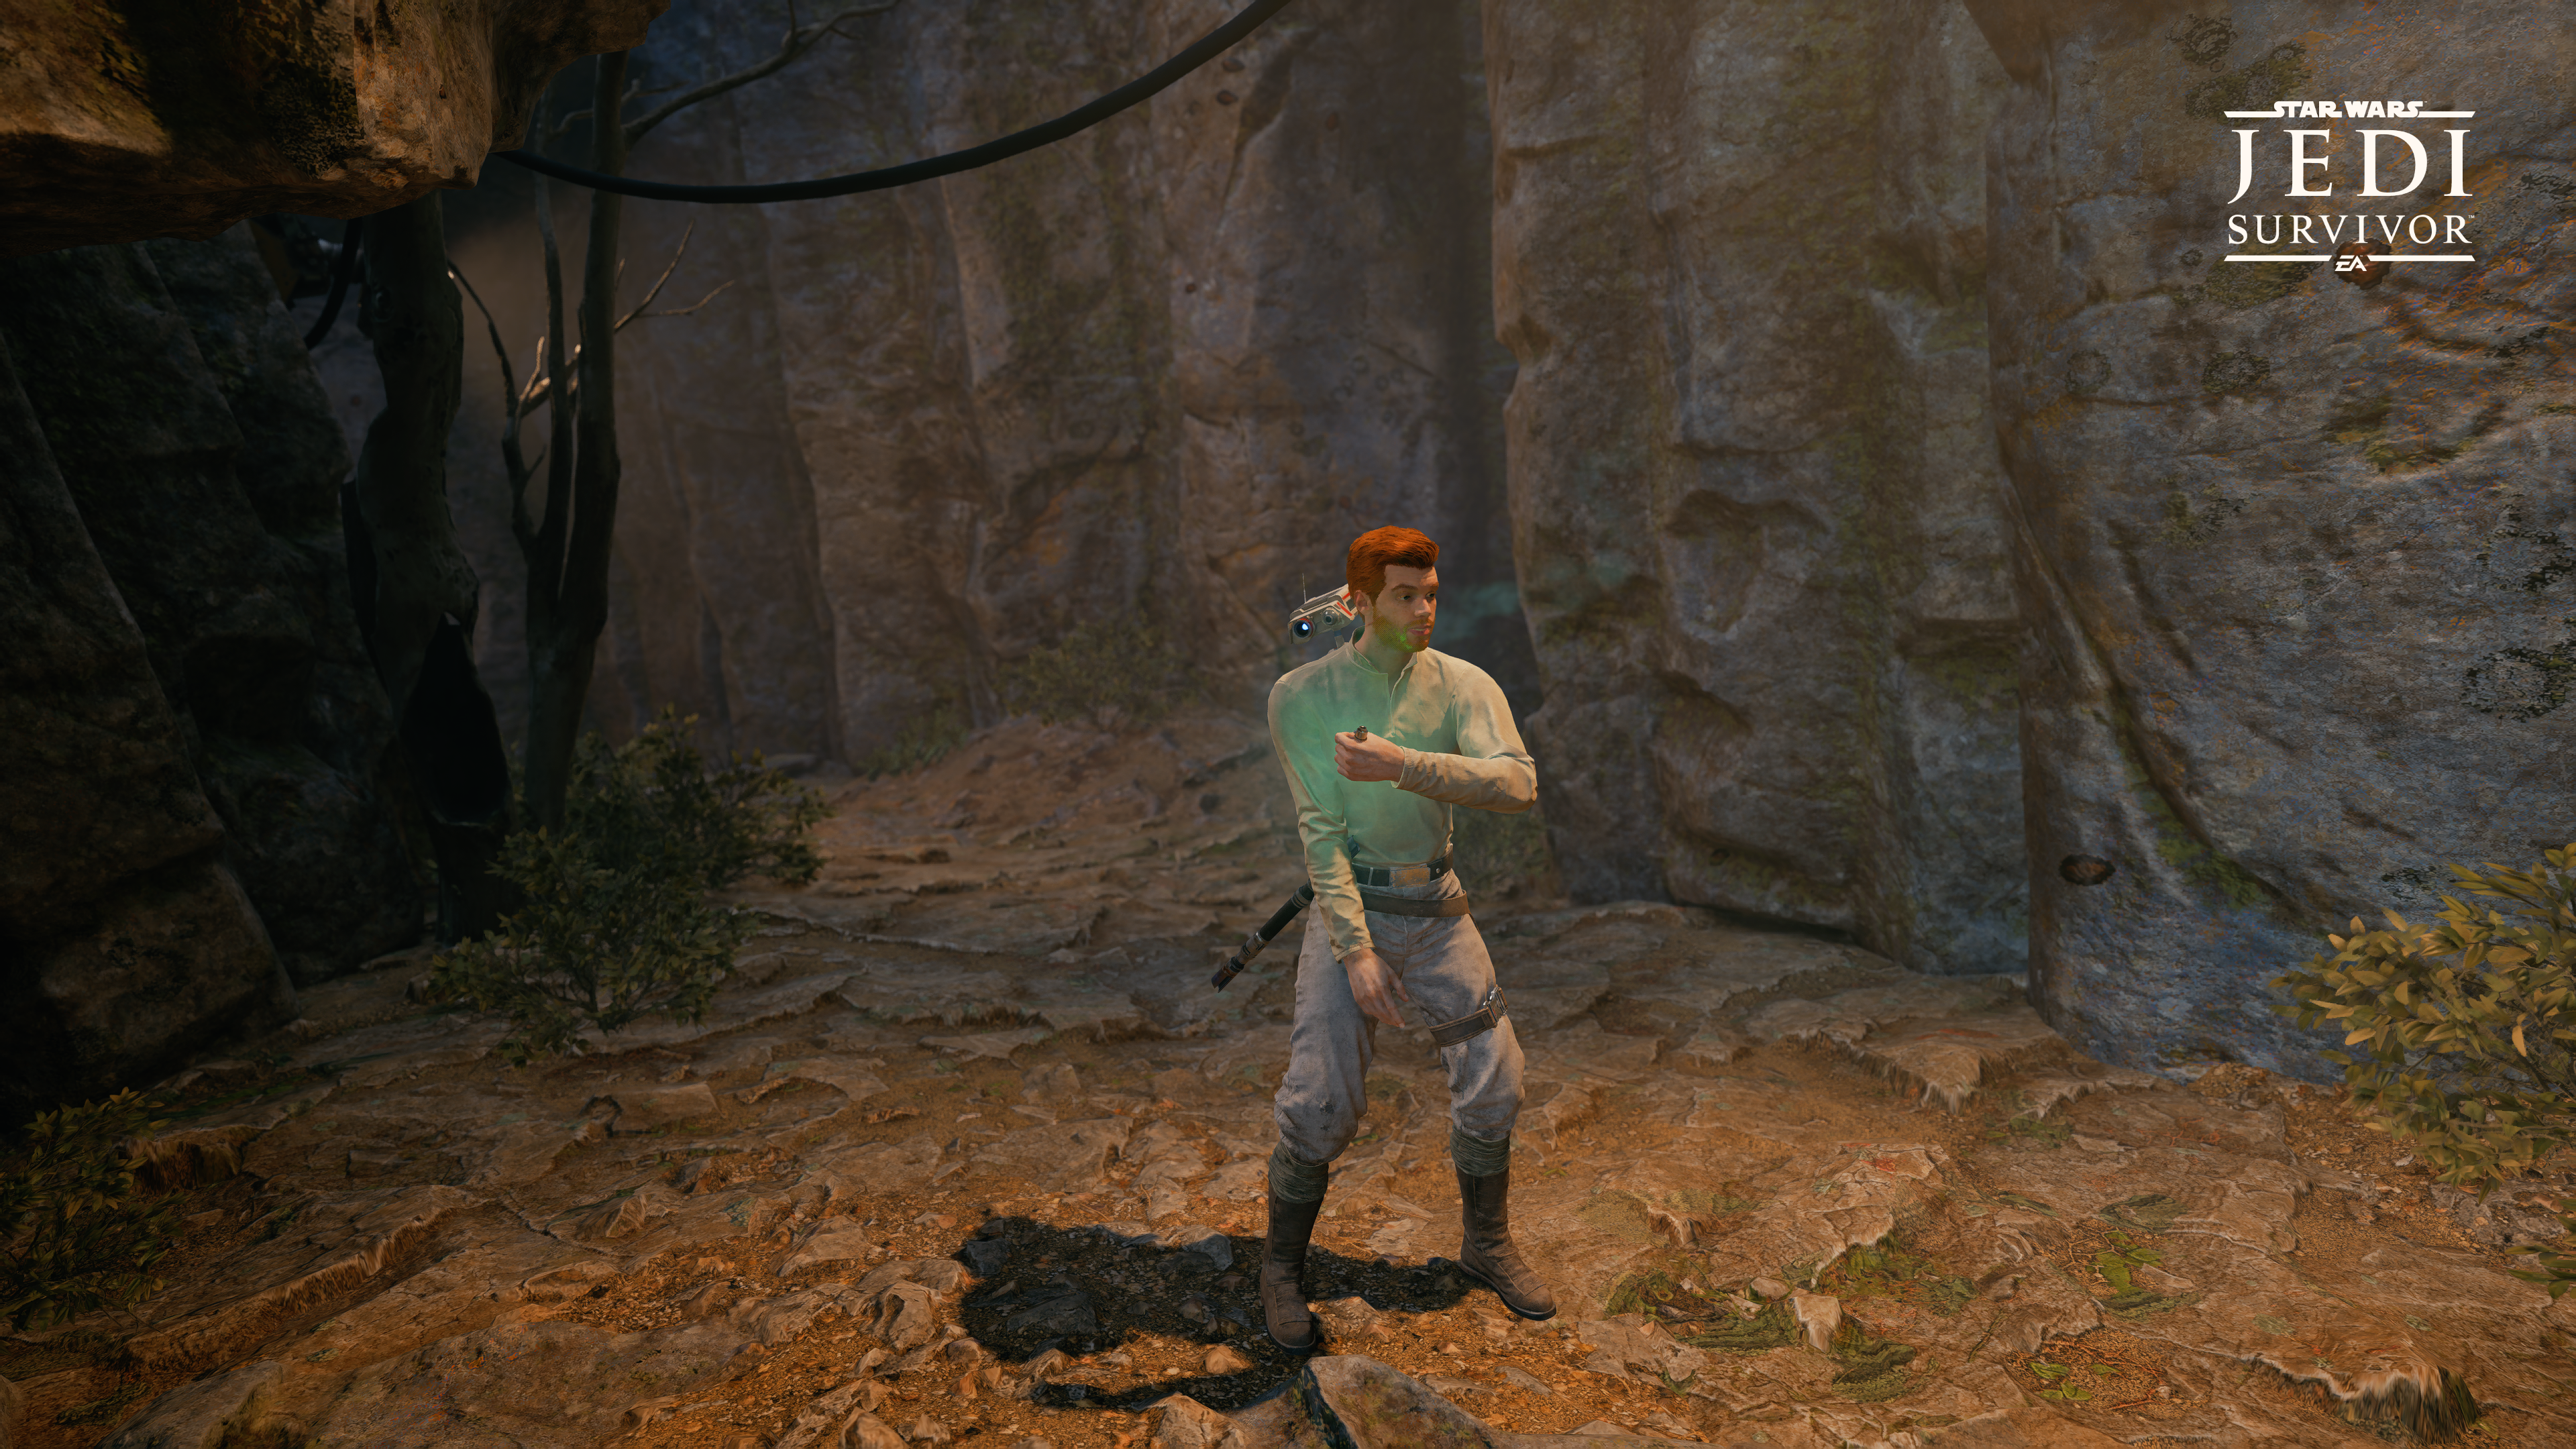
In Jedi Survivor you use "Stims" to heal up. You start with just two, but whenever you r̶e̶s̶t̶ ̶a̶t̶ ̶a̶ ̶b̶o̶n̶f̶i̶r̶e̶ Meditate you can replenish all of your Stims. Now, obviously, having just two heals is pretty punishing. So in this article we're going to explain how to carry more Stims, as well as providing every upgrade location.
- You might already have a copy of Jedi Survivor, but do you have this dope lego version of BD-1 ?
Jedi Survivor: How To Upgrade Stims
By discovering chests containing Stim Canisters in the open world, you can increase the number of Stims BD-1 can carry and provide to you. You see, it really is that easy to upgrade your healing capabilities. But where can you find Stim Canisters? You'll find all currently known locations below.
Stim Upgrade Locations
Here are all the Stim Canister locations that we know about so far in Jedi: Survivor. We've organized them by planets, so you can upgrade your health Stims as you naturally progress through the game.
Coruscant Stim Locations
| Region | Closest Fast Travel Location | Directions |
| Undercity Meats | Undercity Meats | There's a wall you can jump up directly in front of the fast travel point, do so and you'll see a red wall at the back and a security droid. Kill the droid and you'll the chest containing the Stim Canister against the back wall. |
Koboh Stim Locations
| Region | Closest Fast Travel Location | Directions |
| Rambler's Reach | Rambler's Reach Outpost | Just across from the Pyloon Saloon you'll see Doma's shop. Trade Doma 10 Priorite Shards for the keycard that opens the backdoor of Doma's shop, and inside you'll find another Stim. |
| Basalt Forest | Basalt Rift | Head north until you can see the archway standing all alone. Go through the archway and then go left up the hill. Keep going left and you'll see a Mogu, kill the Mogu and then climb to the top of the area he was protecting. From here there is a small pathway that leads to the next Stim. |
| Foothill Falls | Mountain Ascent | Run down the pathway from this Meditation point and you'll come to an opening from which you can see raiders. Kill the raiders and then go to the blue building they were protecting. From outside the building you should be able to summon a Nekko, do so and then use the Nekko's boosted jump to reach the ledge you can see opposite the building. From up here there is a console BD-1 can slice open, and when they do a mine will be released. Use Force Push to launch the mine on to the hole on the roof of the building. |
| Dredger Gorge | Derelict Dam | Use the roller mine from beside the Meditation point to break down the wall on the right side of the map. Follow the path behind the wall until you reach a yellow gate that requires Force Lift to open. Do so and grab the stim from the chest behind the gate. |
| Viscid Bog | Viscid Bog | Use the zipline and then the various stone platforms to cross the bog and reach the ledge on the opposite end of the bog from the Meditation point. Now turn around and use Froce Lift to draw the stone platforms up from the bog and high into the air. You can now jump back from platform to platform and reach a new area. In this small area you will find the health stim, but it's protected by a couple of enemies. |
Jedha Stim Locations
| Region | Closest Fast Travel Location | Directions |
| Narkis Desert | Sheltered Hollow | Right after the cut-scene that sees Cal and Merrin trapped in the cave, once you leave again you can find a chest on the left just outside the entrance. This contains the next stim upgrade. |
| Pilgrim's Path | Crypt of Uhrma | At the back of the crypt you will find stones that can be pulled out of the wall. It's a simple puzzle, you need the top left stone and top right stone pulled out, as well as the two stones in the middle on the bottom row. The stim upgrade is in a chest begind this puzzle wall. |
Shattered Moon Stim Locations
| Region | Closest Fast Travel Location | Directions |
| Abandoned Foundry | Automated Forge | Go through the yellow door and then head towards the ridiculously long zipline. Take the zip, head right once you reach the platform, and follow this path. You will reach a point where you need to drop and climb, then do some wall-running, and finally grab another zip. On the second zipline you need to drop off half way along, you can see the small platform below you need to jump onto. From here you will see the stim chest at the opposite end of this platform, a few levels up. |
And there you have it, a short overview of how to upgrade your stims, as well as the location of every stim canister in Star Wars: Jedi Survivor.