


We'll show you the best spells in Hogwarts Legacy. 90% of "getting good" in the game comes down to mastering a couple of skills: perfecting the dodge-roll, and choosing the right combination of spells. Sadly, we can't improve your reaction times for dodge-rolling, but we can give you our recommendations for spells, combos and sets.
Hogwarts Legacy has now been released on next-gen consoles and PC. And, generally speaking, critics have been very positive. We agree with much of the praise for reasons outlined in our own review. In particular, we found ourselves enjoying the combat far more than we expected.
It's not that Hogwarts Legacy has the most complex combat ever made, but the spells are satisfying to use, and there is some degree of system mastery to be achieved. It's not as simple as button-mashing Incendio. But if that's all you've been doing so far, maybe we can help. In this article, you can find our recommendation for spells, spell combos, and spell set layouts.
Note: In this article we will only discuss the combat spells that you actually have to pick and choose yourself. We won't rank the spells that every character gets for free and cannot unequip, or the utility spells that have no combat application.
The Best Spells In Hogwarts Legacy | Ranking All Combat Spells
First, let's break down and rank the spells into different tiers. Then we can decide which ones to equip into our spells, and we can consider upgrading the best ones via talents.
S-Tier Spells
Depulso (Force)
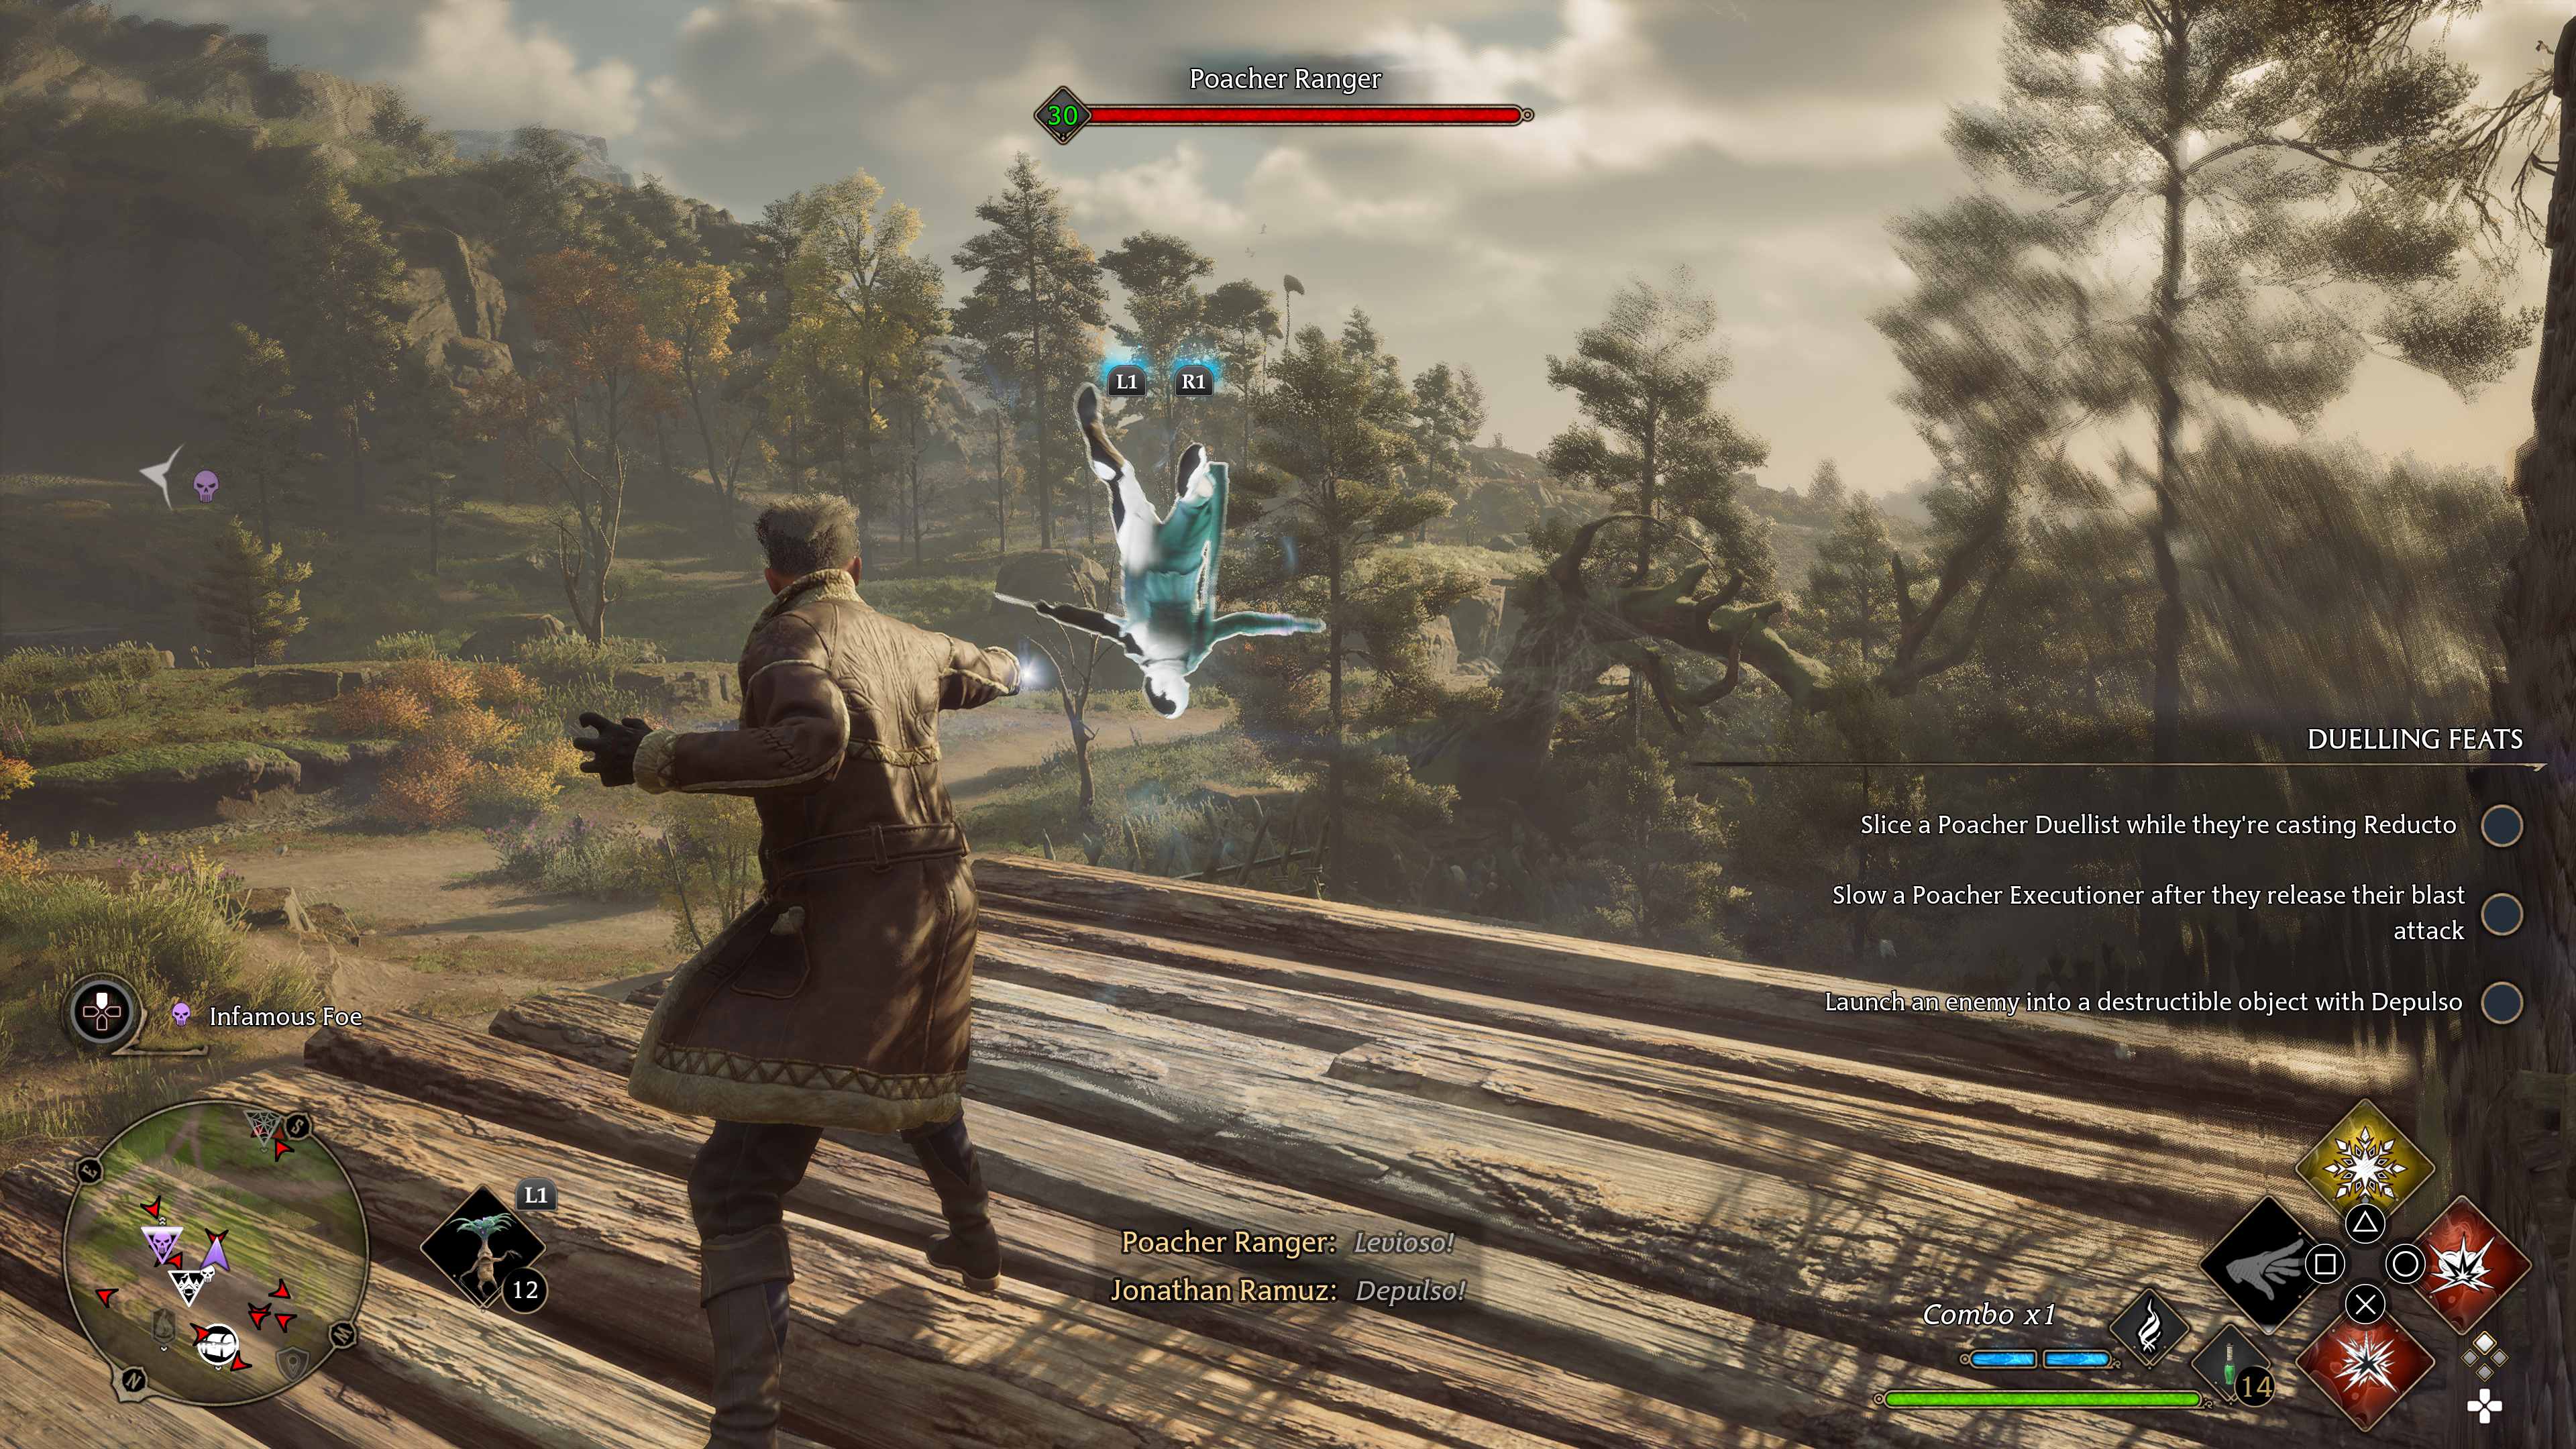
Depulso is our favorite Force spell. Just like the other Force spells it can break purple shields and set you up for combos, but it can also be used to push enemies off tall buildings and cliff edges. For whatever reason, you will find yourself fighting in situations like this all the time in Hogwarts Legacy, and so Depulso is basically the cheap and dirty version of Avada Kedavra.
Glacius (Control)
Glacius freezes opponents for just a few seconds and the Talent upgrade isn't even that good, but we're putting it in S-Tier because it's absolutely crucial for taking down bosses. When you cast Glacius on an enemy all of your followup attacks do significantly more damage. And so when you have a DPS phase in a boss-fight, throwing down Glacius before all of your most expensive and most damaging spells is essential.
Confringo (Damage)
Confringo is kind of like the Spell equivalent of Basic Cast. You will find yourself using it all the time. It has great range, it does solid damage, it combos well with just about everything, and the cooldown is very forgiving. This is an S-Tier spell, and even if you don't love it in combat, you'll need it for all the Merlin Trials anyway.
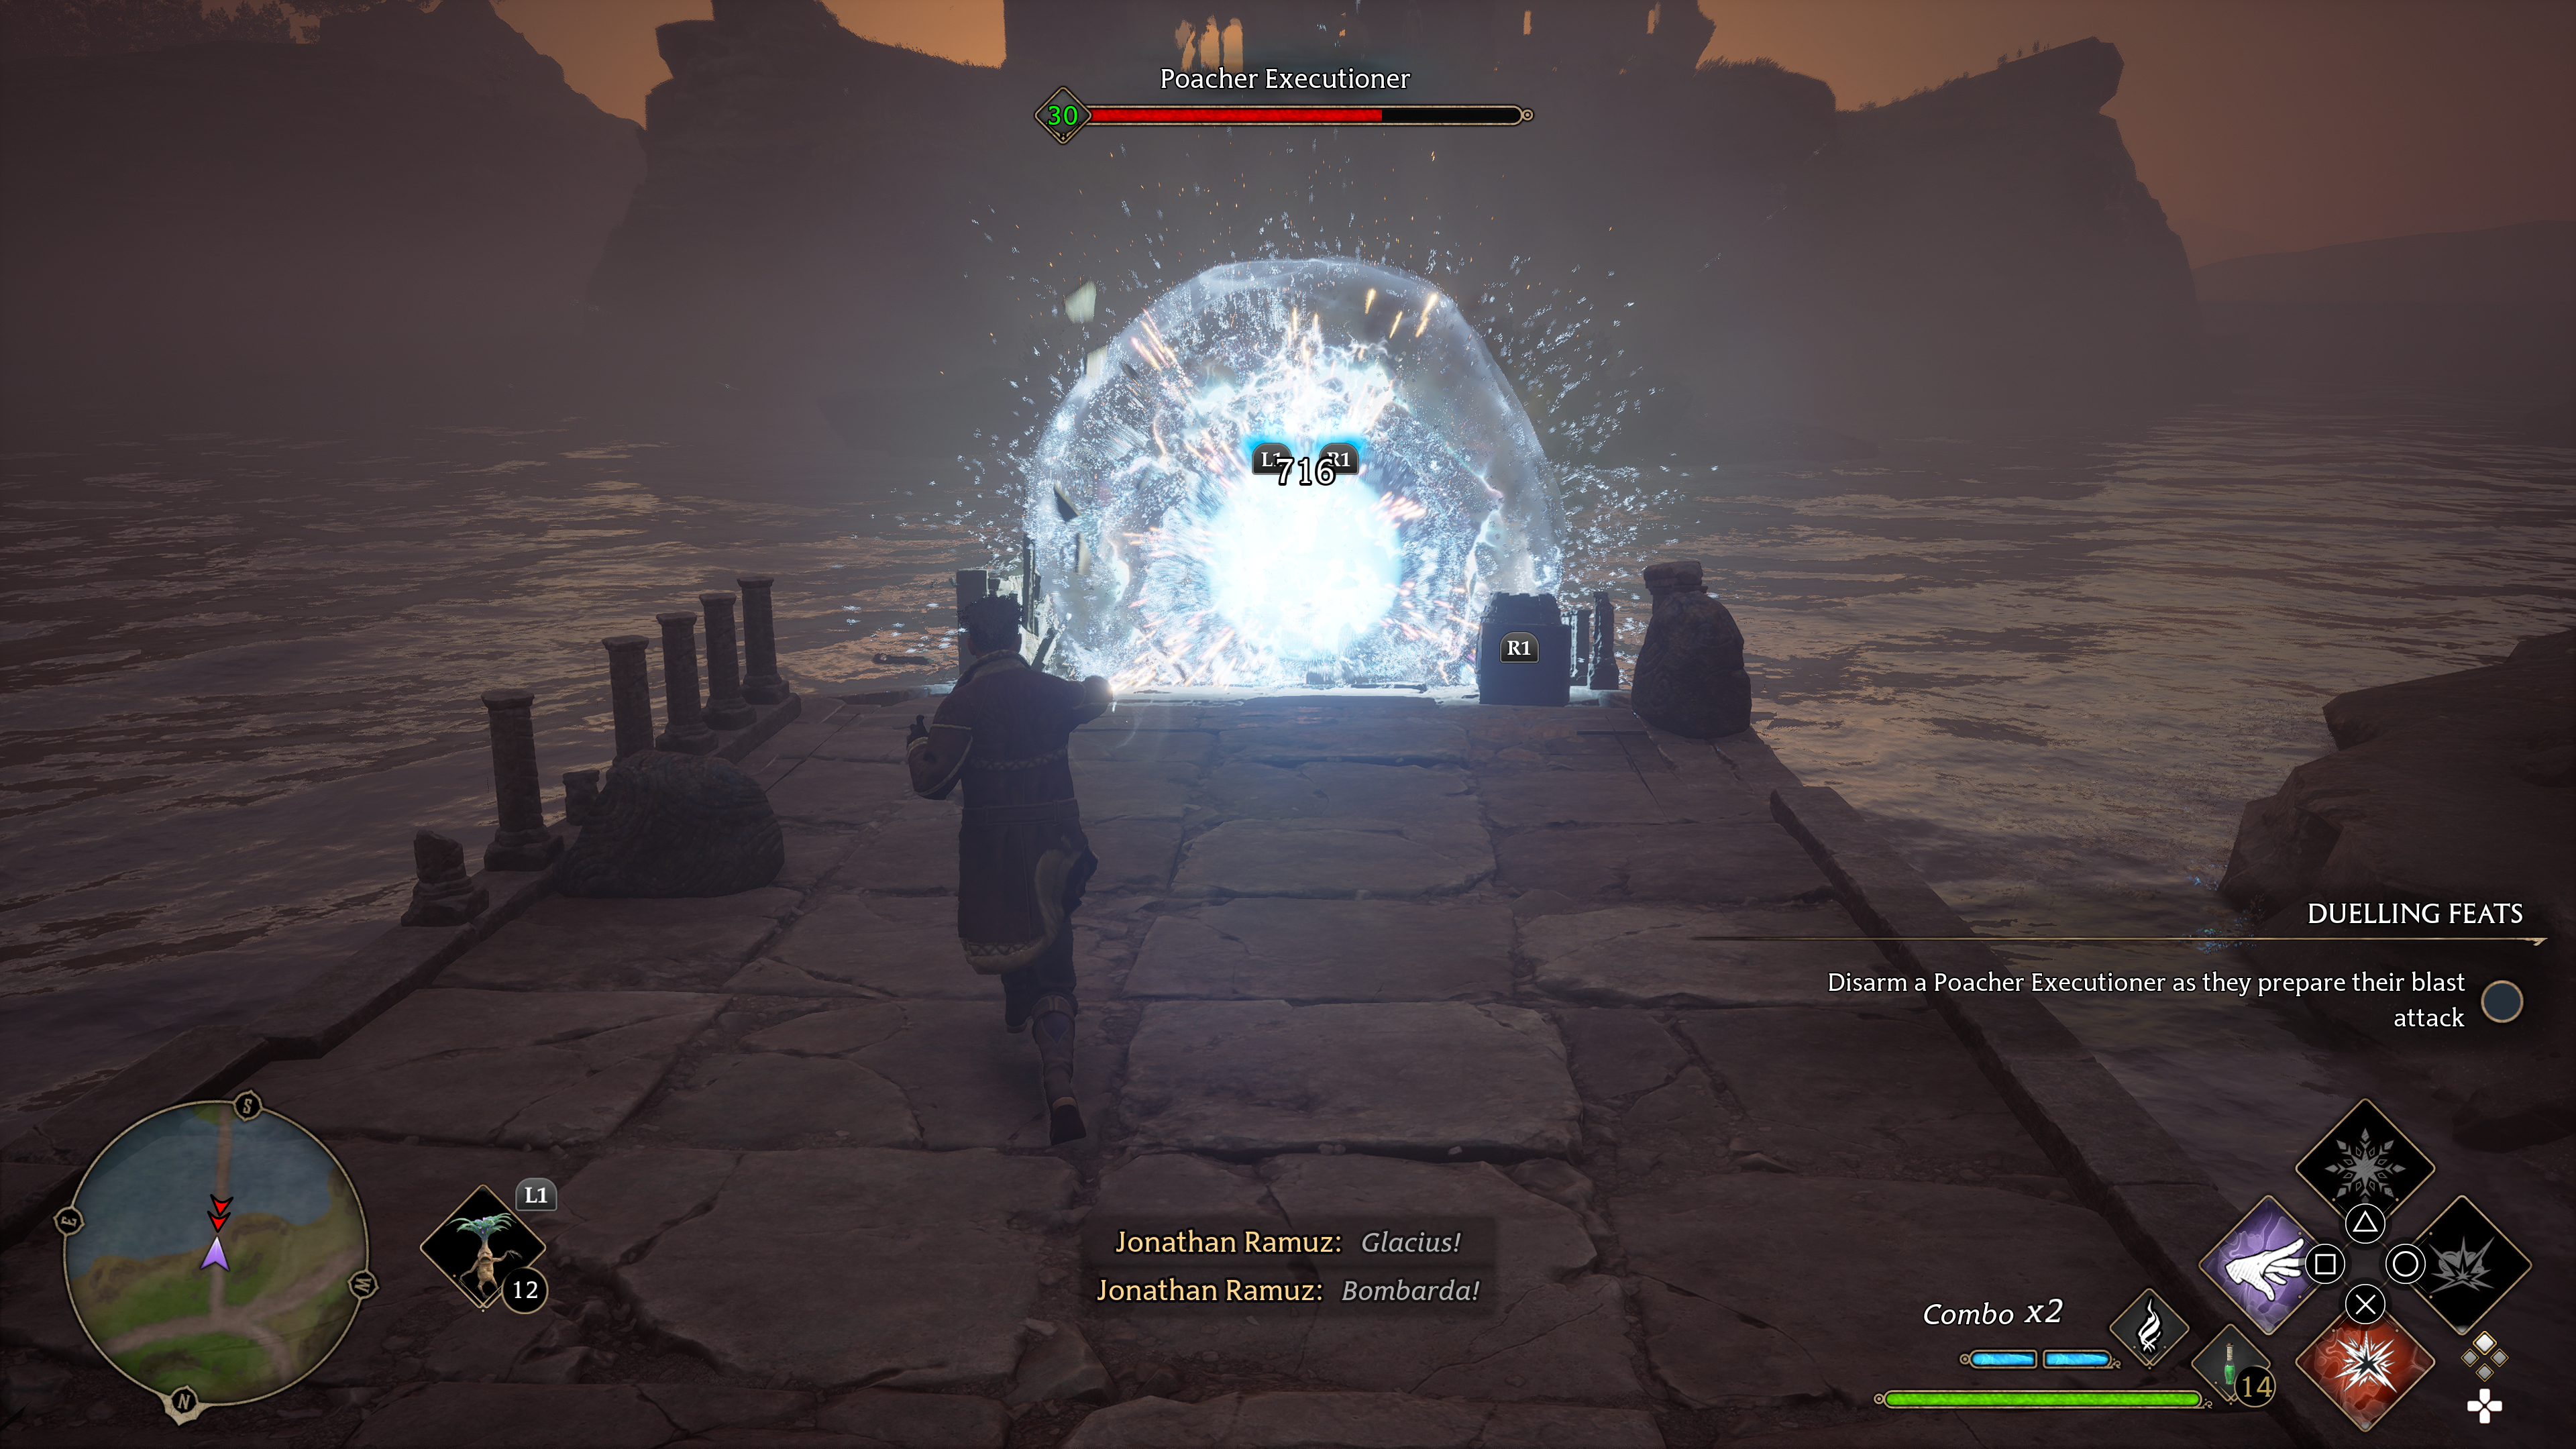
Bombarda (Damage)
Bombarda is one of the last spells you learn apart from the Unforgivable Curses, and it's easily the most fun spell. Bombarda launches a fireball, and when you upgrade the spell via Talents, the fireball creates a huge AOE on impact. Although it doesn't have as much usefulness against bosses, this is still an S-Tier spell because of how effective it is against large packs of low-level enemies.
Imperio (Unforgivable Curses)
Imperio is absolutely broken. Honestly, we should have put Imperio in its own tier, but a lot of you won't learn it for thematic reasons anyway.
Unlike most of the best spells in Hogwarts Legacy, Imperio still has a substantial effect on even the largest and most dangerous enemies, including trolls. This makes it unique in being able to completely trivialize what should be the hardest fights in the game.
You can cast Imperio on the biggest enemies and this will stun them for a considerable amount of time, during which you can do a huge amount of damage while you wait for Imperio to cooldown. You can rinse and repeat your way through fights like this.
A-Tier Spells
Transformation (Control)
Transformation doesn't actually do any damage or set you up for combos, but it can completely remove at least one low-level enemy from the fight for a short period of time. This can be great in a pinch, and it can buy you some much-needed breathing space to back up from a fight.
Accio (Force)
Accio pulls enemies towards you, so it might seem like a dangerous or useless spell. However, by pulling enemies within close-range, you can then use Incendio on them. This one powerful combo is enough to give Accio a spot in the A-Tier.
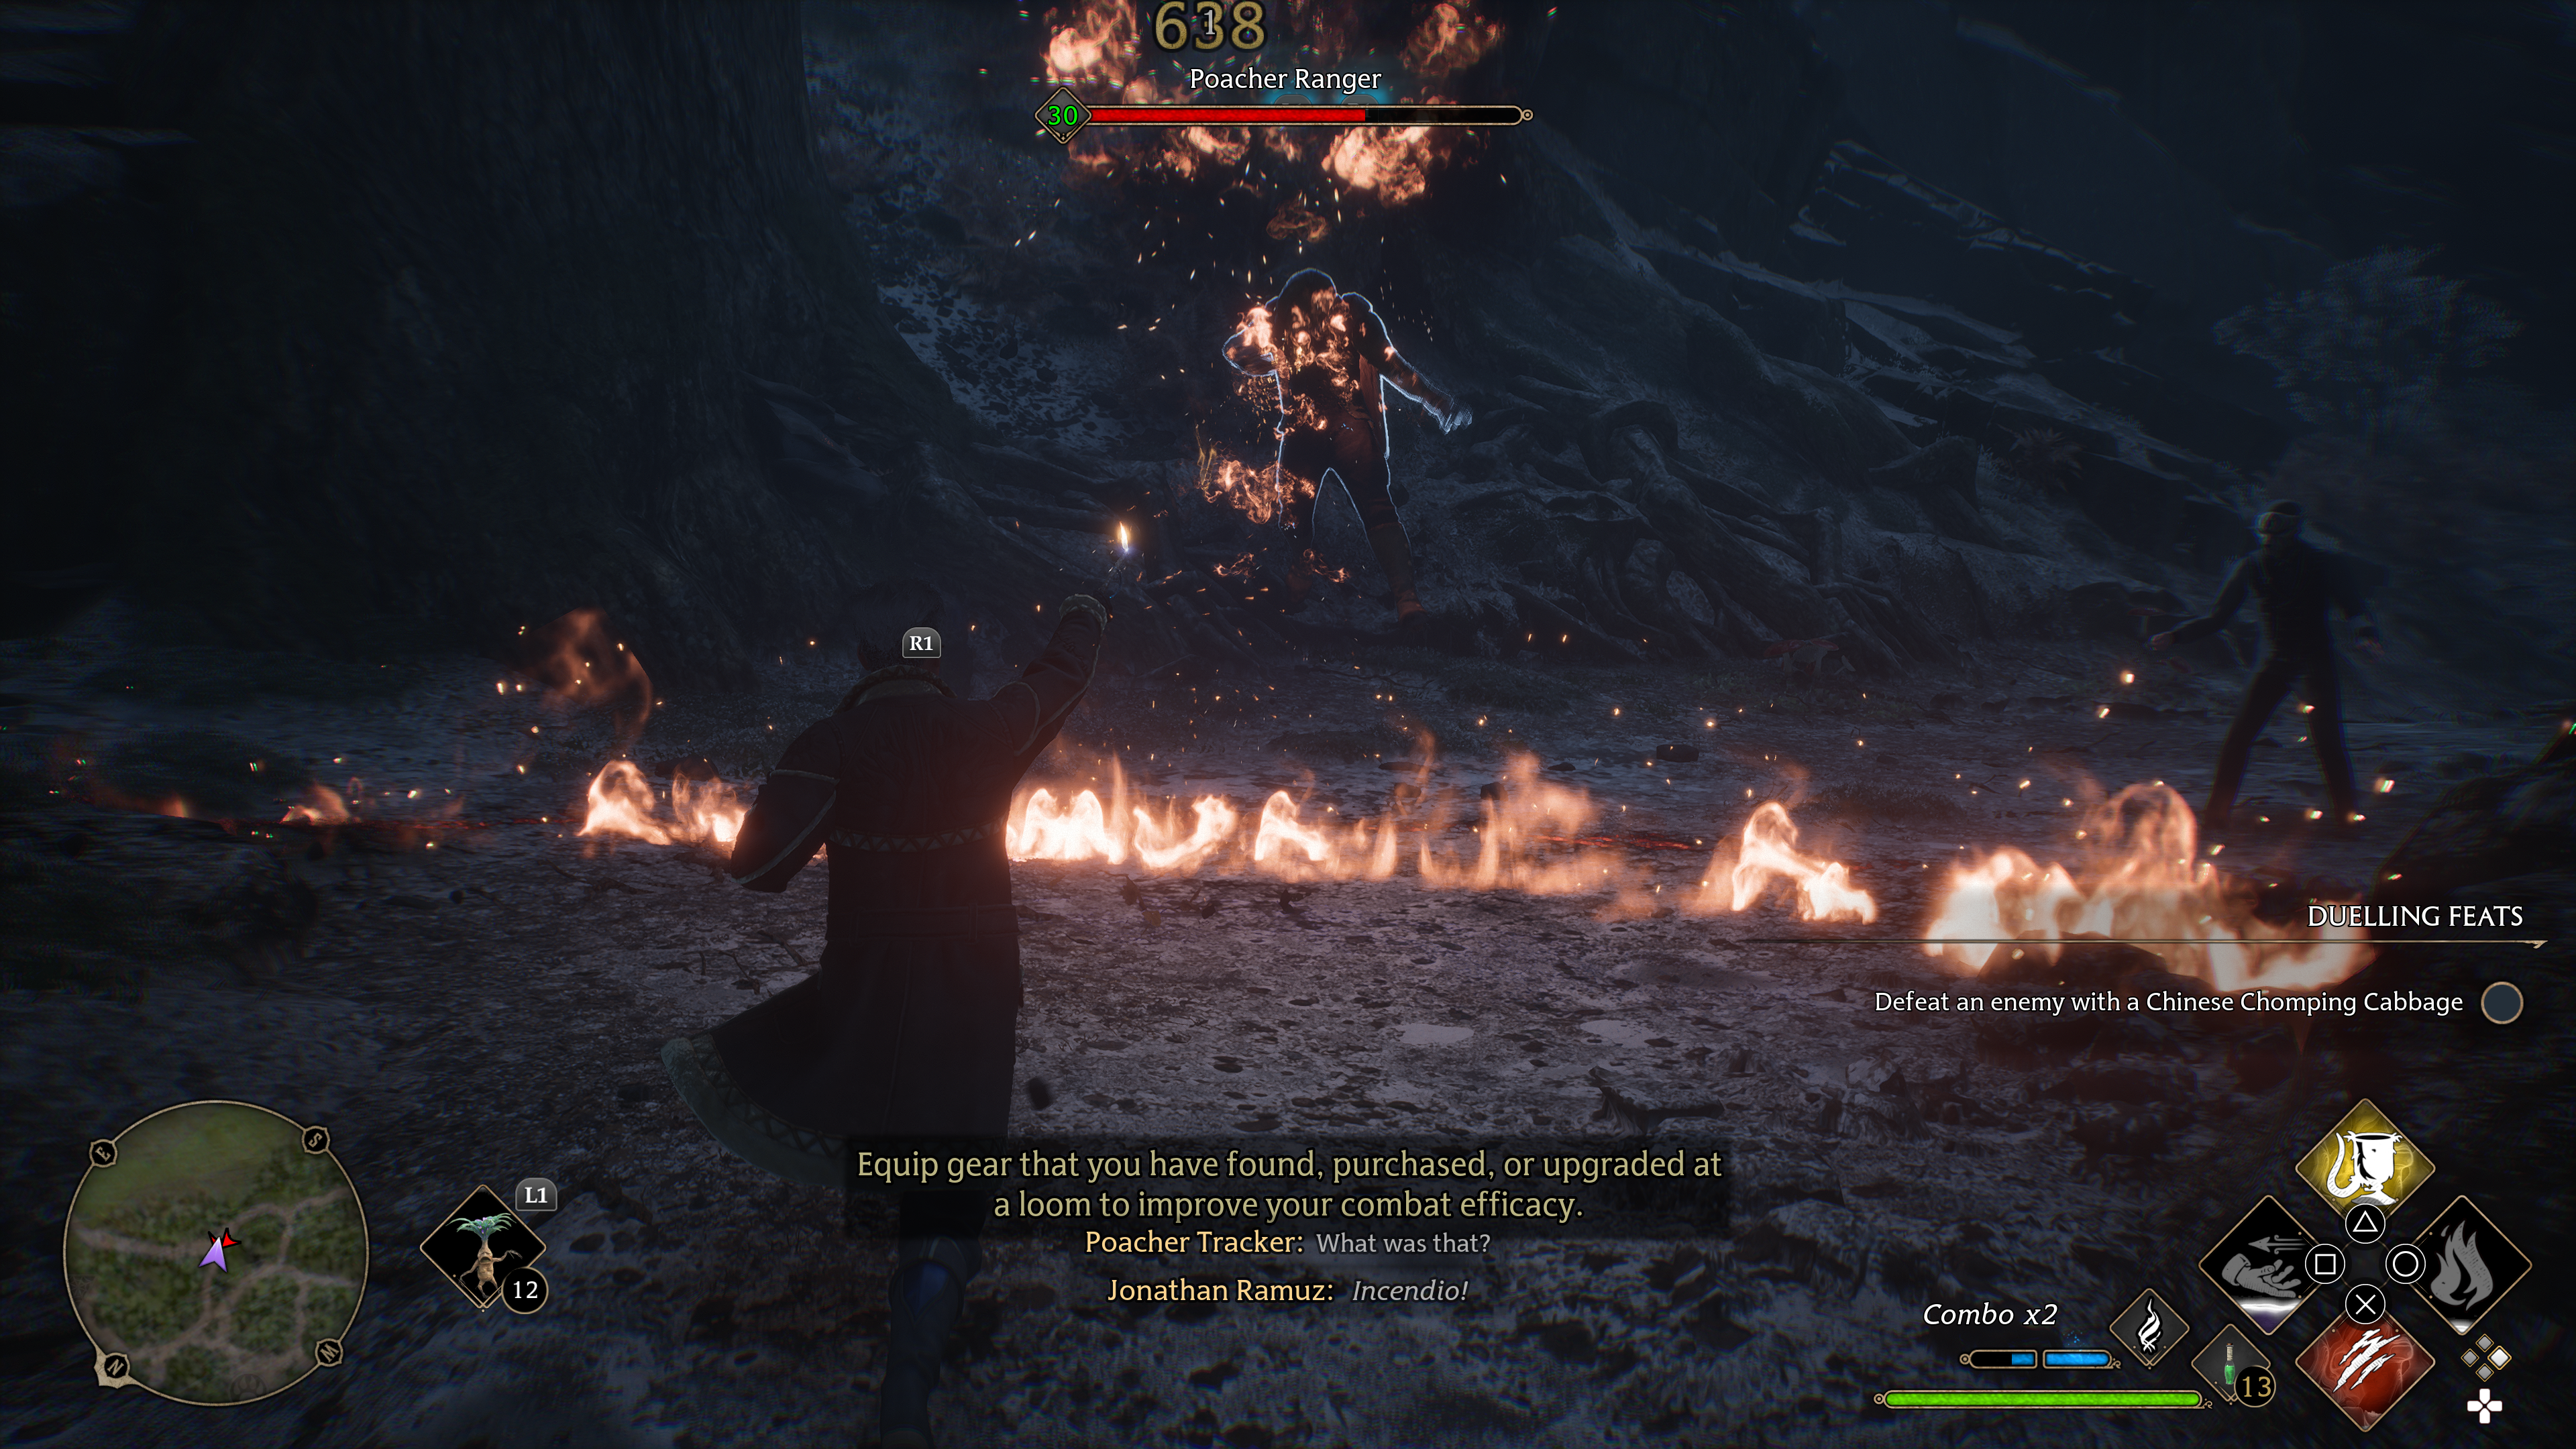
Incendio (Damage)
We just mentioned it above. Incendio combo'd with Accio is so good that we need to put both spells in A-Tier. But like Accio, Incendio isn't that amazing on its own. In the case of Incendio, it suffers from terrible range.
Diffindo (Damage)
Diffindo is a nice do-it-all damage spell, like Confringo. We have Diffindo in A and Confringo in S because Confringo's Talent upgrade is incredibly strong, whereas Diffindo's Talent upgrade is only effective when enemies are bunched up and close to you.
Crucio (Unforgivable Curses)
Crucio deals damage over time, it stuns low-level enemies, and it breaks all shields. But sadly, the damage over time is just not very significant. You can upgrade Crucio a bit, but ultimately this is more of a solid Control spell than it is a damage spell.
Avada Kedavra (Unforgivable Curses)
Wow. Now this spell just feels powerful, and being able to kill all but the biggest enemies in a single cast is huge. However, with a 90-second cooldown, it ends up having far less combat effectiveness than other spells. We therefore can't quite justify putting it in S-Tier.
B-Tier Spell
Expelliarmus (Damage)
Expelliarmus does a little bit of damage, but barely. Its real use is supposedly in disarming enemies. The problem? There aren't that many enemies who can be disarmed, and if all you achieve with Expelliarmus is stopping an enemy's attacks for a few seconds, you should rather pick a spell that does that and then something extra.
Descendo (Force)
Descendo requires you to use another spell to get an opponent in the air beforehand, and then it deals absolutely mediocre damage when it's used. This could have been in C-Tier, but it is the only dedicated anti-air spell, so we're giving it a B.
Flipendo (Force)
As much as we like seeing Flipendo back in the Harry Potter universe, it's not exactly overpowered, it's just "okay". One nice little bonus is that you can use it like Depulso to push people off ledges if they're very close to the edge,
Levioso (Control)
The Talent upgrade to Levioso is quite nice, and it can set you up for combos effectively, but it doesn't do anything that can't be achieved with other spells.
C-Tier Spells
Arresto Momentum (Control)
This had potential to be one of the best spells in the game. Unfortunately, the devs chose for it to only work on low-level enemies, not last for very long at all, and have no additional effect that could make it worth taking. If all you want to do is slow down one of your attackers, then just use a spell that can do that but also does something extra as well.
The Best Spell Combos In Hogwarts Legacy
Here are the best spell combinations that we recommend trying.
The Best Spell Combo Against Low-Level Enemies
Accio + Incendio
You can almost kill low-level enemies with a single cast of Incendio, but the problem with the spell is that has terribly short range. However, Accio can be used to pull low-level enemies towards you. So pull them in with Accio then blast them with Incendio, and you’ll be able to finish the kill with a couple of swift basic attacks.
The Best Spell Combos Against High-Level Enemies
Imperio + Glacius + Damage Spells (Bombarda, Diffindo, Confringo)
Our Recommended Spell Sets
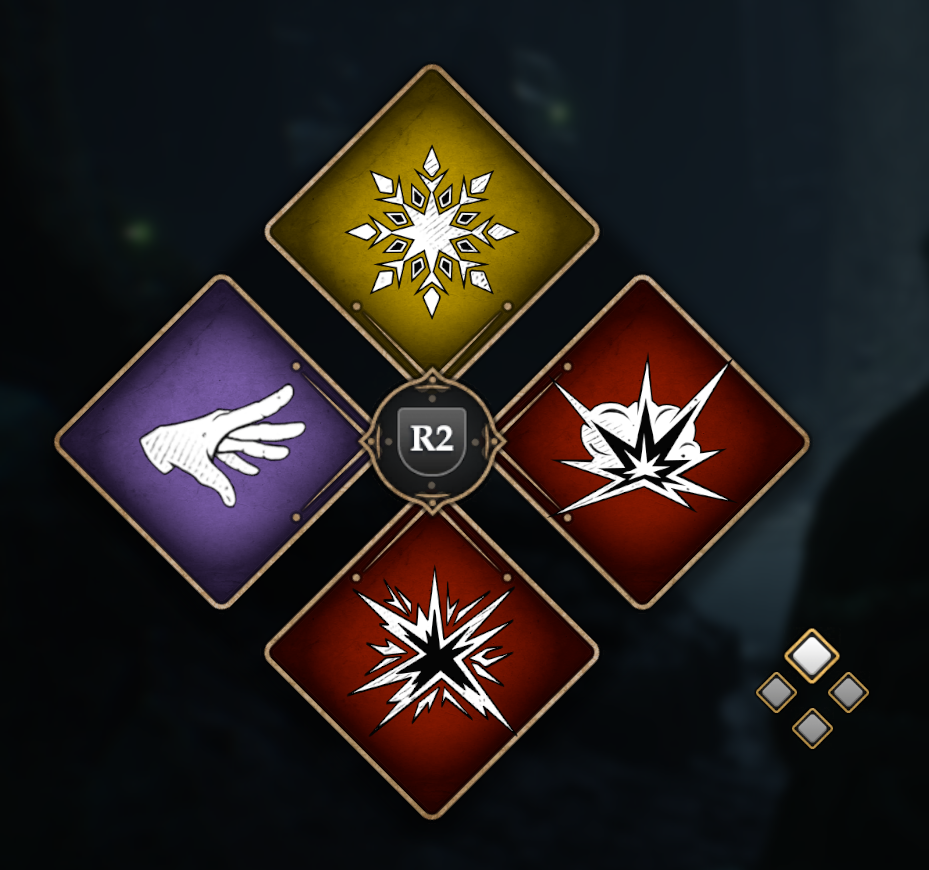
Here are our favorite Spell Sets. As a rule, we always like to have Control spells mapped to Triangle / Y, Force spells mapped to Square / X, and Damage spells mapped to both Circle / B and Cross / A. If we use this structure, then no matter which of the four Sets we have equipped, we can always press the same button whenever we see purple, yellow or red shields.
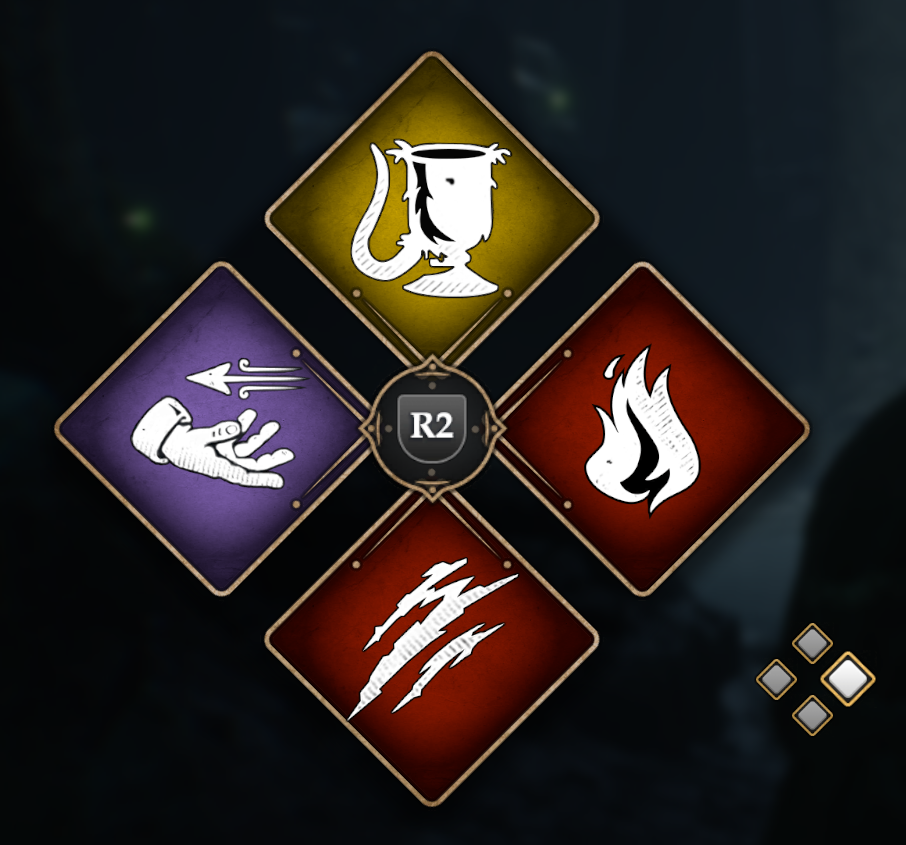
Spell Set 1 - Long-Range General Combat
- A / Cross: Confringo
- B / Circle: Bombarda
- X / Square: Depulso
- Y / Triangle: Glacius
We’ve chosen these spells for our main combat Spell Set because these are all fantastic spells that are perfectly suited to long range combat. With Confringo and Bombarda we can do great damage at range, with Depulso we can keep enemies away from us, and with Glacius we can buff our spells.
Spell Set 2 - Close-Range General Combat
This is our second Spell Set. We change to this Spell Set when we want to get into close-combat (or when we've ended up there against our will).
- A / Cross: Diffindo
- B / Circle: Incendio
- X / Square: Accio
- Y / Triangle: Transformation
We have Accio to bring enemies towards us, and Incendio for dealing amazing damage to targets in close-range. We’ve also gone with the Transformation spell so that we can limit the amount of enemies we need to attack at once in close-combat.
And, to round us out, we’ve taken Diffindo. This can be used as a range spell, but we’ve equipped it in our close-range Spell Set because the Talent upgrade makes Diffindo much stronger to use when enemies are crowding up and getting close.
Spell Set 3 - Unforgivable Curses
This Spell Set is our final combat Set, and we use it for the Unforgivable Curses and Flippendo. The Unforgivable Curses are usually used very deliberately for huge effect, and they have huge cooldowns, so we feel that putting them in the third set is fine if we're using sets one and two so much more.
- A / Cross: Crucio
- B / Circle: Avada Kedavra
- X / Square: Flippendo
- Y / Triangle: Imperio (we put Imperio in the Control slot because it has the most similar effect)
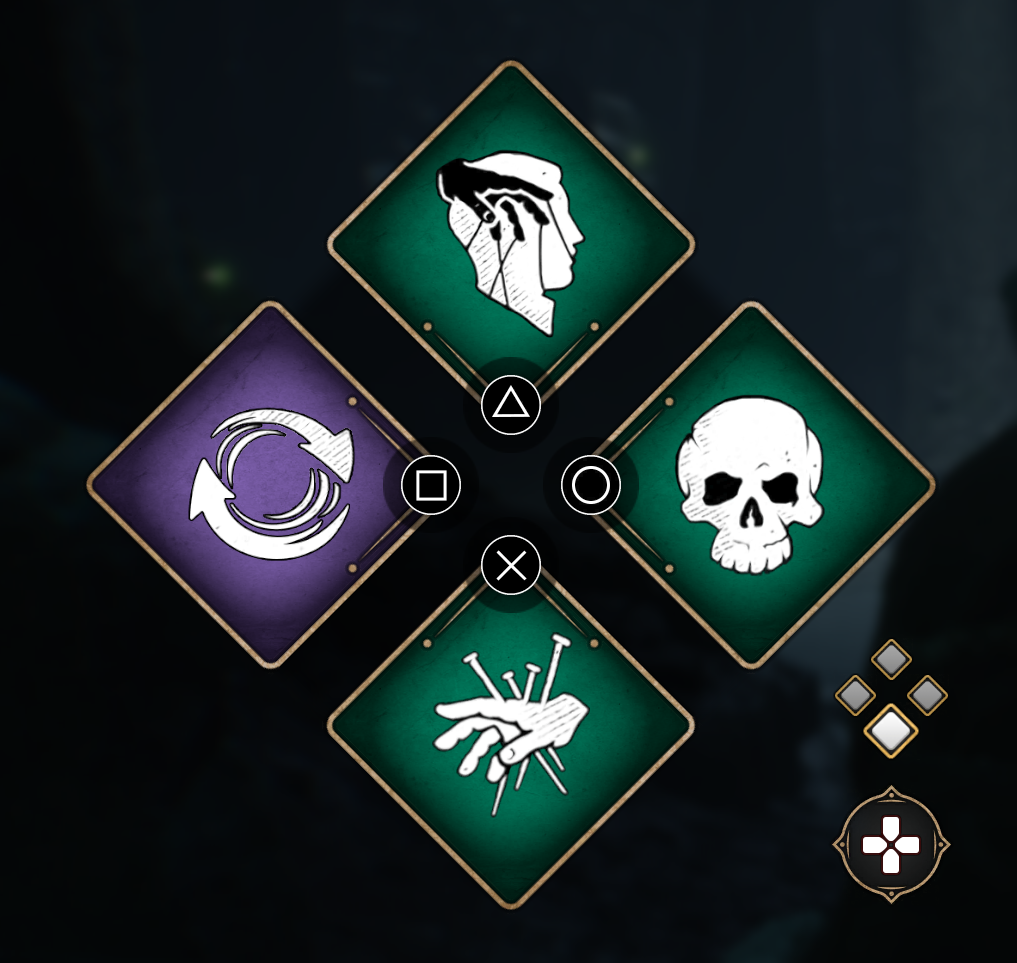
We like to equip all of our Unforgiveable Curses to our third Spell Set because they simply can’t be used as frequently as any of the spells in Sets one and two. The problem is that they all have massive cooldowns.
This is the Spell Set we like to use to open fights with if we have the element of surprise. Imperio can begin turning more and more enemies to our side, Crucio can keep one enemy effectively stunned, and Avada Kedavra can take the most difficult enemy out of the fight entirely. We’ve also added Flippendo to this Spell Set, but really you could attach any spell you want to go alongside the Unforgiveable Curses. These spells are so strong that they don’t need combos to be used effectively.
Spell Set 4 - Utility & Exploration
We like to leave our fourth Spell Set for non-combat situations. This is basically what we keep equipped as we explore the world.
- A / Cross: Leviosa
- B / Circle: Disillusionment
- X / Square: Lumos
- Y / Triangle: Nap-Sack
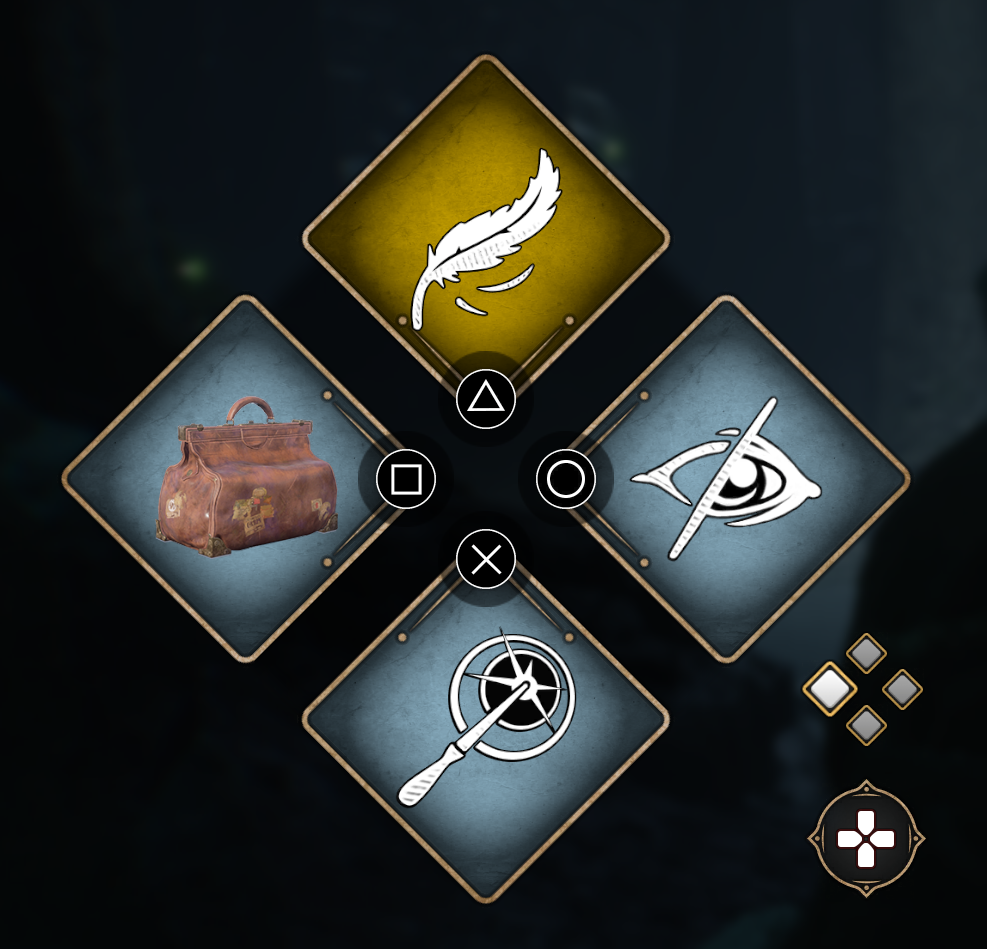
To finish up, here's our utility set. We keep this set equipped when exploring the world. We like to have the Nap-Sack and Levioso there to grab pets that we find in the wild, and we like to map Nap-Sack to Square / X because we’ll need to push this same button anyway when capturing a beast.
We’ve also taken Disillusionment because we need it all the time, and mapping it to Circle / B feels most natural because this is usually crouch in other games. Lumos is also used quite regularly so we’ve mapped it to the last available slot.You might wonder why we’re missing Repero and Wingardium Leviosa, but there’s a logic to it. Repero is used so infrequently that we can switch to it when we need it rather than keeping it equipped, and there’s no point in using Wingardium Leviosa because Levioso automatically turns into this spellswhen used on objects.
And there you have it folks, our guide to the best spells, spells sets and combos.
What are your favorite spells? And have you learned the Unforgivable Curses yet?
You won't get far without the right wand to cast with...