You just started Star Wars Jedi: Survivor and end up at the Chamber of Clarity, but now you're stuck. Well, this guide is the place to go since we're going to go over how you can clear the Chamber of Clarity Puzzles as quickly and efficiently as possible.
The Chamber of Clarity can be found in the Untamed Downs, which is a rocky landmass on Planet Koboh in Star Wars Jedi Survivor. This place was once the training ground for young Padawans, but when we reach this destination as Cal Kestis, it's nothing more than ruins and a challenging puzzle for us to figure out.
To start this quest you'll first need to have completed the Chamber of Duality to obtain a key which will open the chamber for you, so you can actually get started on your puzzling adventure.
Jedi Survivor: Chamber of Clarity Location
Firstly, you have to actually make it to the chamber which is a puzzle all on its own. You're going to have to use your trusted mount to help you out, since you need to get up a rocky ledge.
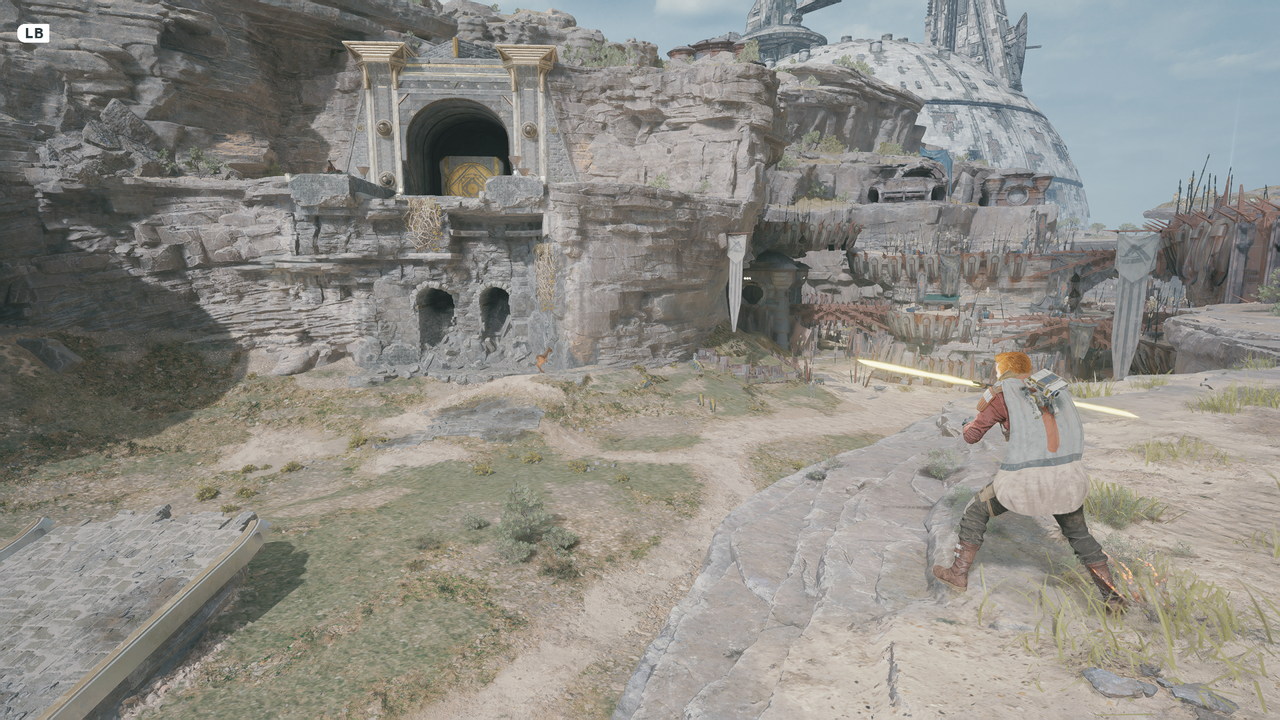
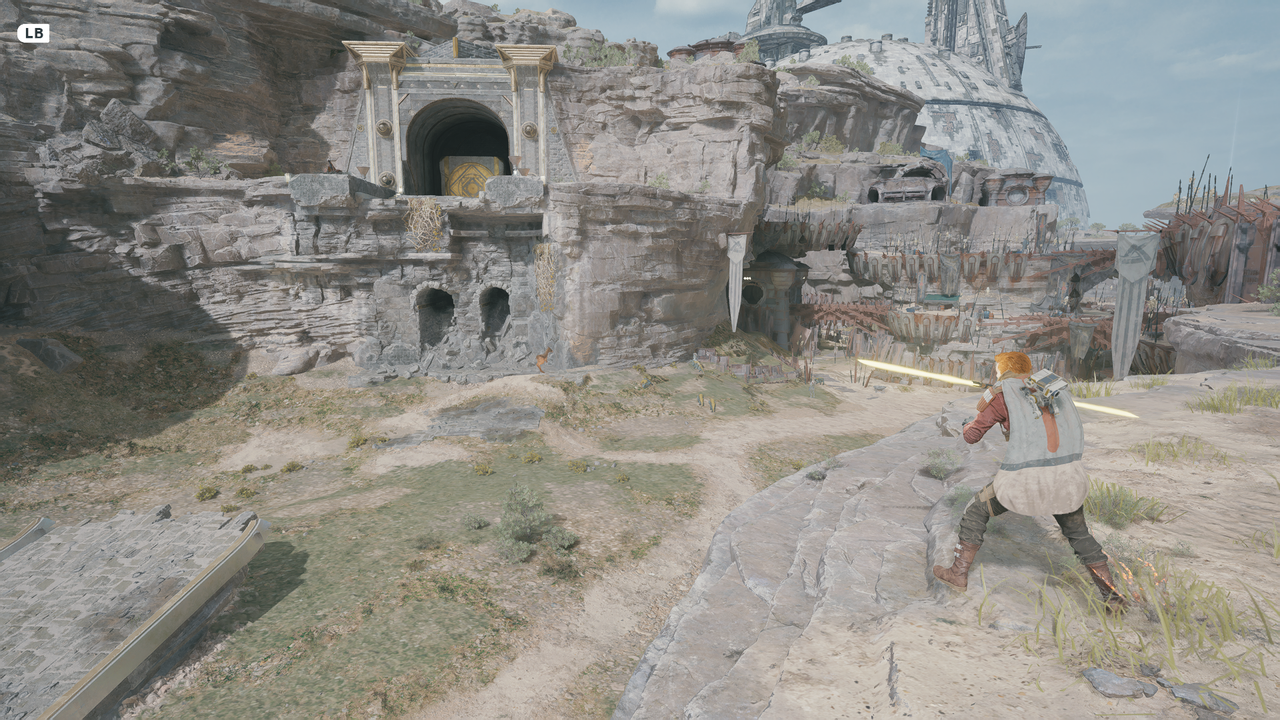
From far you can see the main entrance, as well as the rocky face of the ruins. On the right and left side you'll be able to see vines which you should use to get up to the entrance.
With your mount, move towards the right vines, jump up and then catapult yourself higher to hold onto the vines. Then it's all about finesse as you make your way up and to the Chamber of Clarity.
- For the sophisticated movements and tricks you might want to have a good controller !
Jedi Survivor: Chamber of Clarity Rewards
Before getting into the nitty-gritty of what you need to do, let's go over what you're doing all this for. The rewards are a key part of any chamber and this one also has some interesting ones.
By completing a set of puzzles you'll be able to obtain the Fellowship Perk, which can be pretty damn useful since BD-1 is going to be able to hold an extra Stim with this perk.
Jedi Survivor: How To Upgrade Health Stims & All Locations
Jedi Survivor: Chamber Of Clarity Puzzle Explained
Once you've opened the gate, you'll take an elevator down to the puzzle area. As you enter the hall, a voice beckons you to use the force, which means you're going to have to use it to figure out the puzzle.
You stand in front of a gaping canyon. To get to the other side you'll have to use Force Pull, with which you're going to move a large cube on the left into the center.
Jump onto the cube and the other side. Looking up you'll notice a beam, which you should pull down. This is going to be crucial later on in the puzzle. Then you move back onto the cube to continue your journey through the chamber.
You're going to see a hidden passage right where the cube had just been. Go in there and make sure to pick up the Datadisc treasure collectible before you use wall run to reach the end of the hidden passage.
If you follow the corridor you'll reach the upper level as well as the Tenacity Databank entry from the Force Echo. Once you've picked that up keep moving and get to a ledge which you've got to get across. On the side you're going to spot another cube in the wall, which you can pull out with Force Pull once more.
You're going to have to be quick, since the cube won't stop and move from one end to another. When you're on the first Cube, quickly use Force Pull on the second one on the rails behind so you can quickly jump onto that one before making it to the end.
Once you've completed the parkour section, move to find a crate which will contain Unique Non-Metal Material. Once you've obtained it, just jump down and you're going to be back where you started off with the puzzle.
Jump over the first cube and you'll see another one on the right. Pull it out and then use Force Pull once more. The cube has some vines on it, so jump on those vines while it's moving and let it transport you to a hidden room.
Once you're in this room you'll notice some more rails on the ground, follow those and you'll find another cube to pull out. Do so and there will be a Trials Databank entry right behind it.
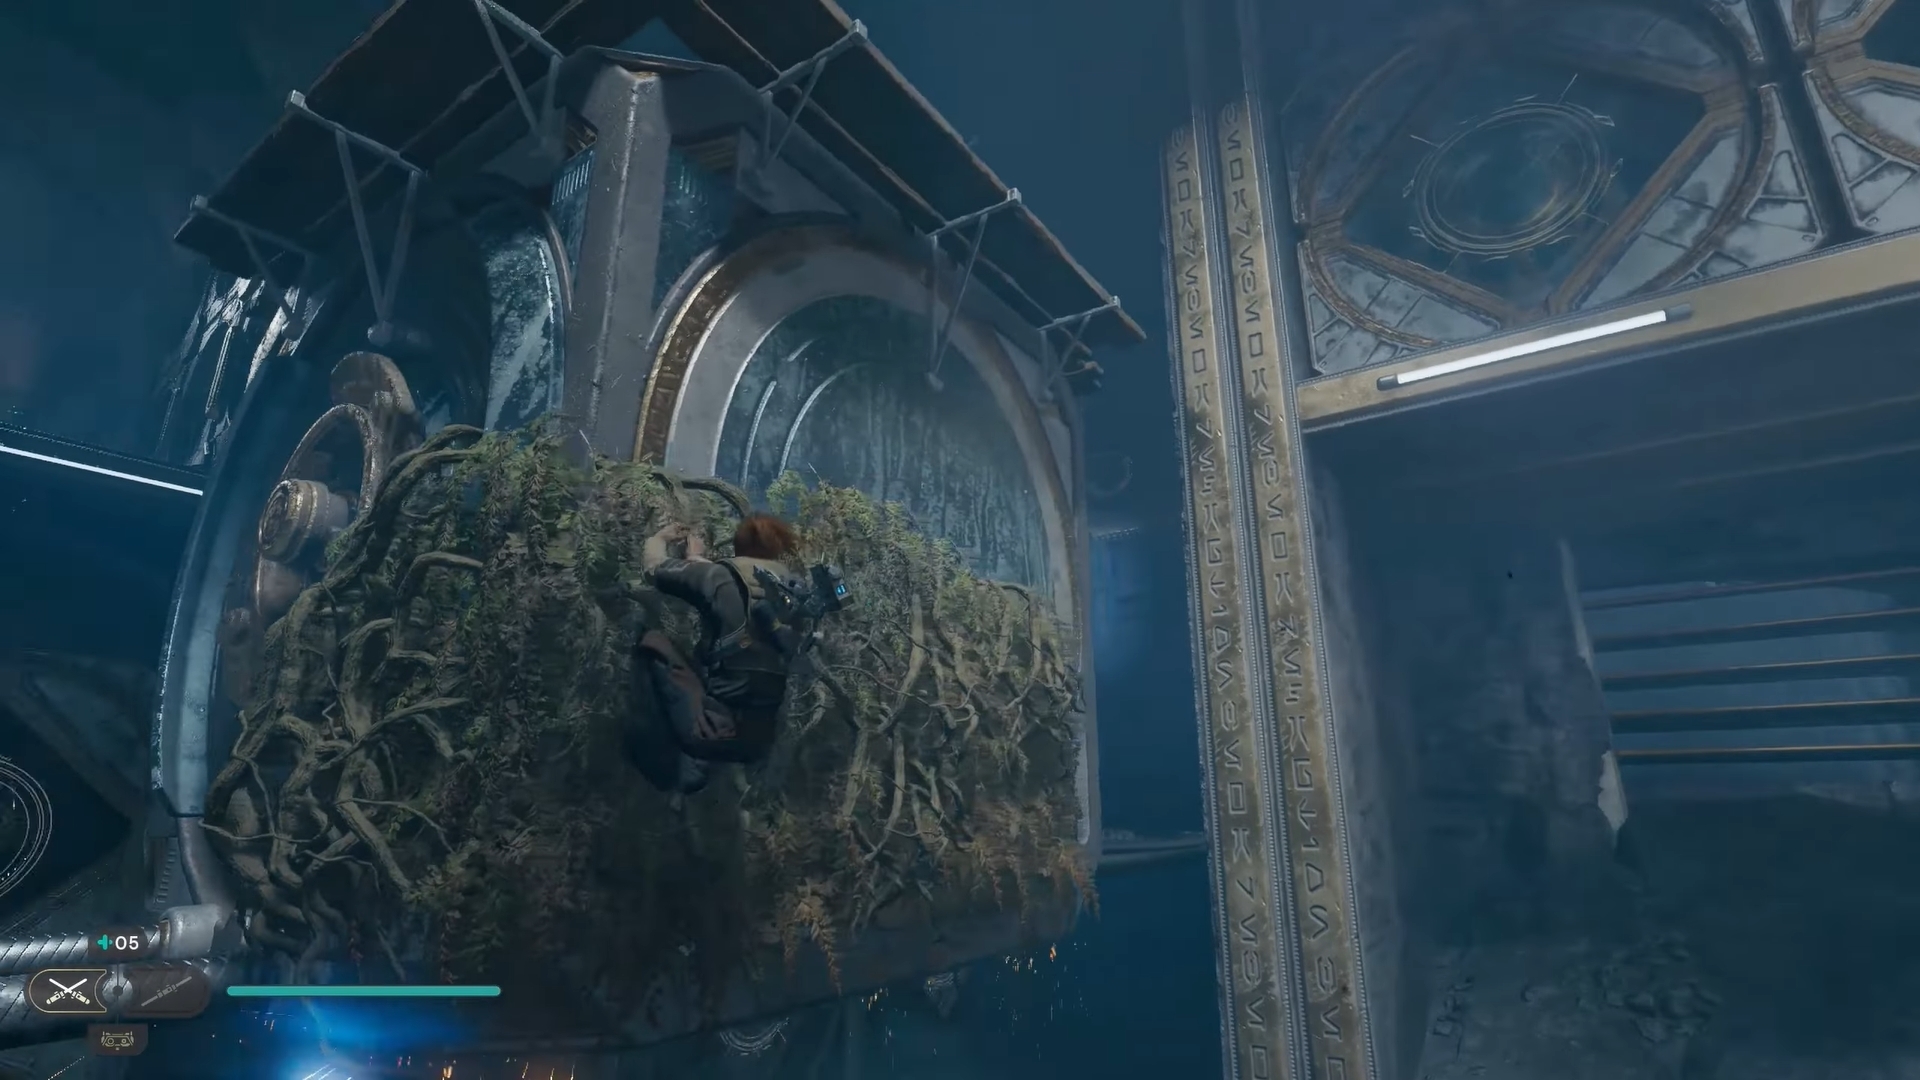
Once you've done that go back to the cube you'd pulled out and push it back in. While it's moving cling onto some vines on the side and scale it, to get to the top. You'll pass an elevated ledge which you can jump onto while the cube is moving. Here you'll find the next Databank entry – Concerted Effort.
Once acquired, turn around and follow the path. Make sure you don't fall since there is a tricky little hole that you might miss. You'll also need to use wall run here as well to get to the end. You'll meet a round door which opens automatically, which brings you to the upper level of where you just were.
On the other side you'll see another round door, but no ledge to get to it. With Force Push you can force the door open, but you're going to have to drop back down to the main floor level to utilize the two cubes on the ground.
Pull out the cube which has moved to the back of the chamber and climb it, then use the second cube which is on the right and also pull it so the two crash into one another, ultimately, stopping them from moving.
With both cubes stationary and some double jumping skill you'll be able to get into the entry and reach the final Databank entry – A Candid Moment.
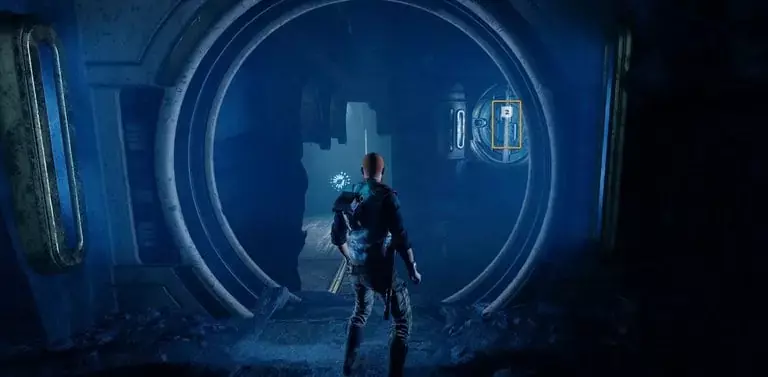
Next to the Databank entry there is another cube which you can push out.
Before you go and jump down onto the cube that you just pushed though, quickly go to the entrance of the room you're in and pull a cube into the starting room once more – the cube which you initially held onto to reach this part of the puzzle chamber.
Then move to the cube you just pushed and jump onto it and then jump to the beam that you initially moved at the start of the puzzle – told you it would come in clutch! Make your way onto the beam, then double jump onto the cube you positioned and double jump to the exit.
Now all that's left is to obtain the Fellowship Perk and voilà!
For the detailed walkthrough I recommend this video:


