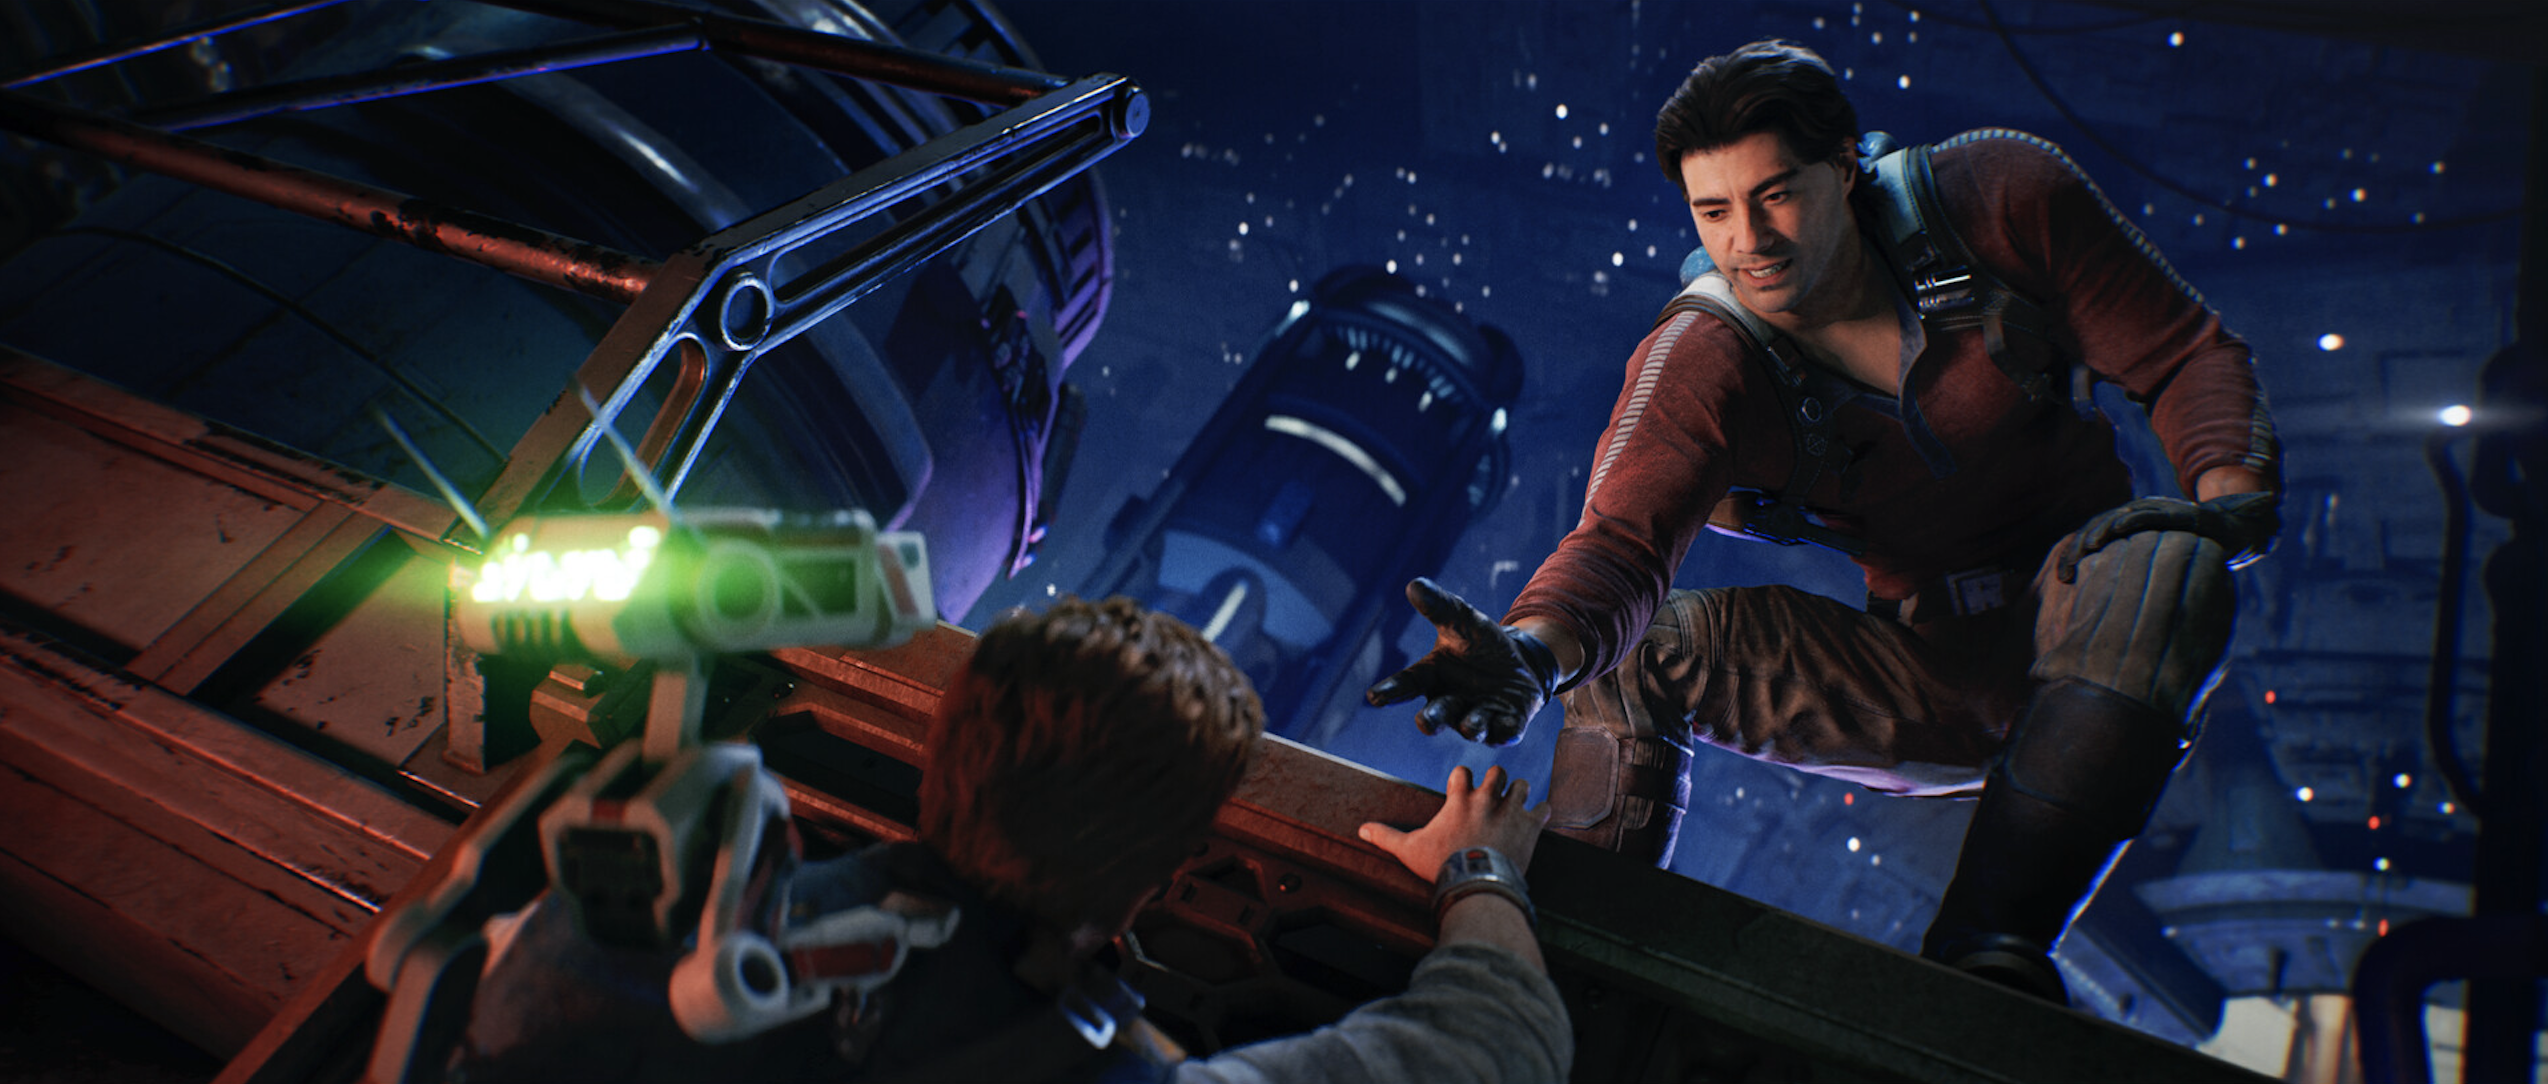
Just like BD-1, puzzles are our ever-present companion in Jedi Survivor! Some are significantly easier to solve than others. If you got stuck on the Chamber of Detachment, this is the guide for you!
Sooner or later, we all come across a riddle or puzzle that we can't solve on our own. For some there are guides and for others … well there are no guides for real life, right!?
Luckily, Jedi Survivor falls under the first category, and even better, you will find a guide for the Chamber of Detachment right here! Don't worry, we included all six collectibles for you as well! This Chamber is a little test of patience, but nothing that will take you hours to solve, especially not if you are sticking to our guide!
Jedi Survivor: Chamber Of Detachment Location
The Chamber itself is pretty easy to find! Just teleport to the Mountain Ascent Meditation Point in Koboh and head to the right in the direction of the shiny, green barriers.
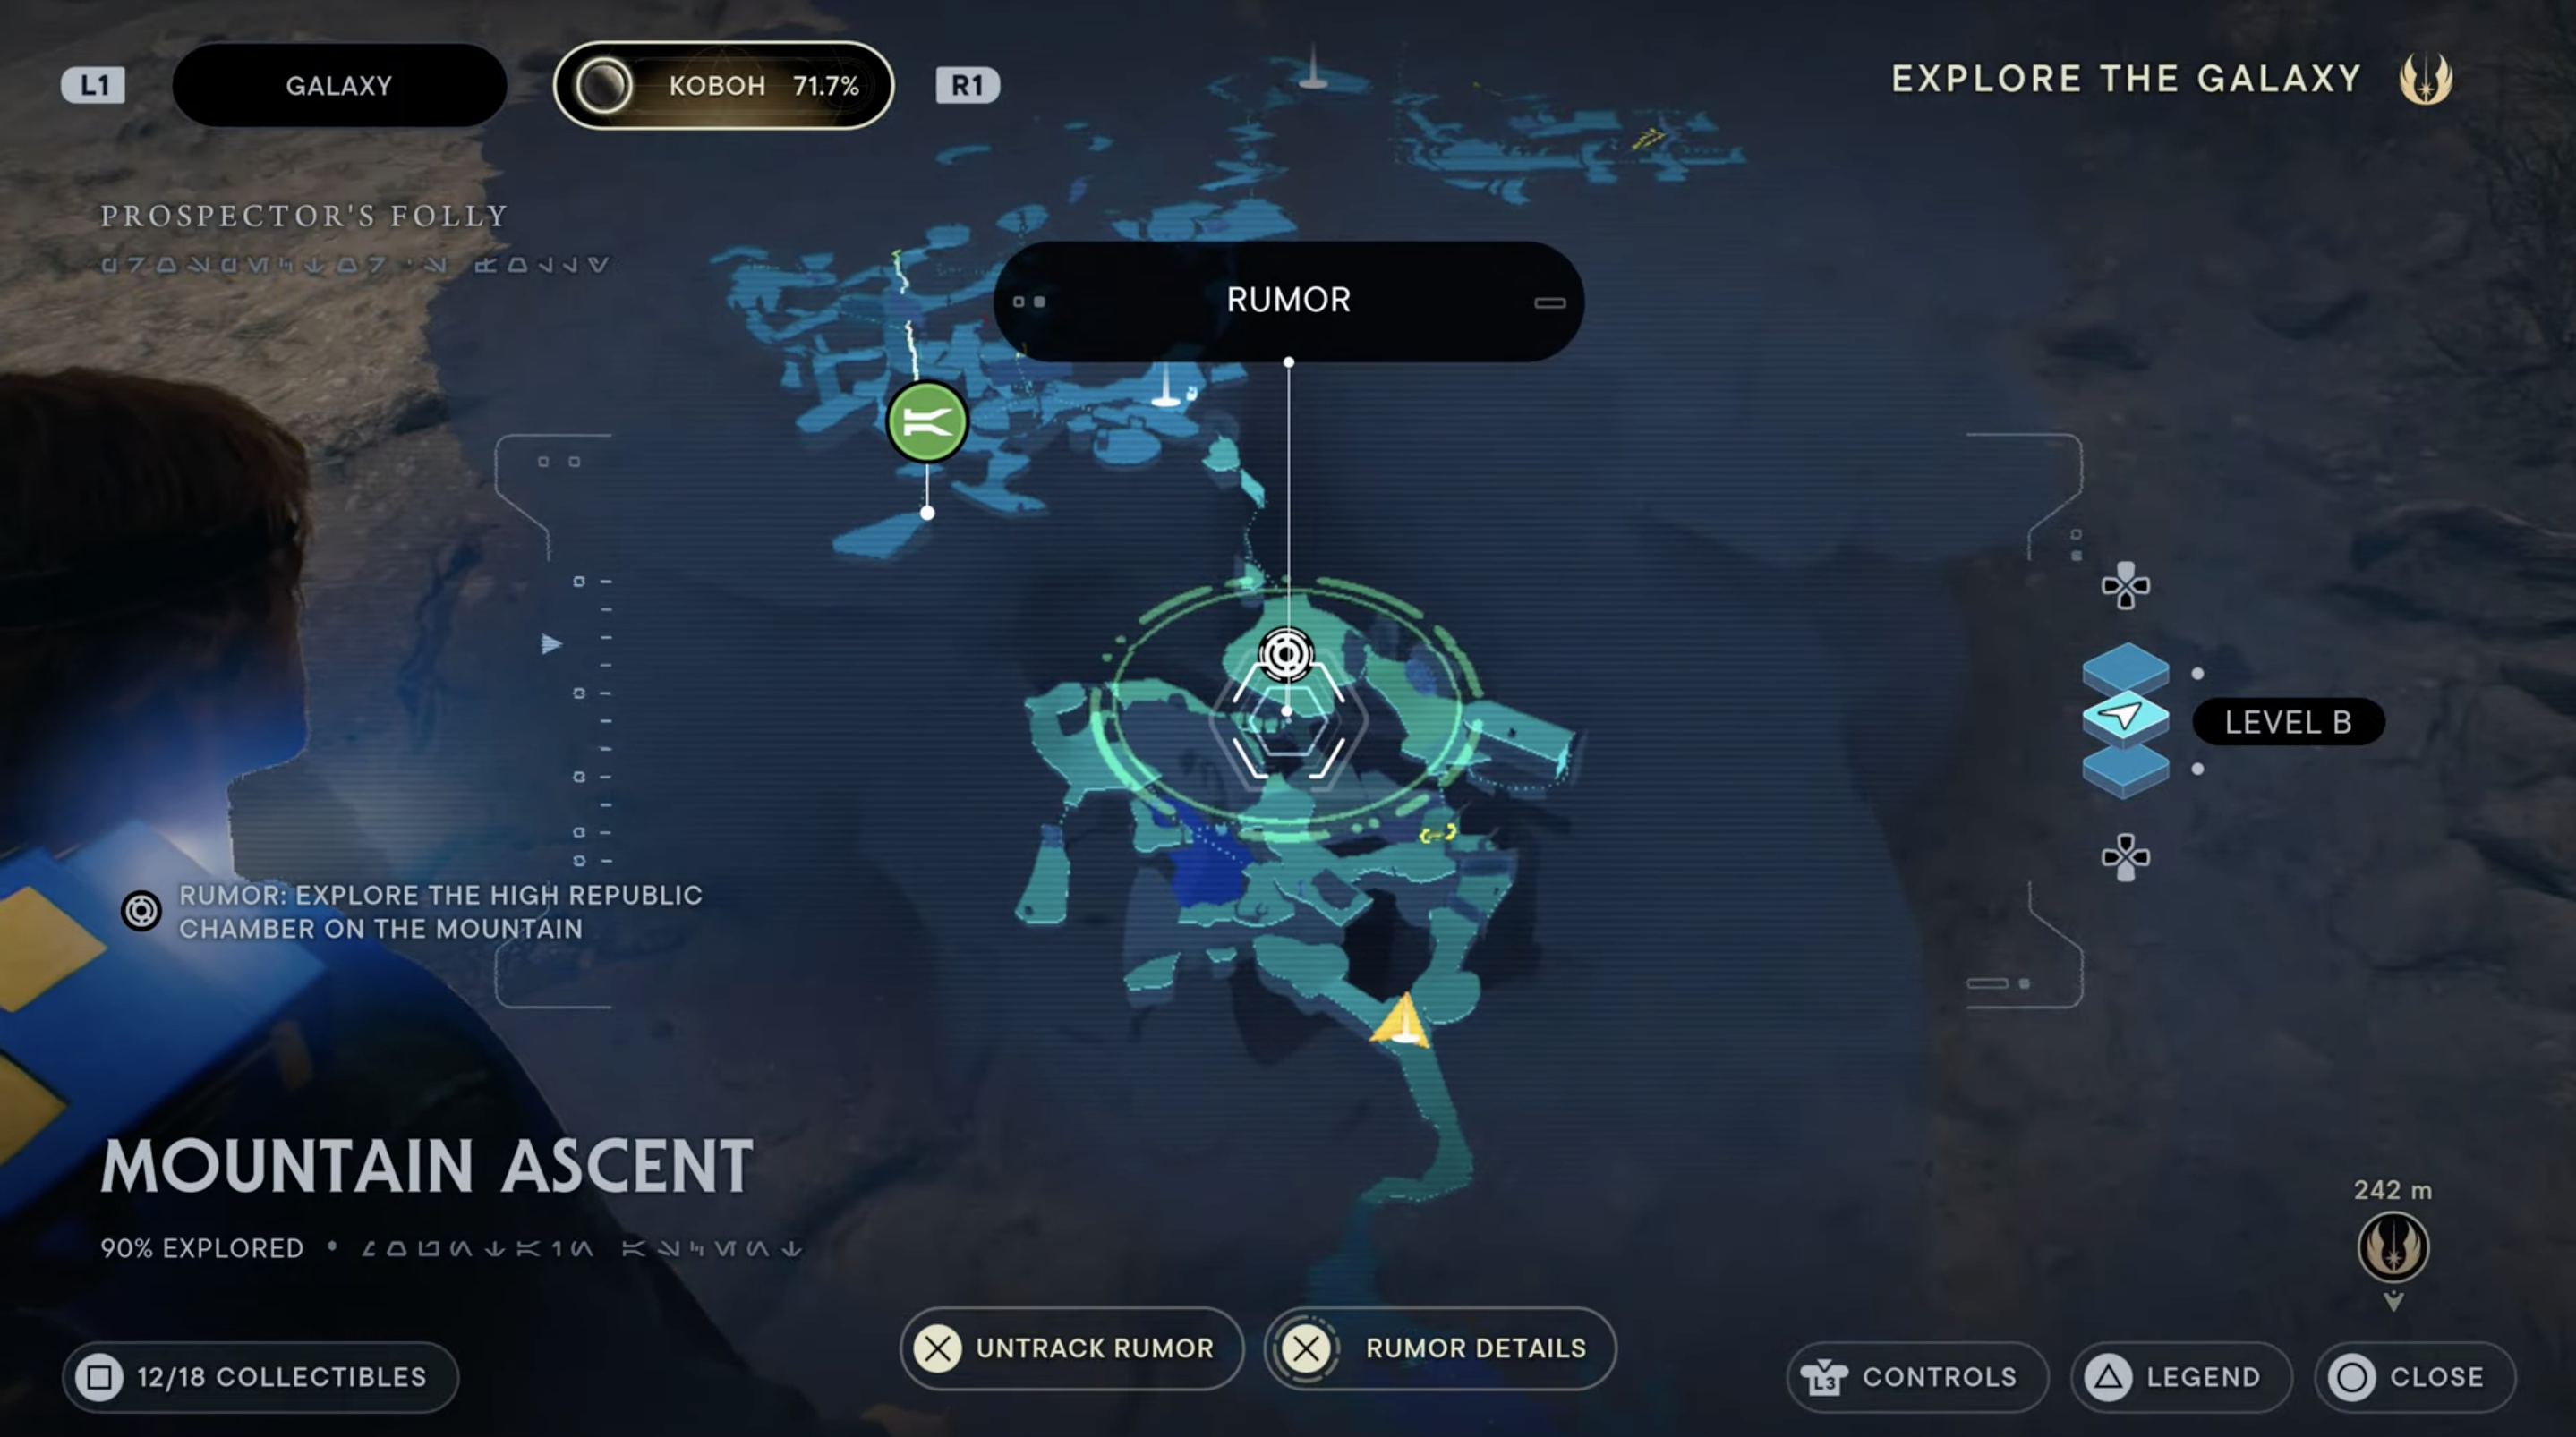
It is important to note, that you can only enter this Chamber later on into the game, since you need the upgrade that allows you to dash through the green barriers first.
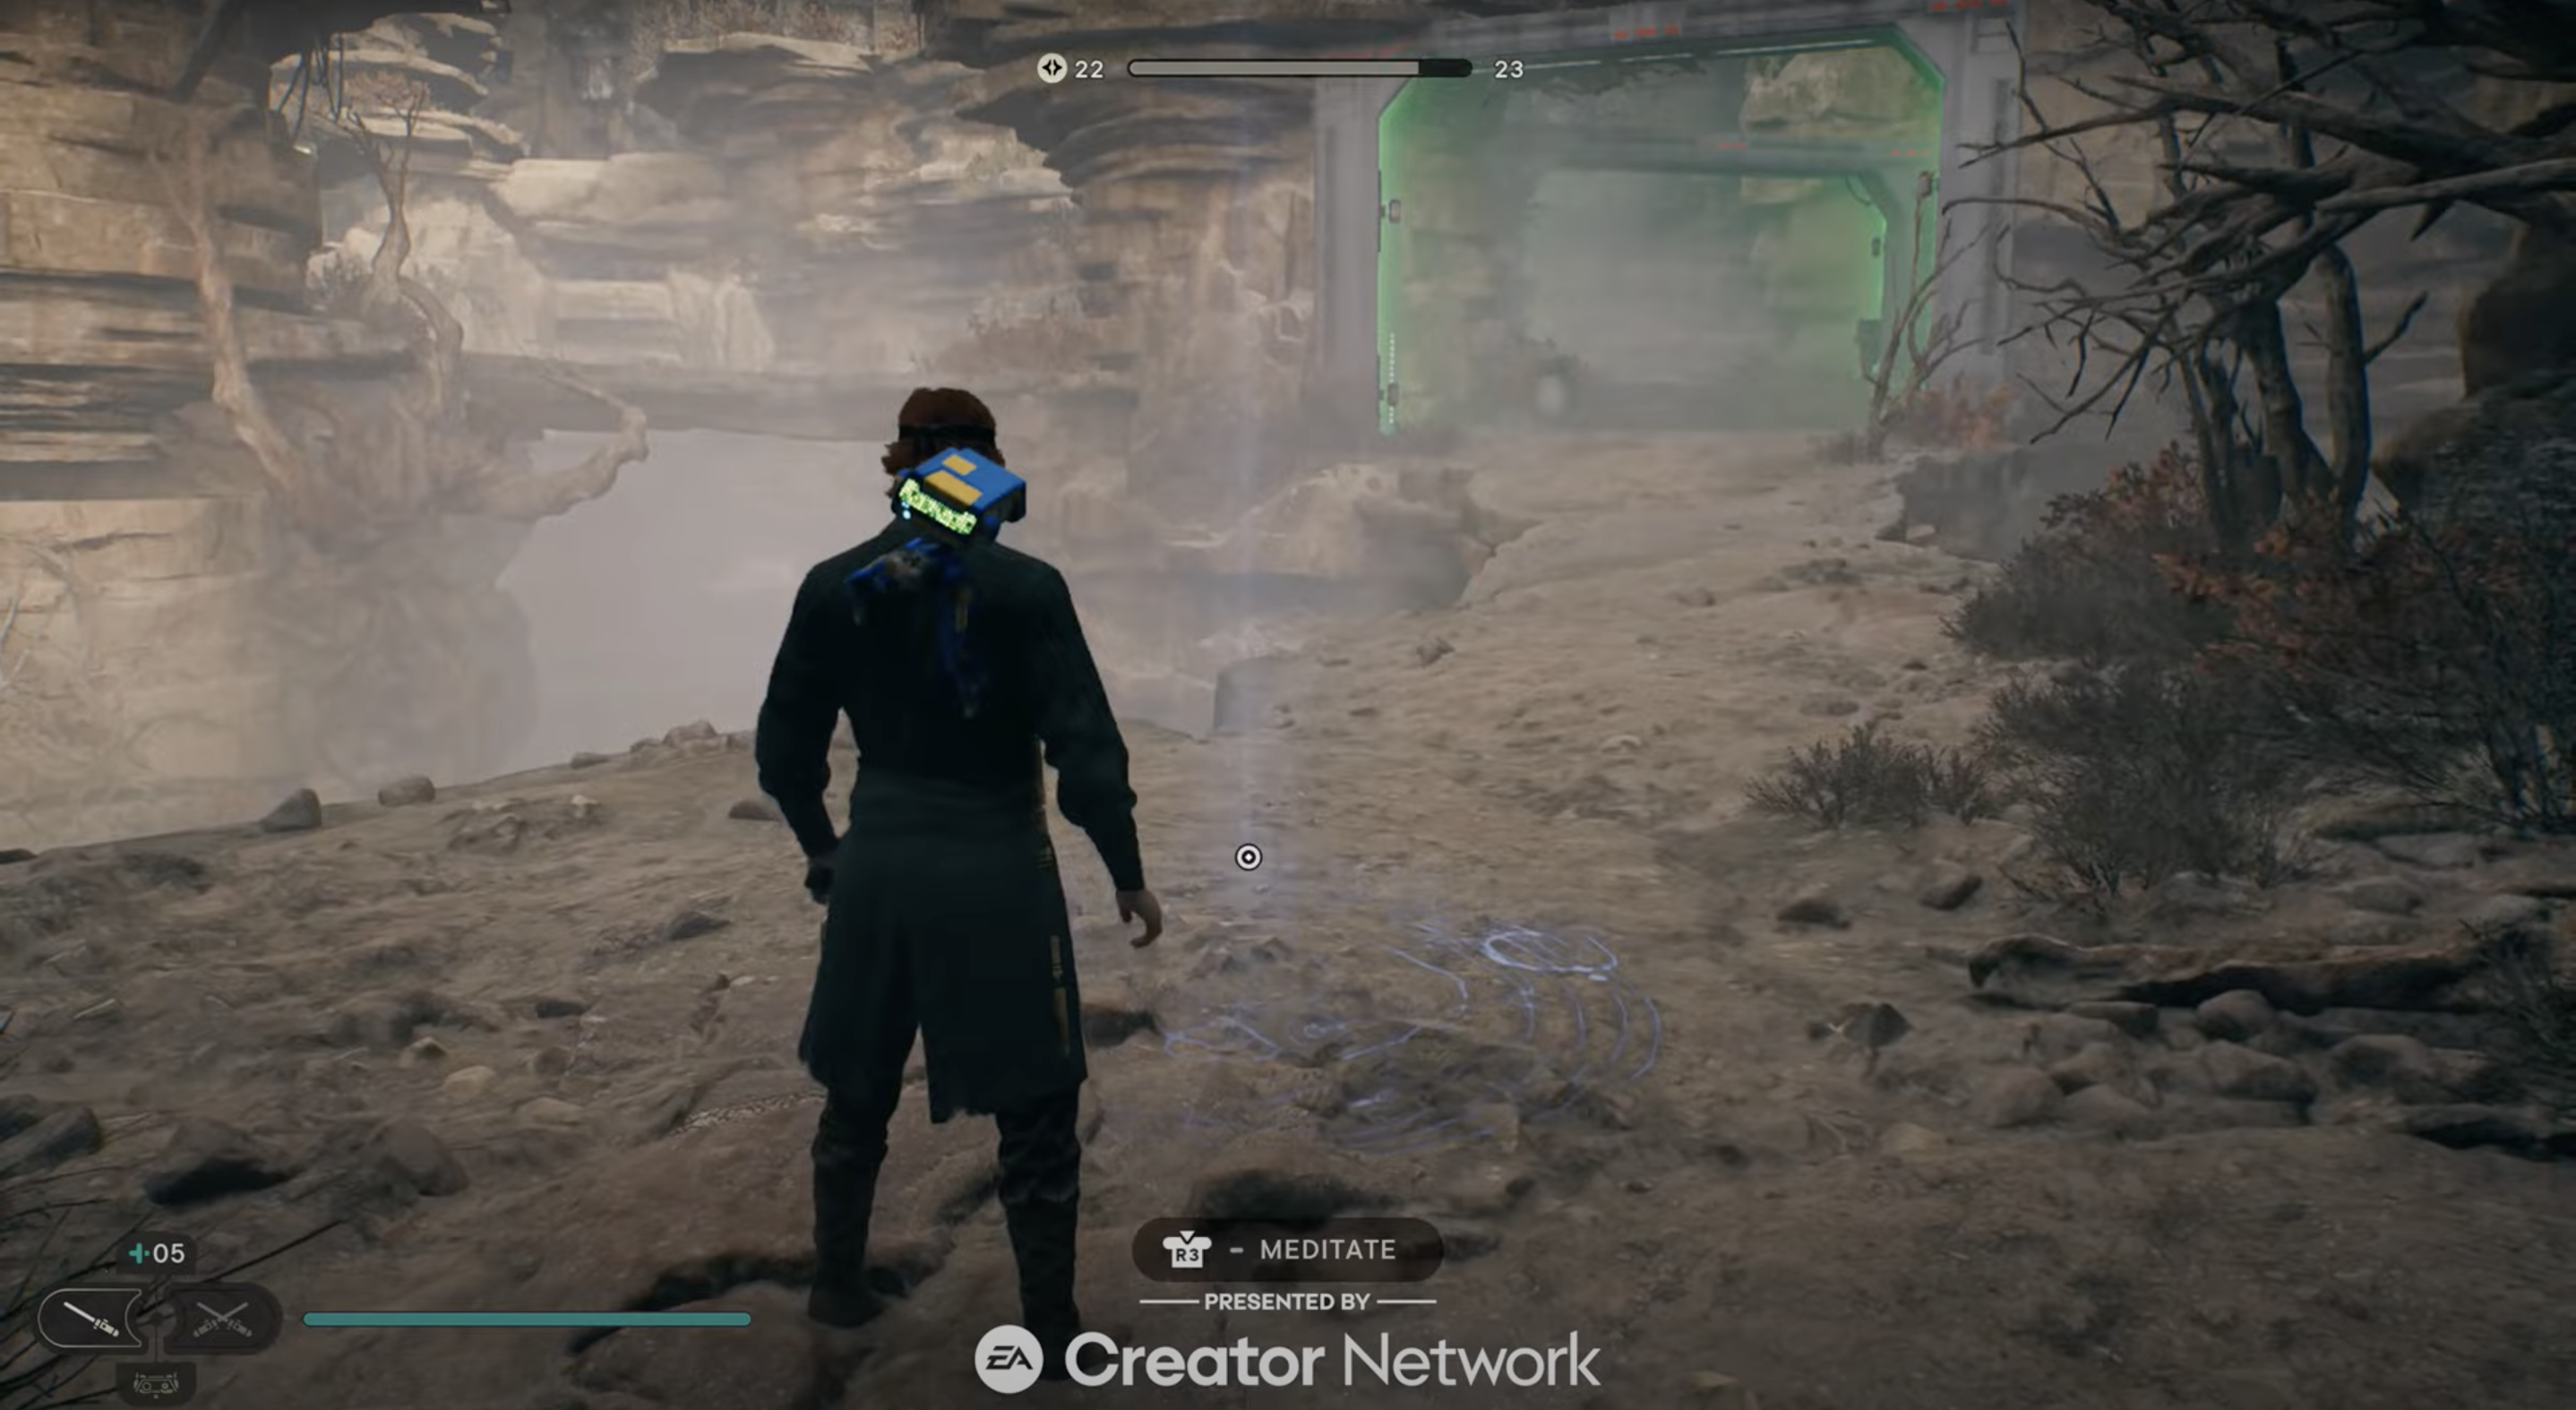
After dashing through both barriers, you head straight down and fight the Rawkas in your way. If that's done, you should be able to see a waterfall to your left and every experienced gamer already knows what that means: you found a cave.
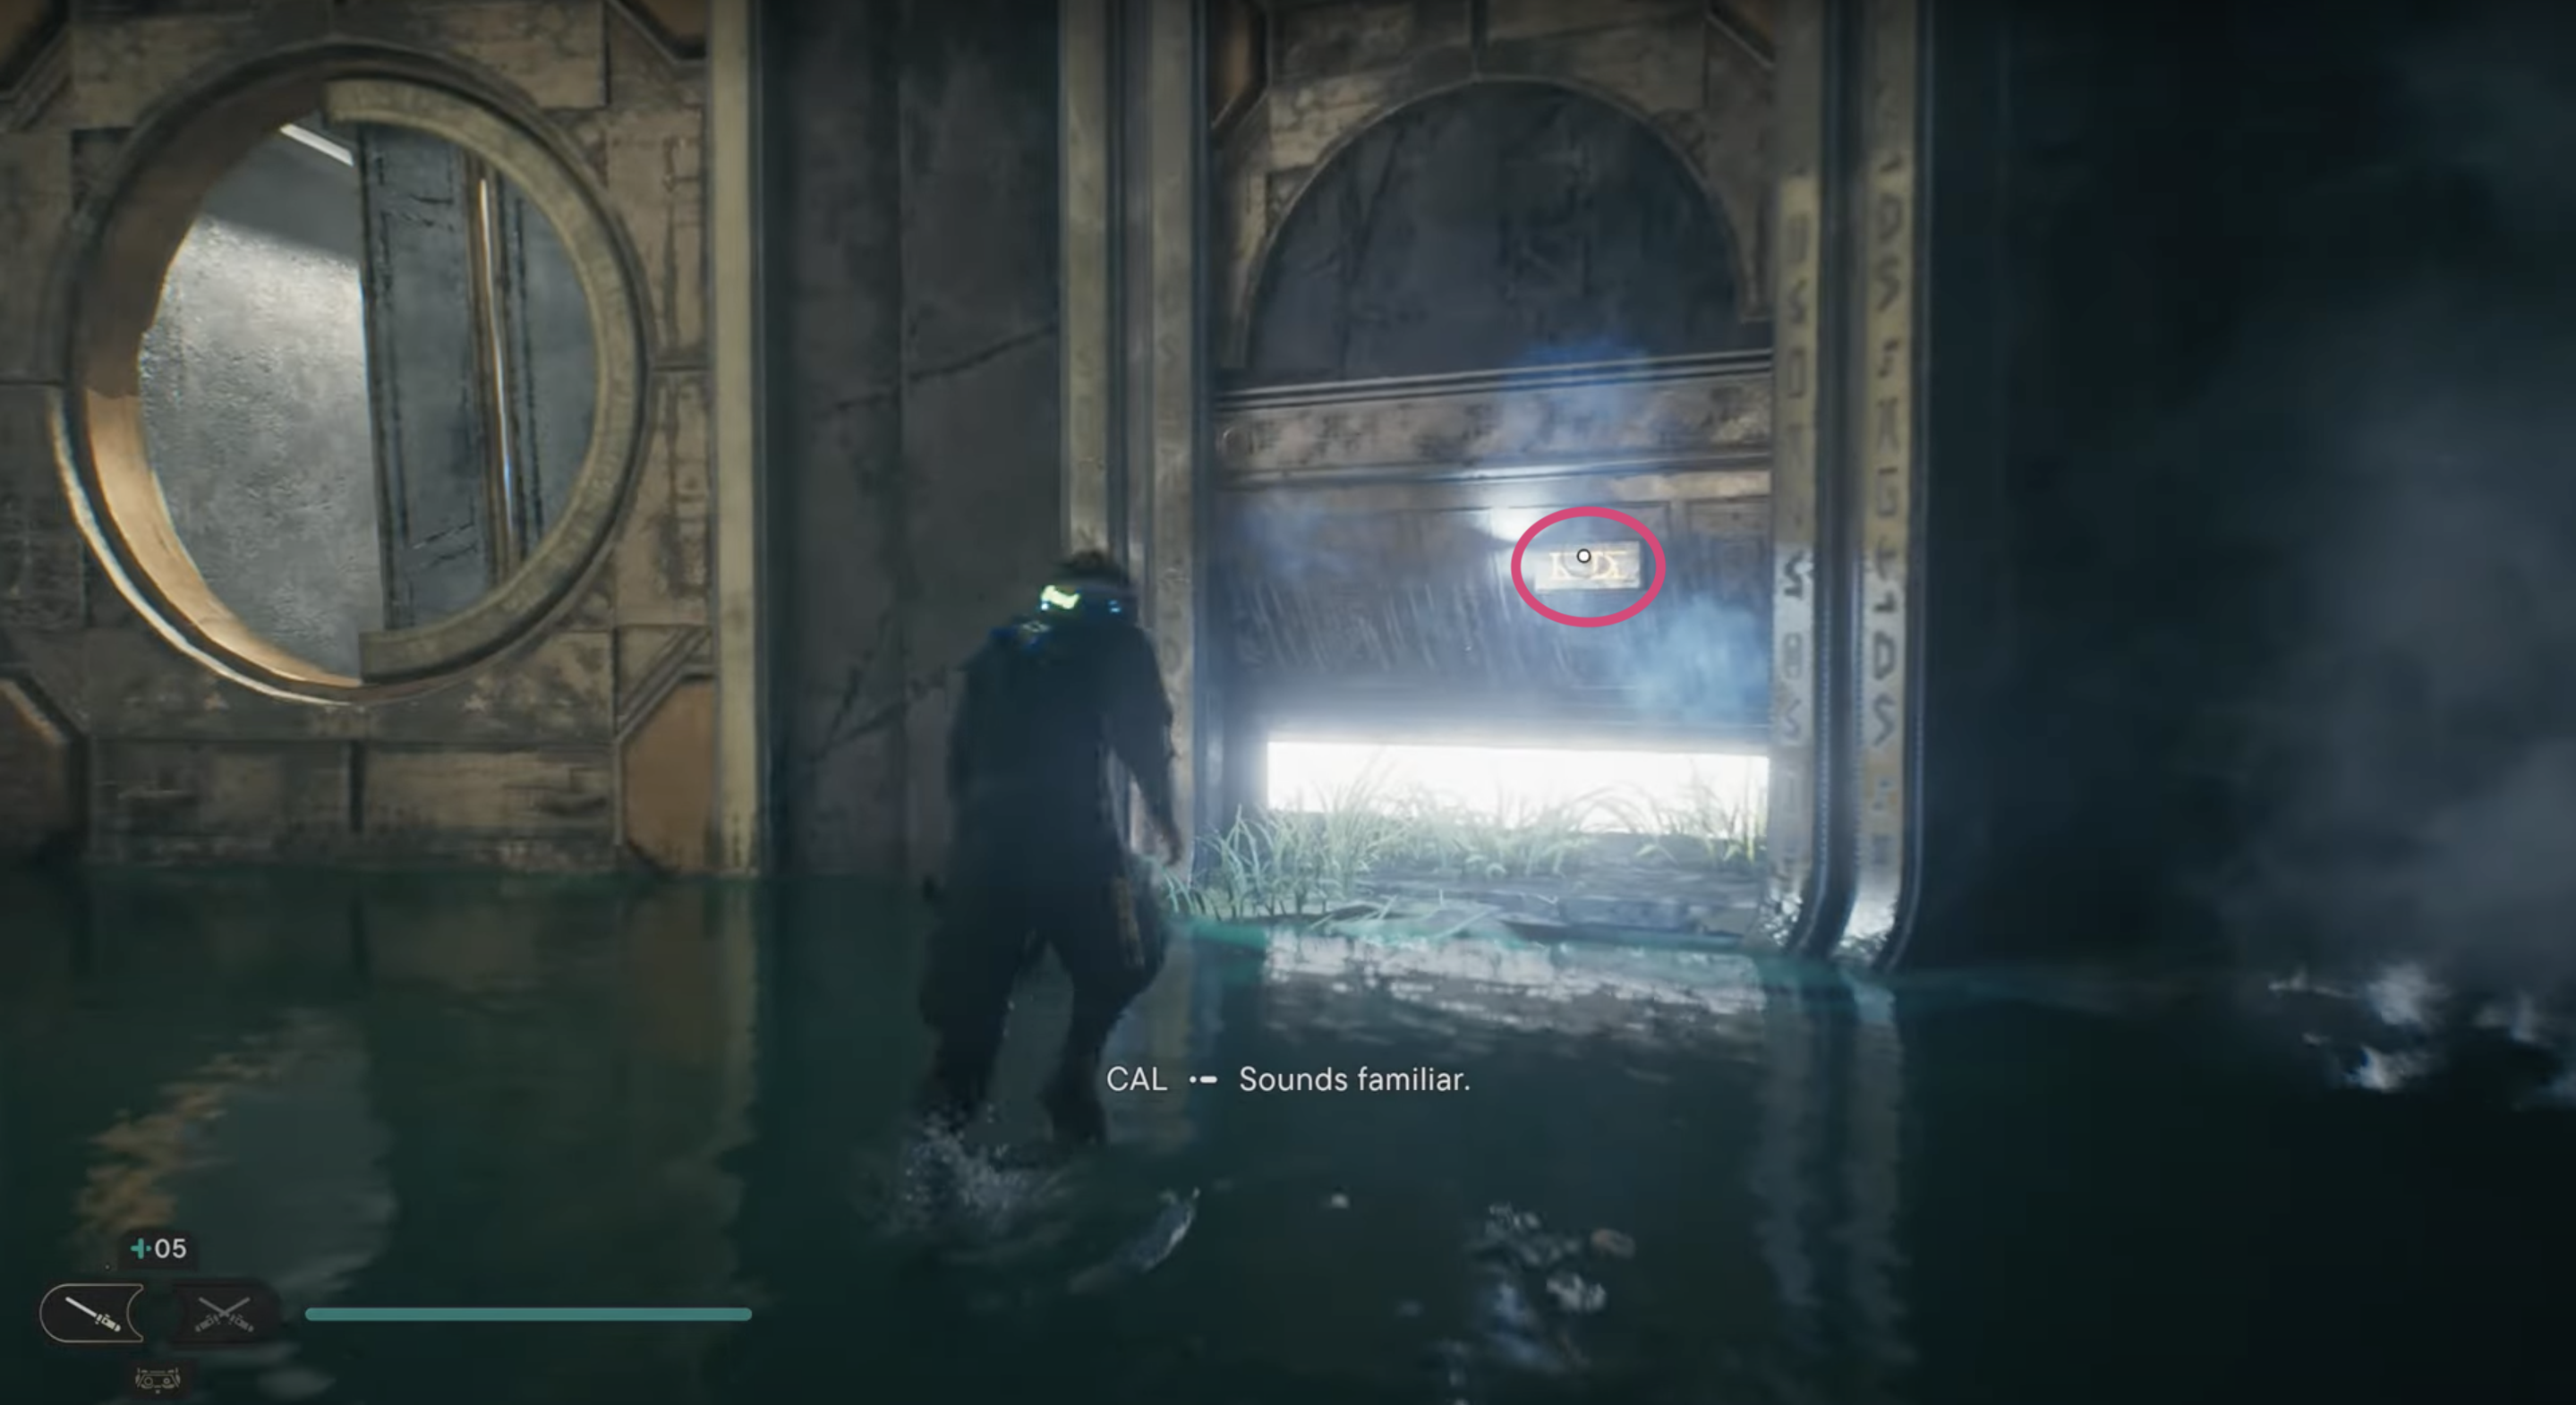
Run directly through the suspicious waterfall and there you will find your entrance to the Chamber of Detachment. Pretty easy so far!
Jedi Survivor: Chamber Of Detachment Rewards
Before we are heading into the solution part right away, we should go over what you're doing all of this for. After reaching the end of the puzzle, you will find a Force Echo that grants you the perk Patience. Pretty fitting, isn't it? …
Patience will restore some health after activating Slow Time.
Jedi Survivor: Chamber Of Detachment Puzzle Explained
After entering the Chamber and stepping out of the elevator, you can see our first target of interest, the first collectible: Collectible Databank 1/3: A Rare Find. [1/6]
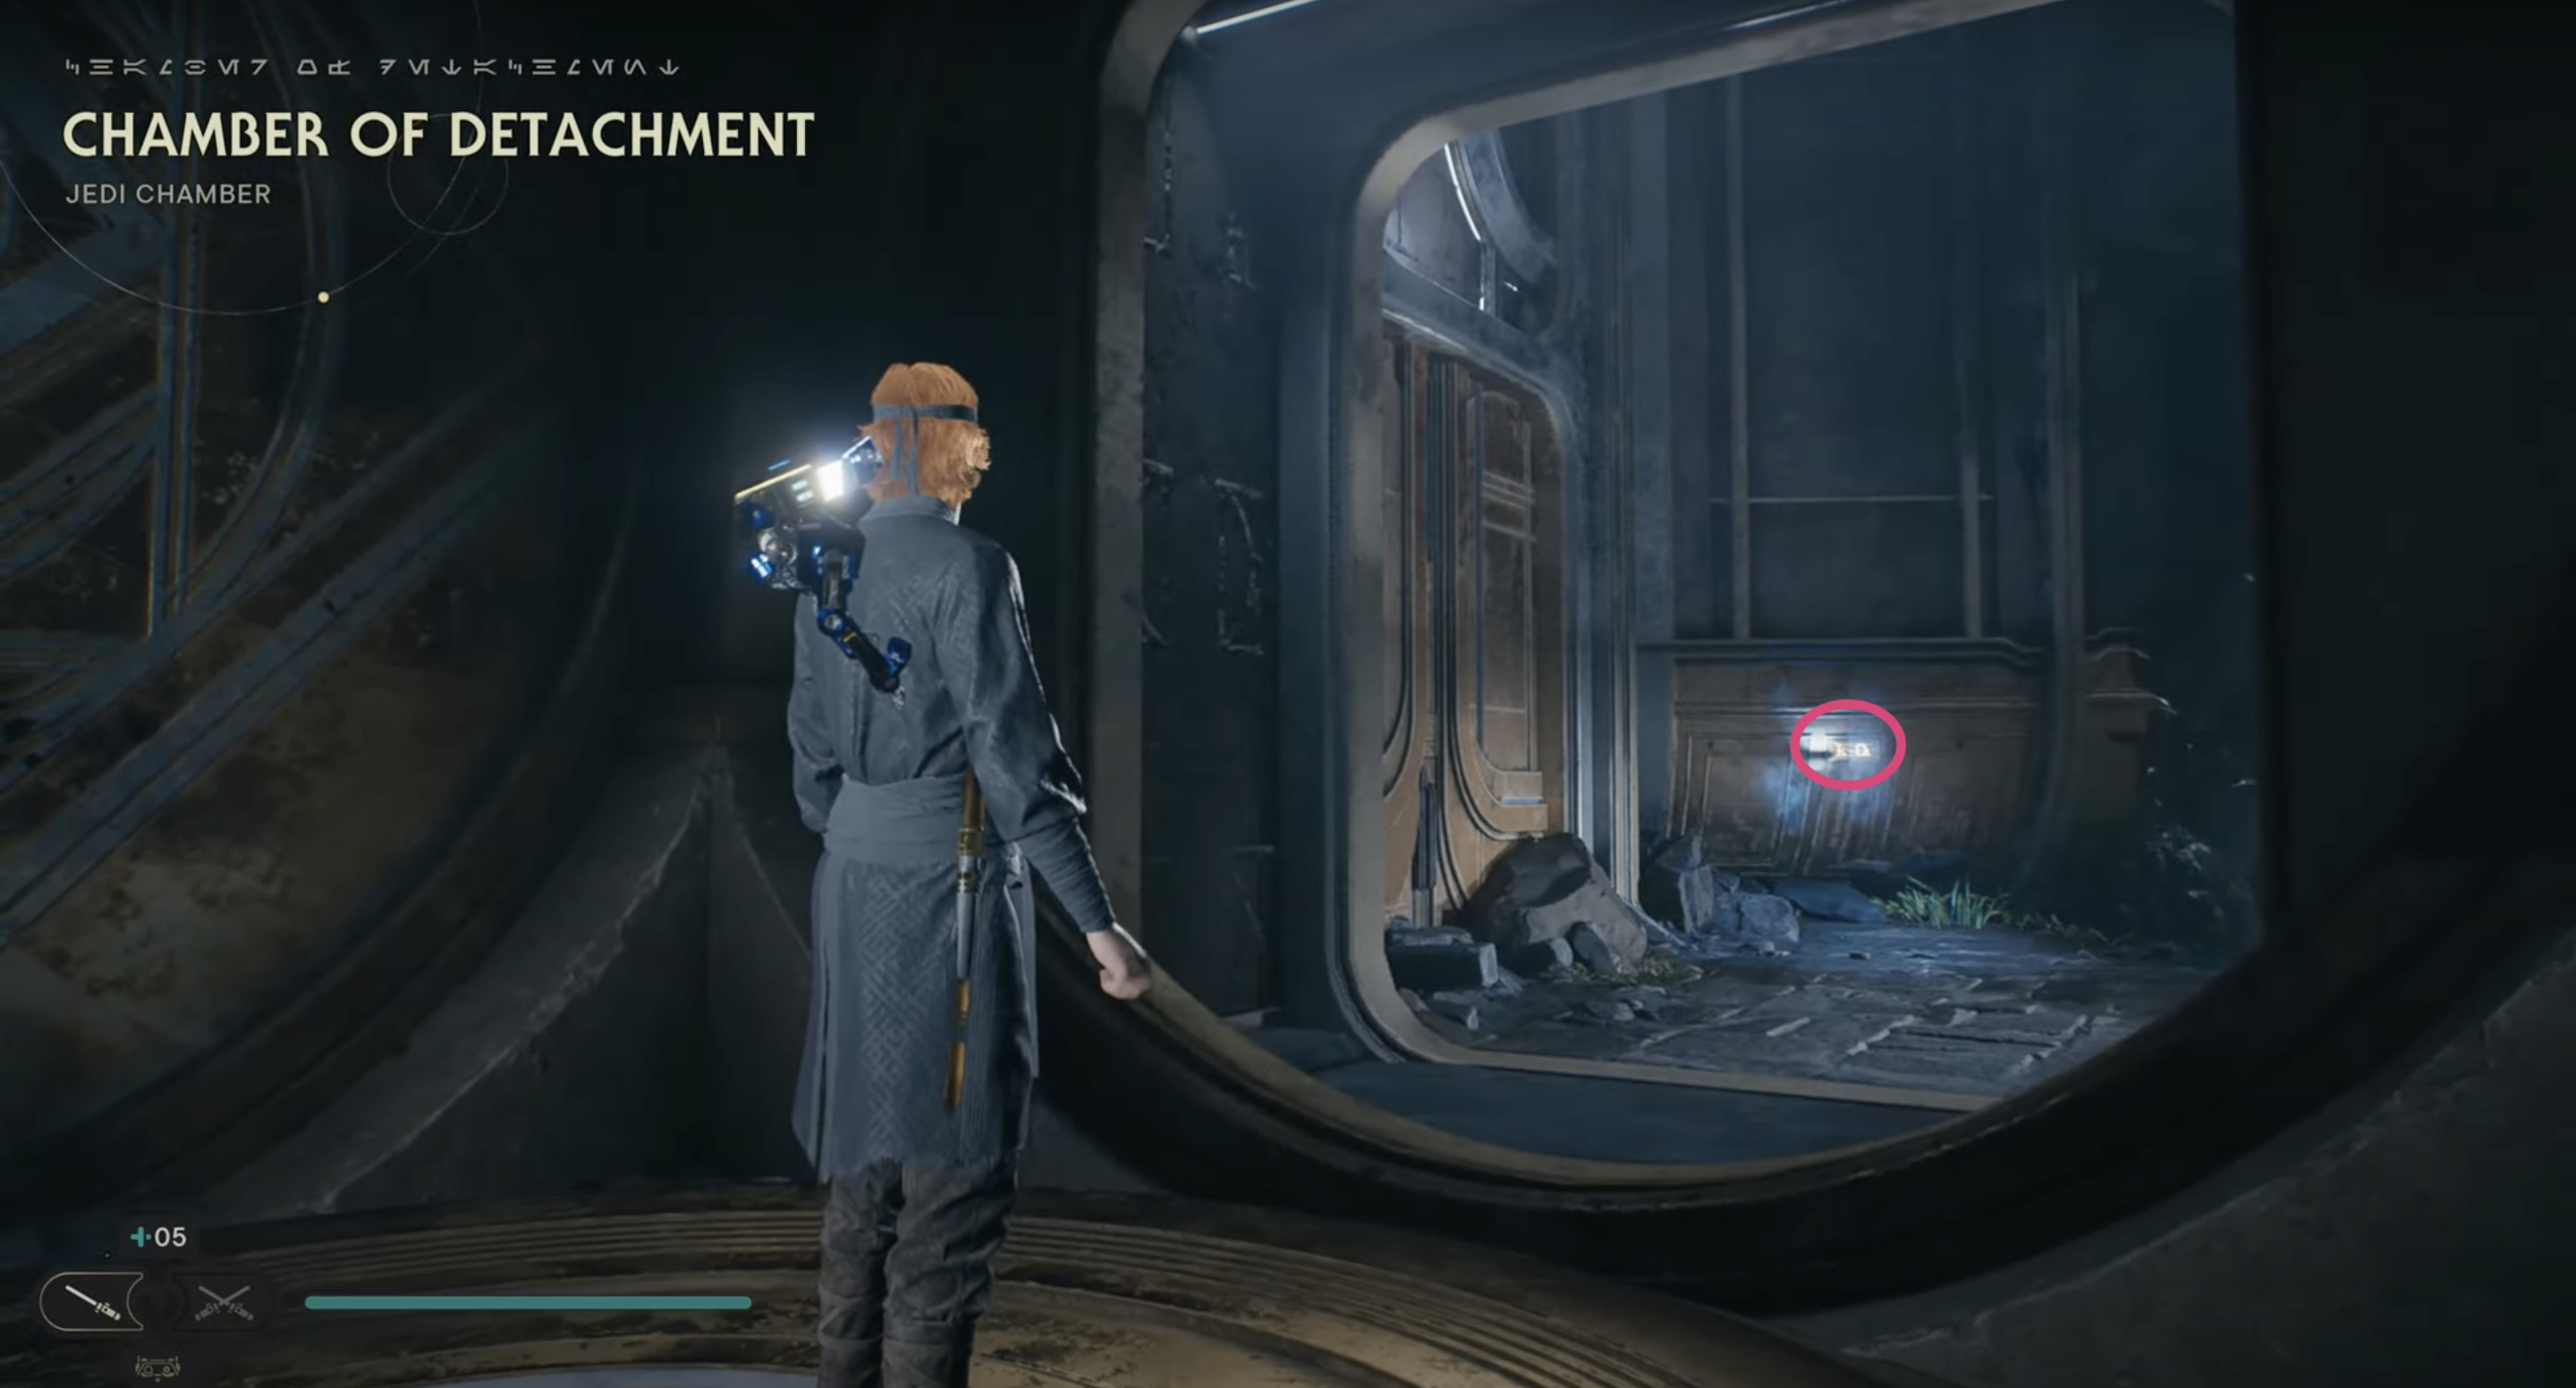
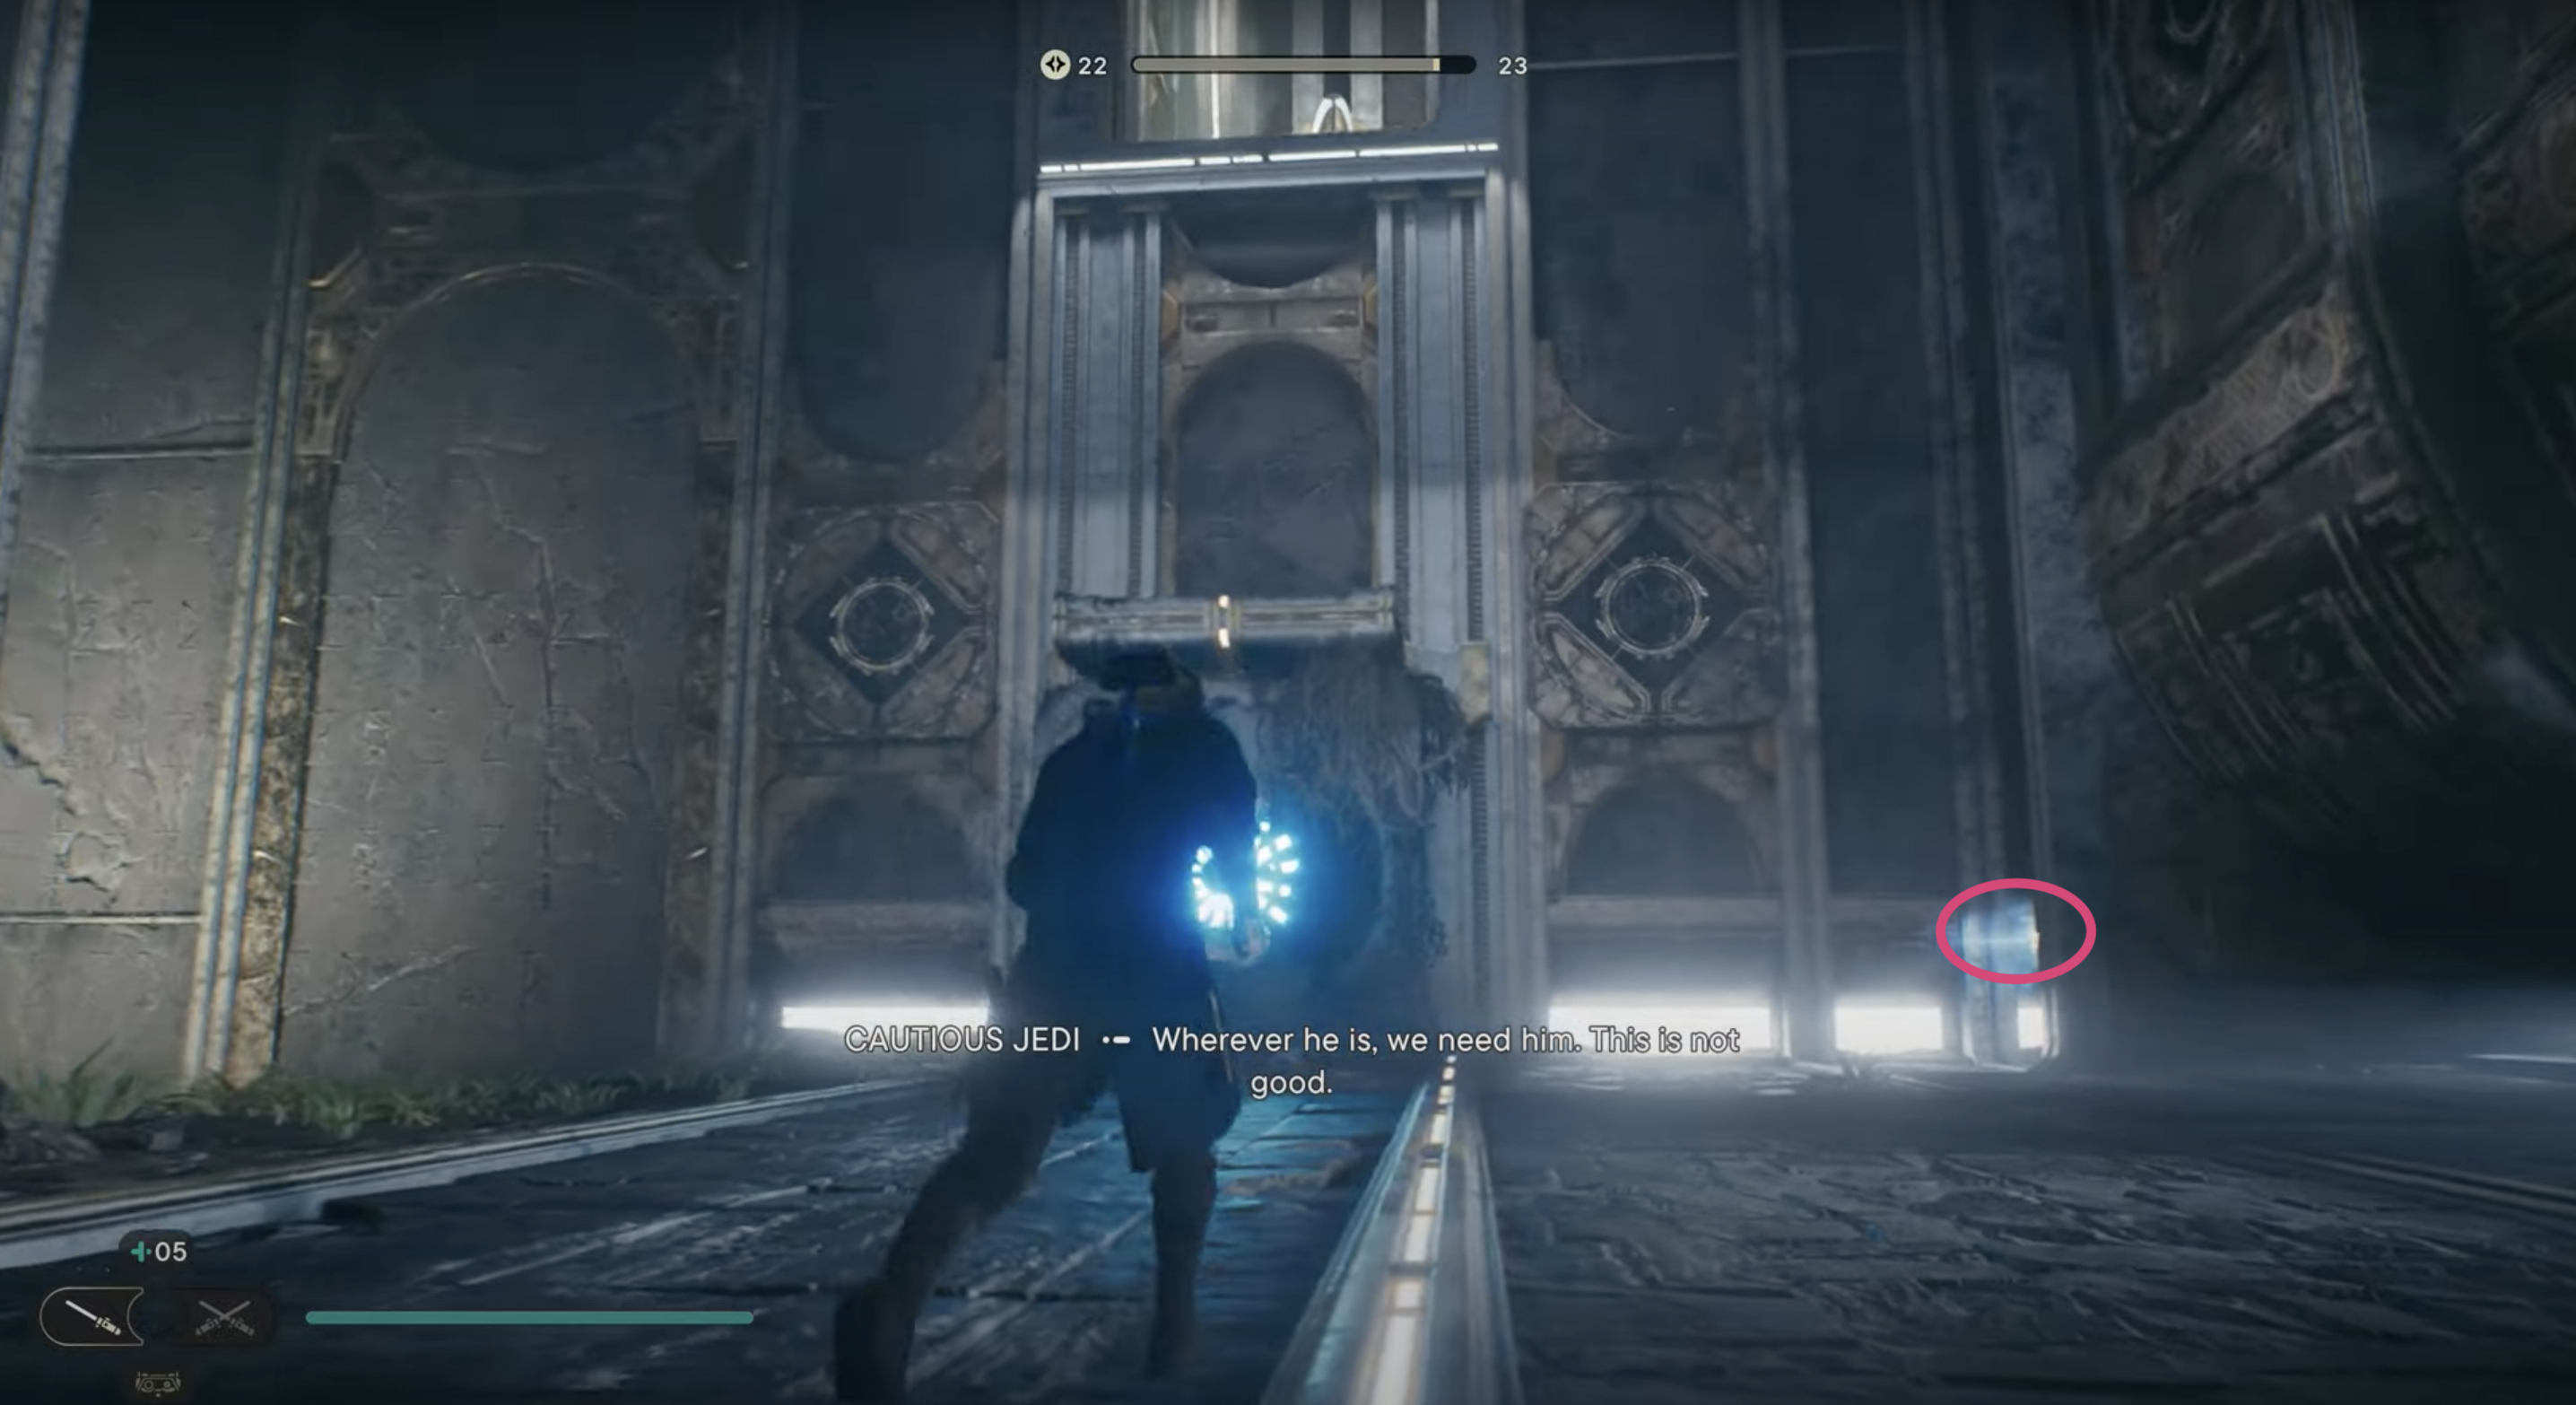
After grabbing your first find, you need to turn right and walk through the crack into the big hall. Head straight to your right again, and you will find your second Collectible Databank 2/3: Missing in Action inside that huge wall. [2/6]
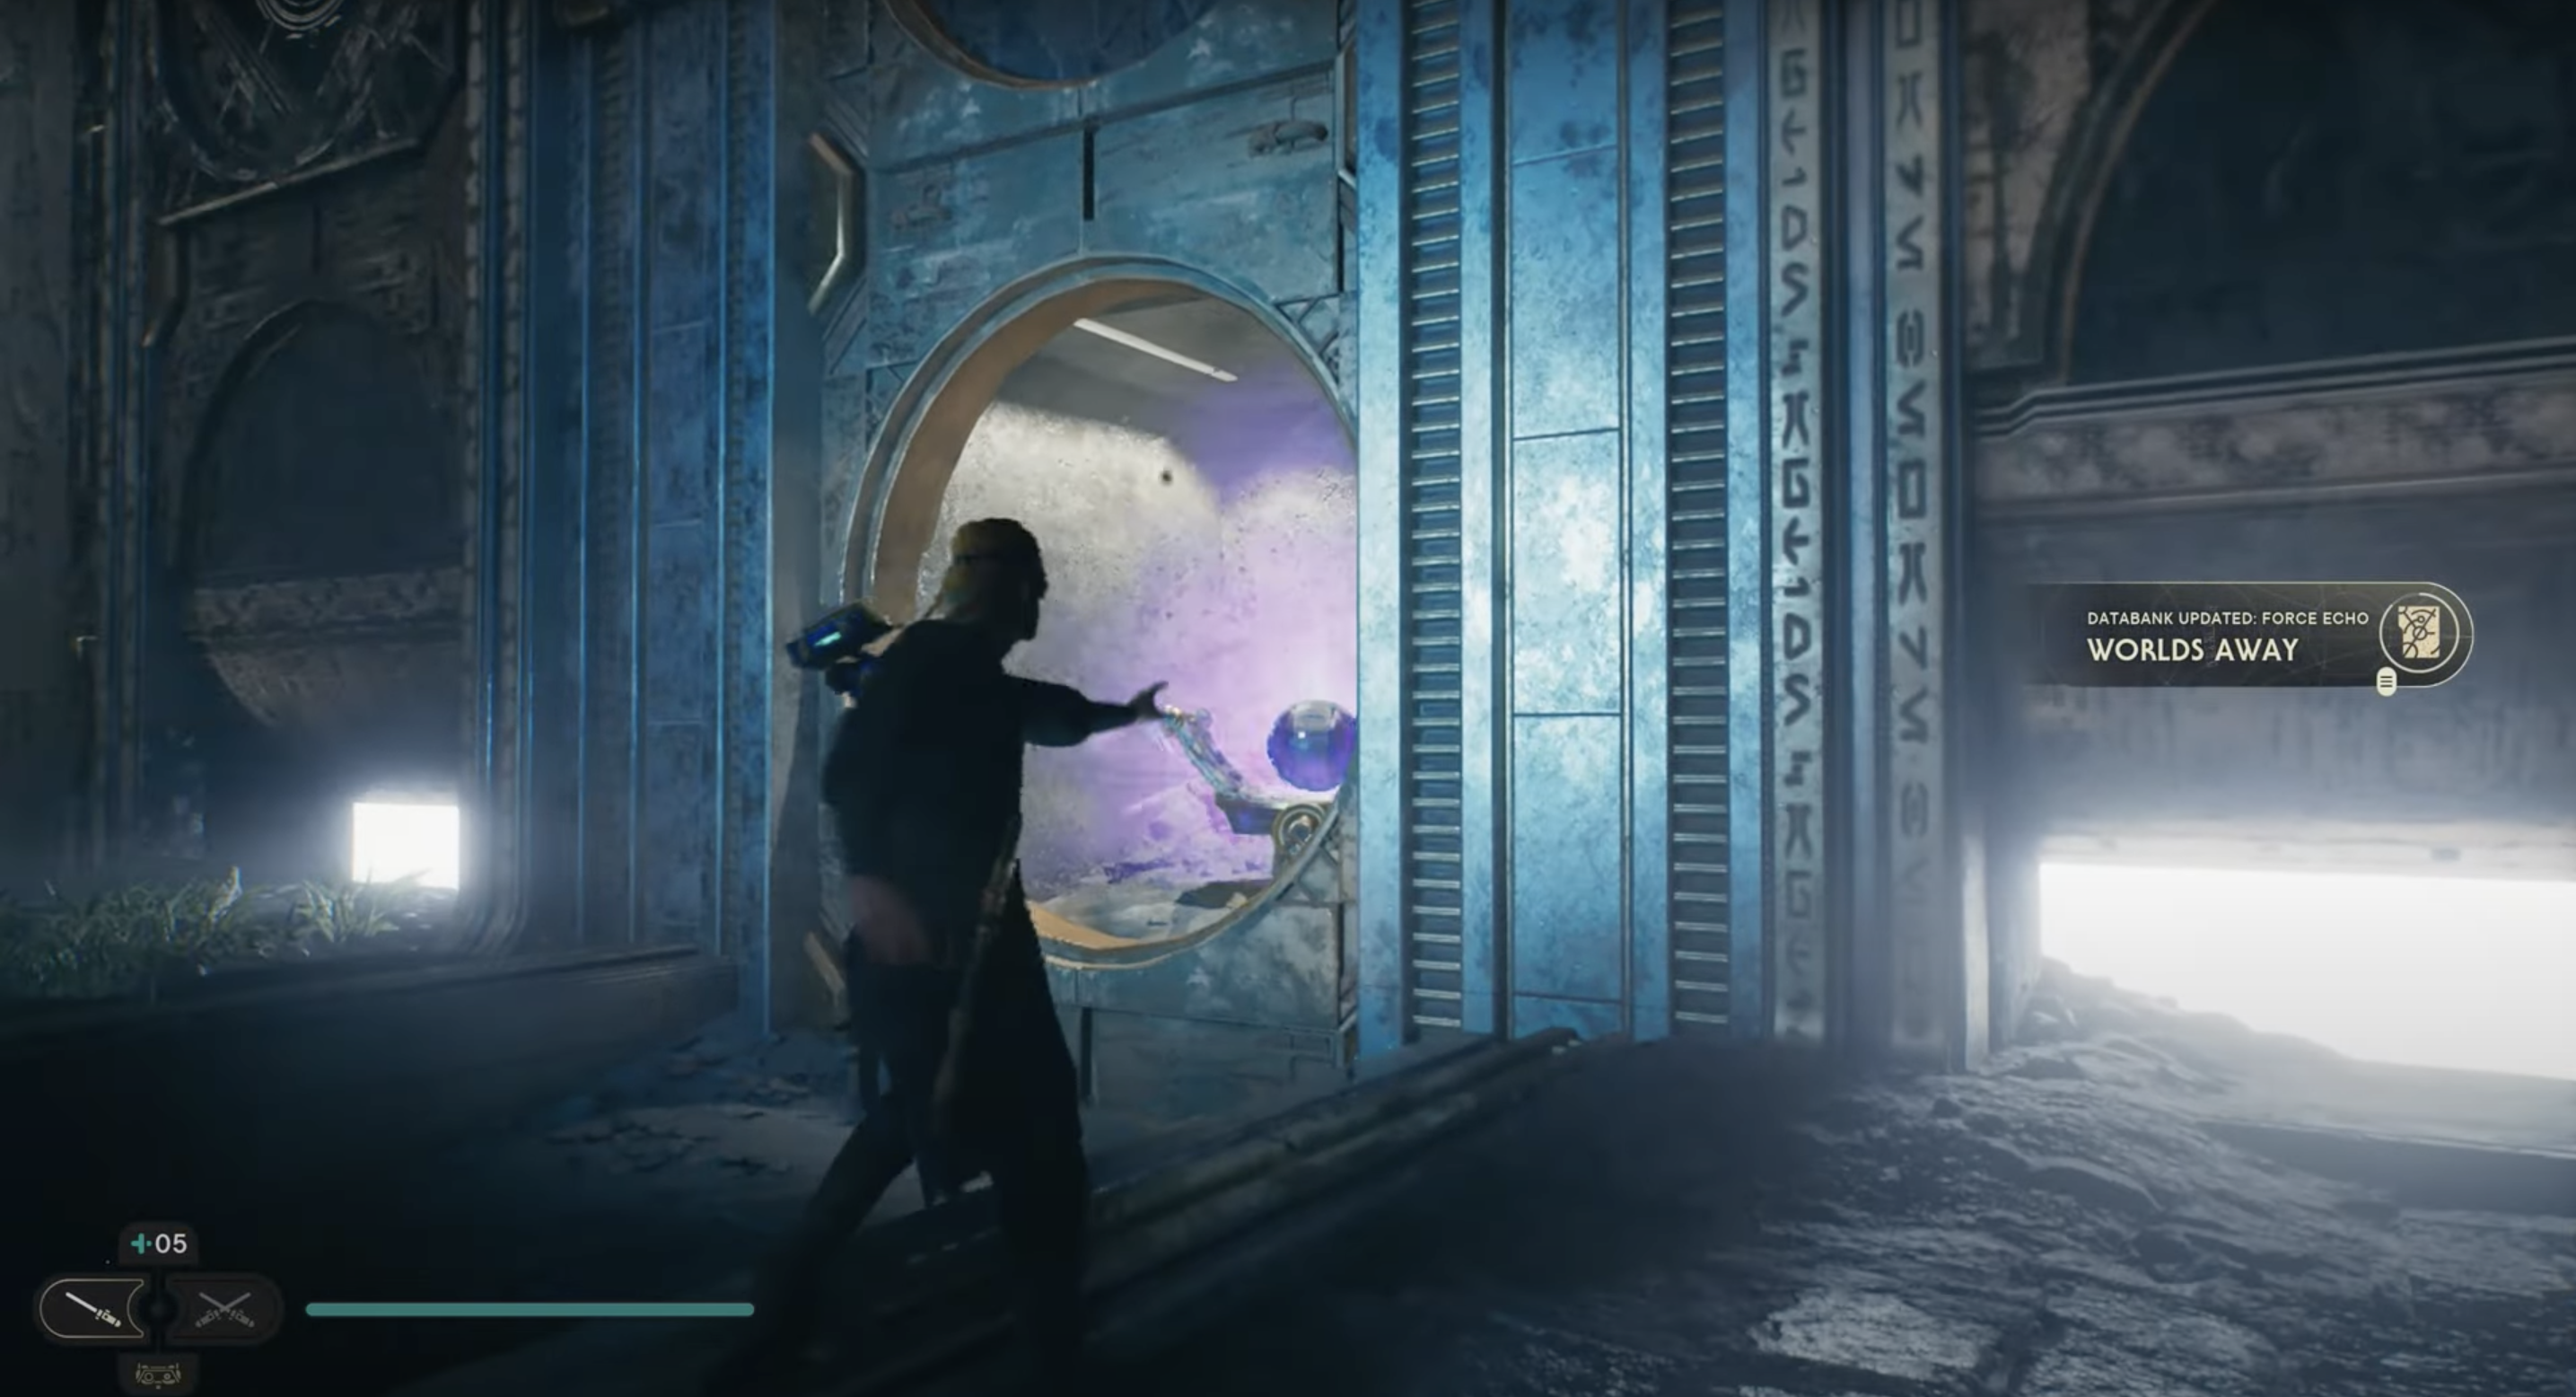
But don't run away from that huge wall already, since there is another collectible on the very left of it! It's the third already: Collectible Databank 3/3: Worlds Away. [3/6]
Right behind that third piece we just collected is a giant cube, that you can use your Force: Pull on and move it towards the opposite side of the wall. Behind that cube hides an item that we can pick up and bring to its designated spot.
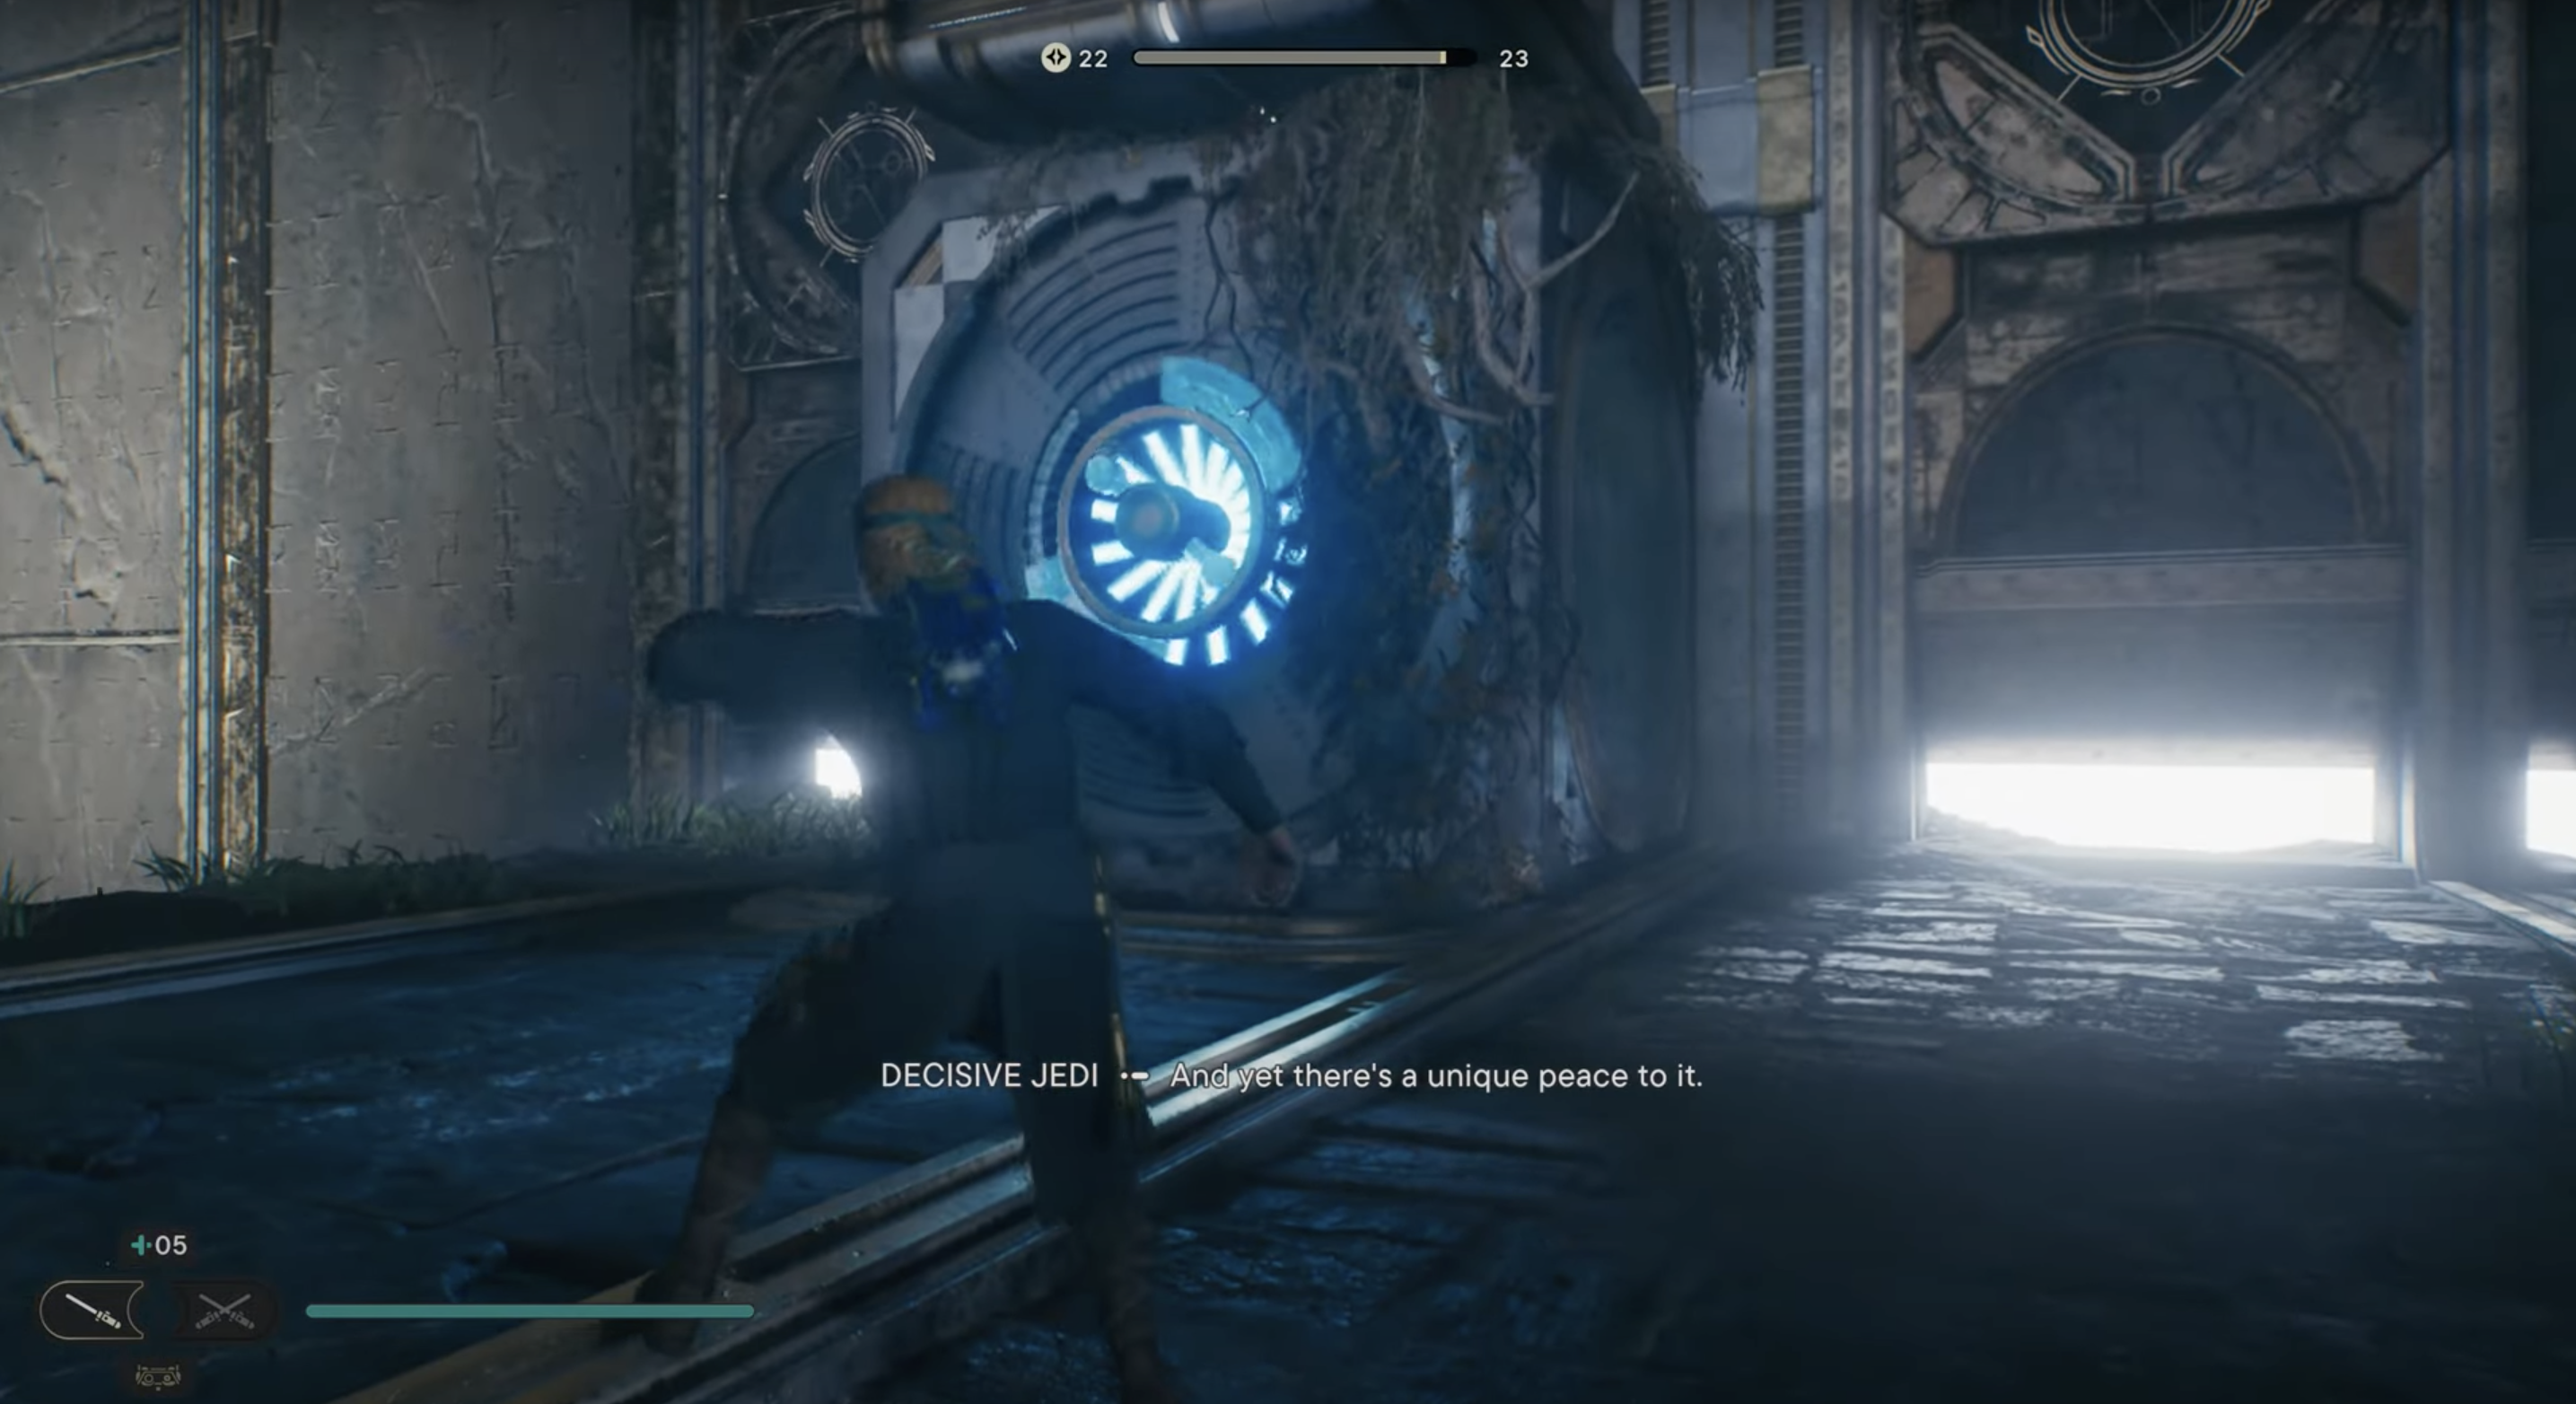
Now that you have grabbed that glowing item, you have to bring it to its home. Remember where the second collectible was?Onthe left side right next to that spot is where the hole for the glowing ball is.
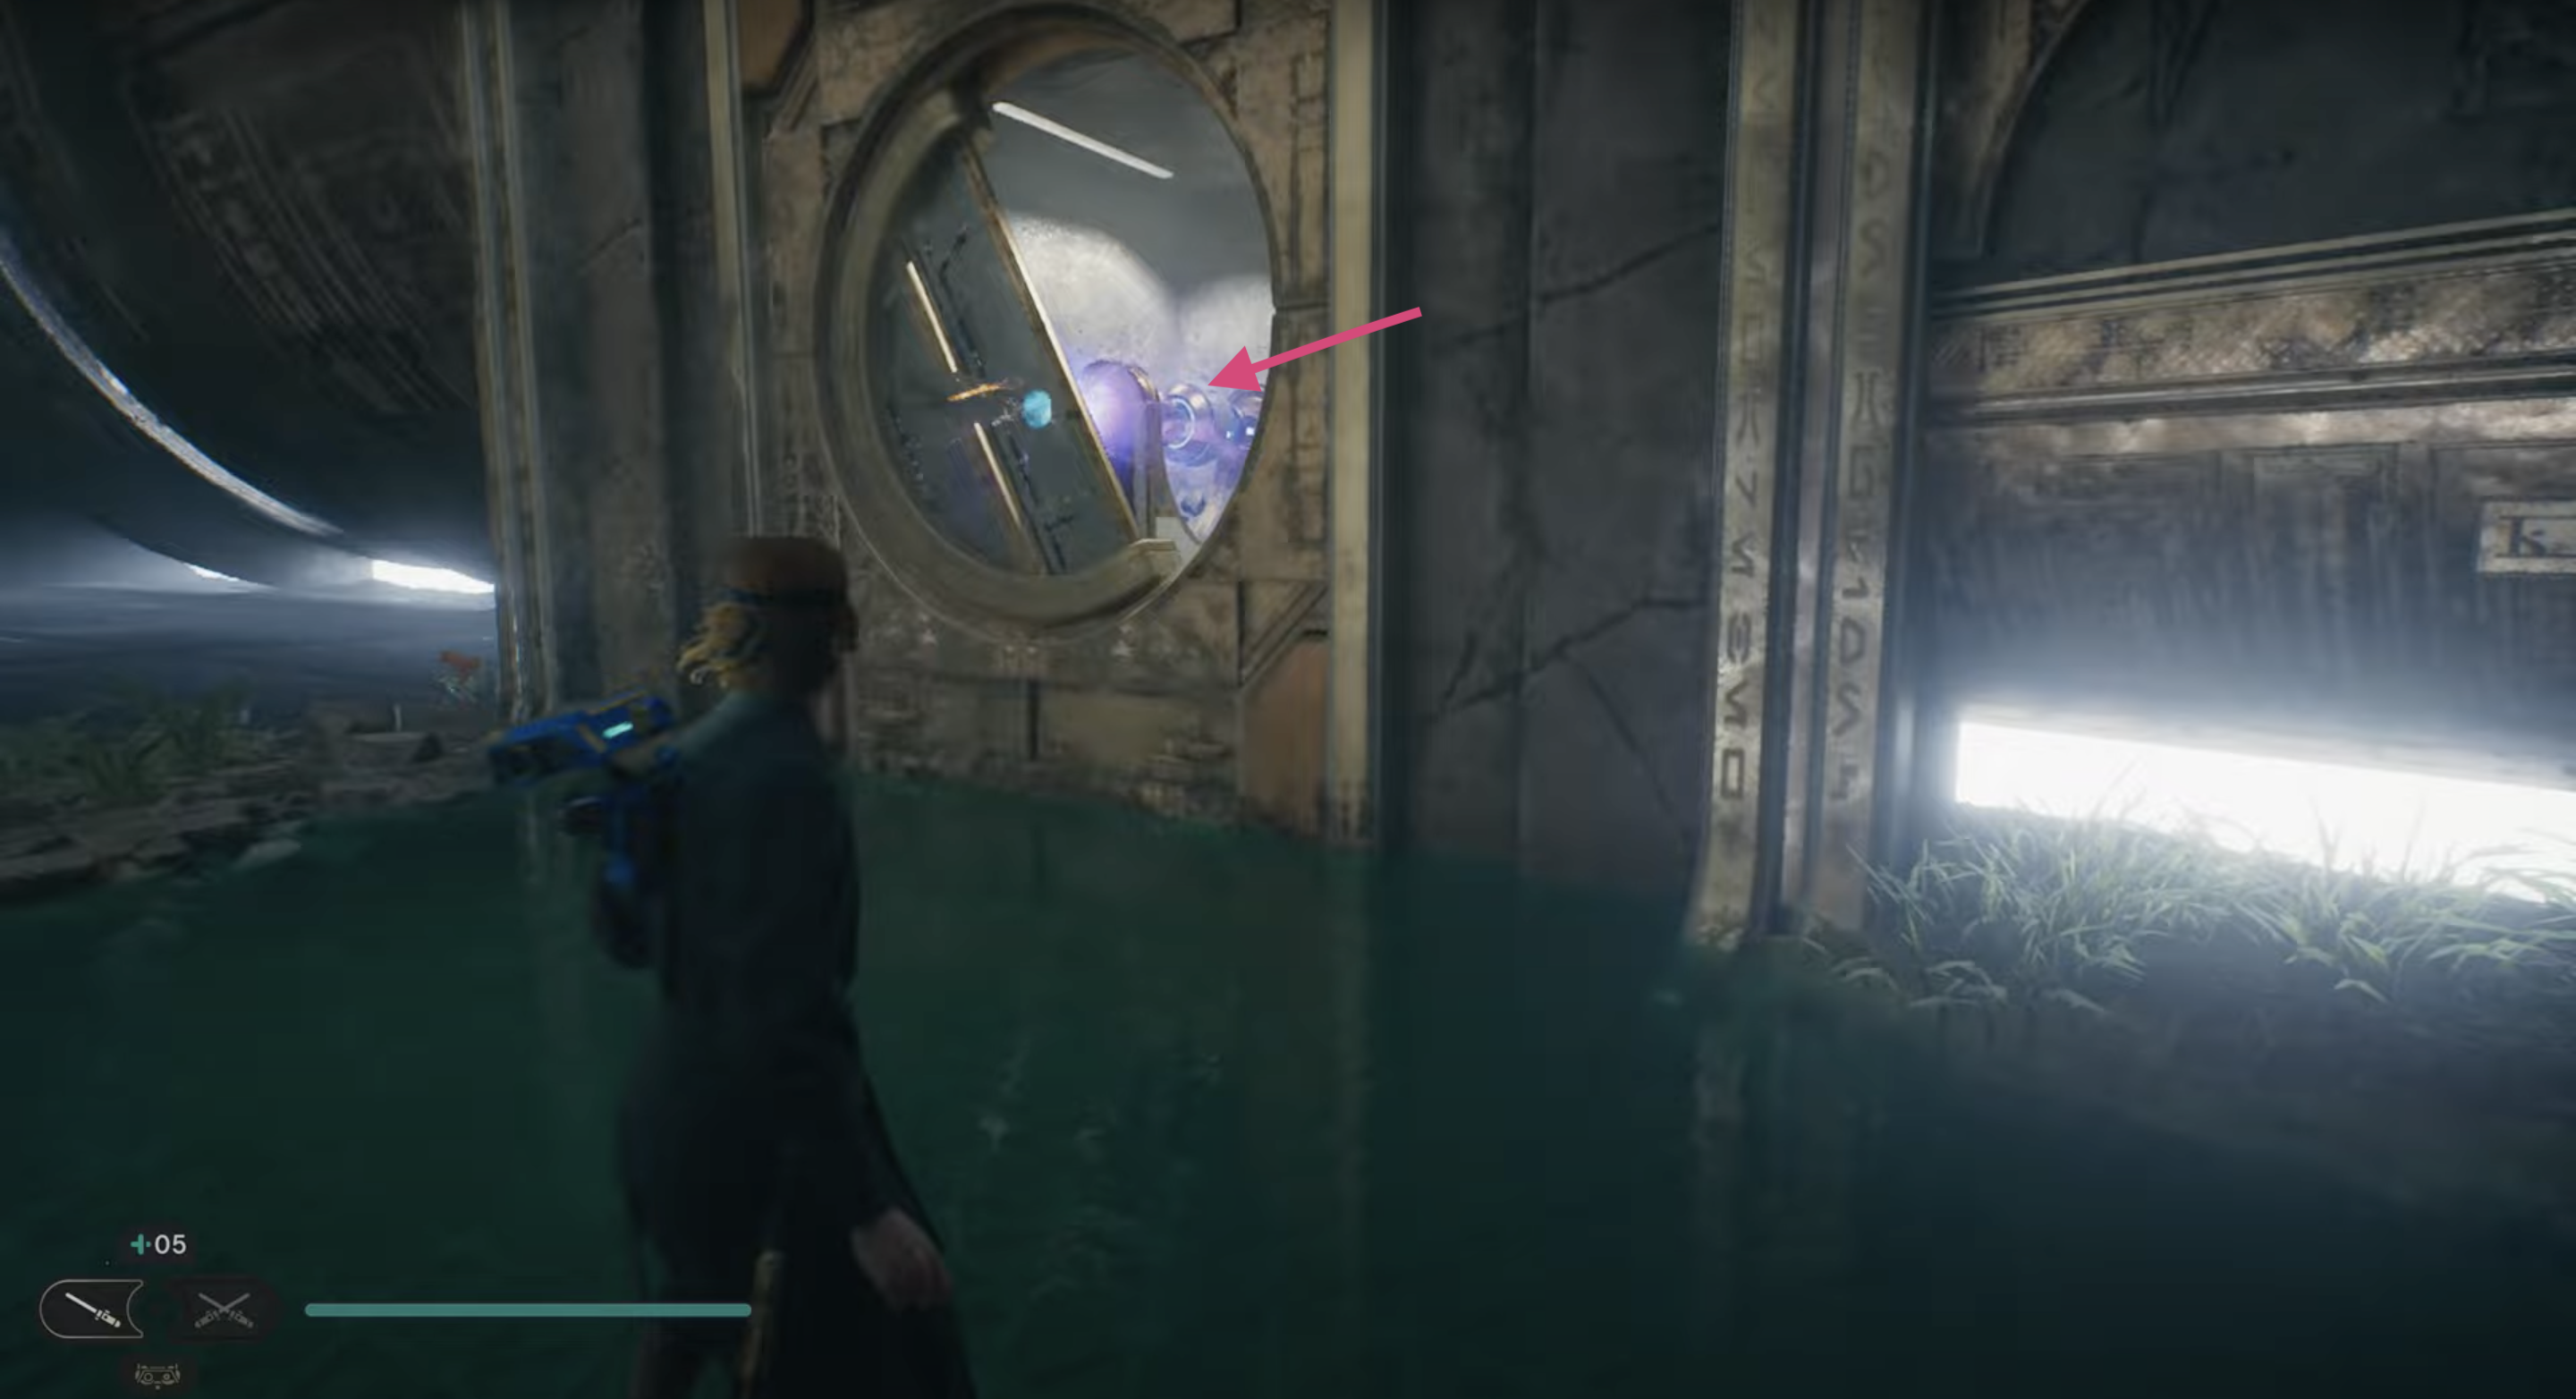
A beam of energy should now shine on the opposite wall, when the turning disc in front of it is not covering the light beam.
So for the next step, you have to wait until the light beam is visible again and then use BD-1’s Koboh Grinder to shoot Koboh Matter at the wall the beam is shining at. Build a little connection to the shiny collectible on the top right of said wall.
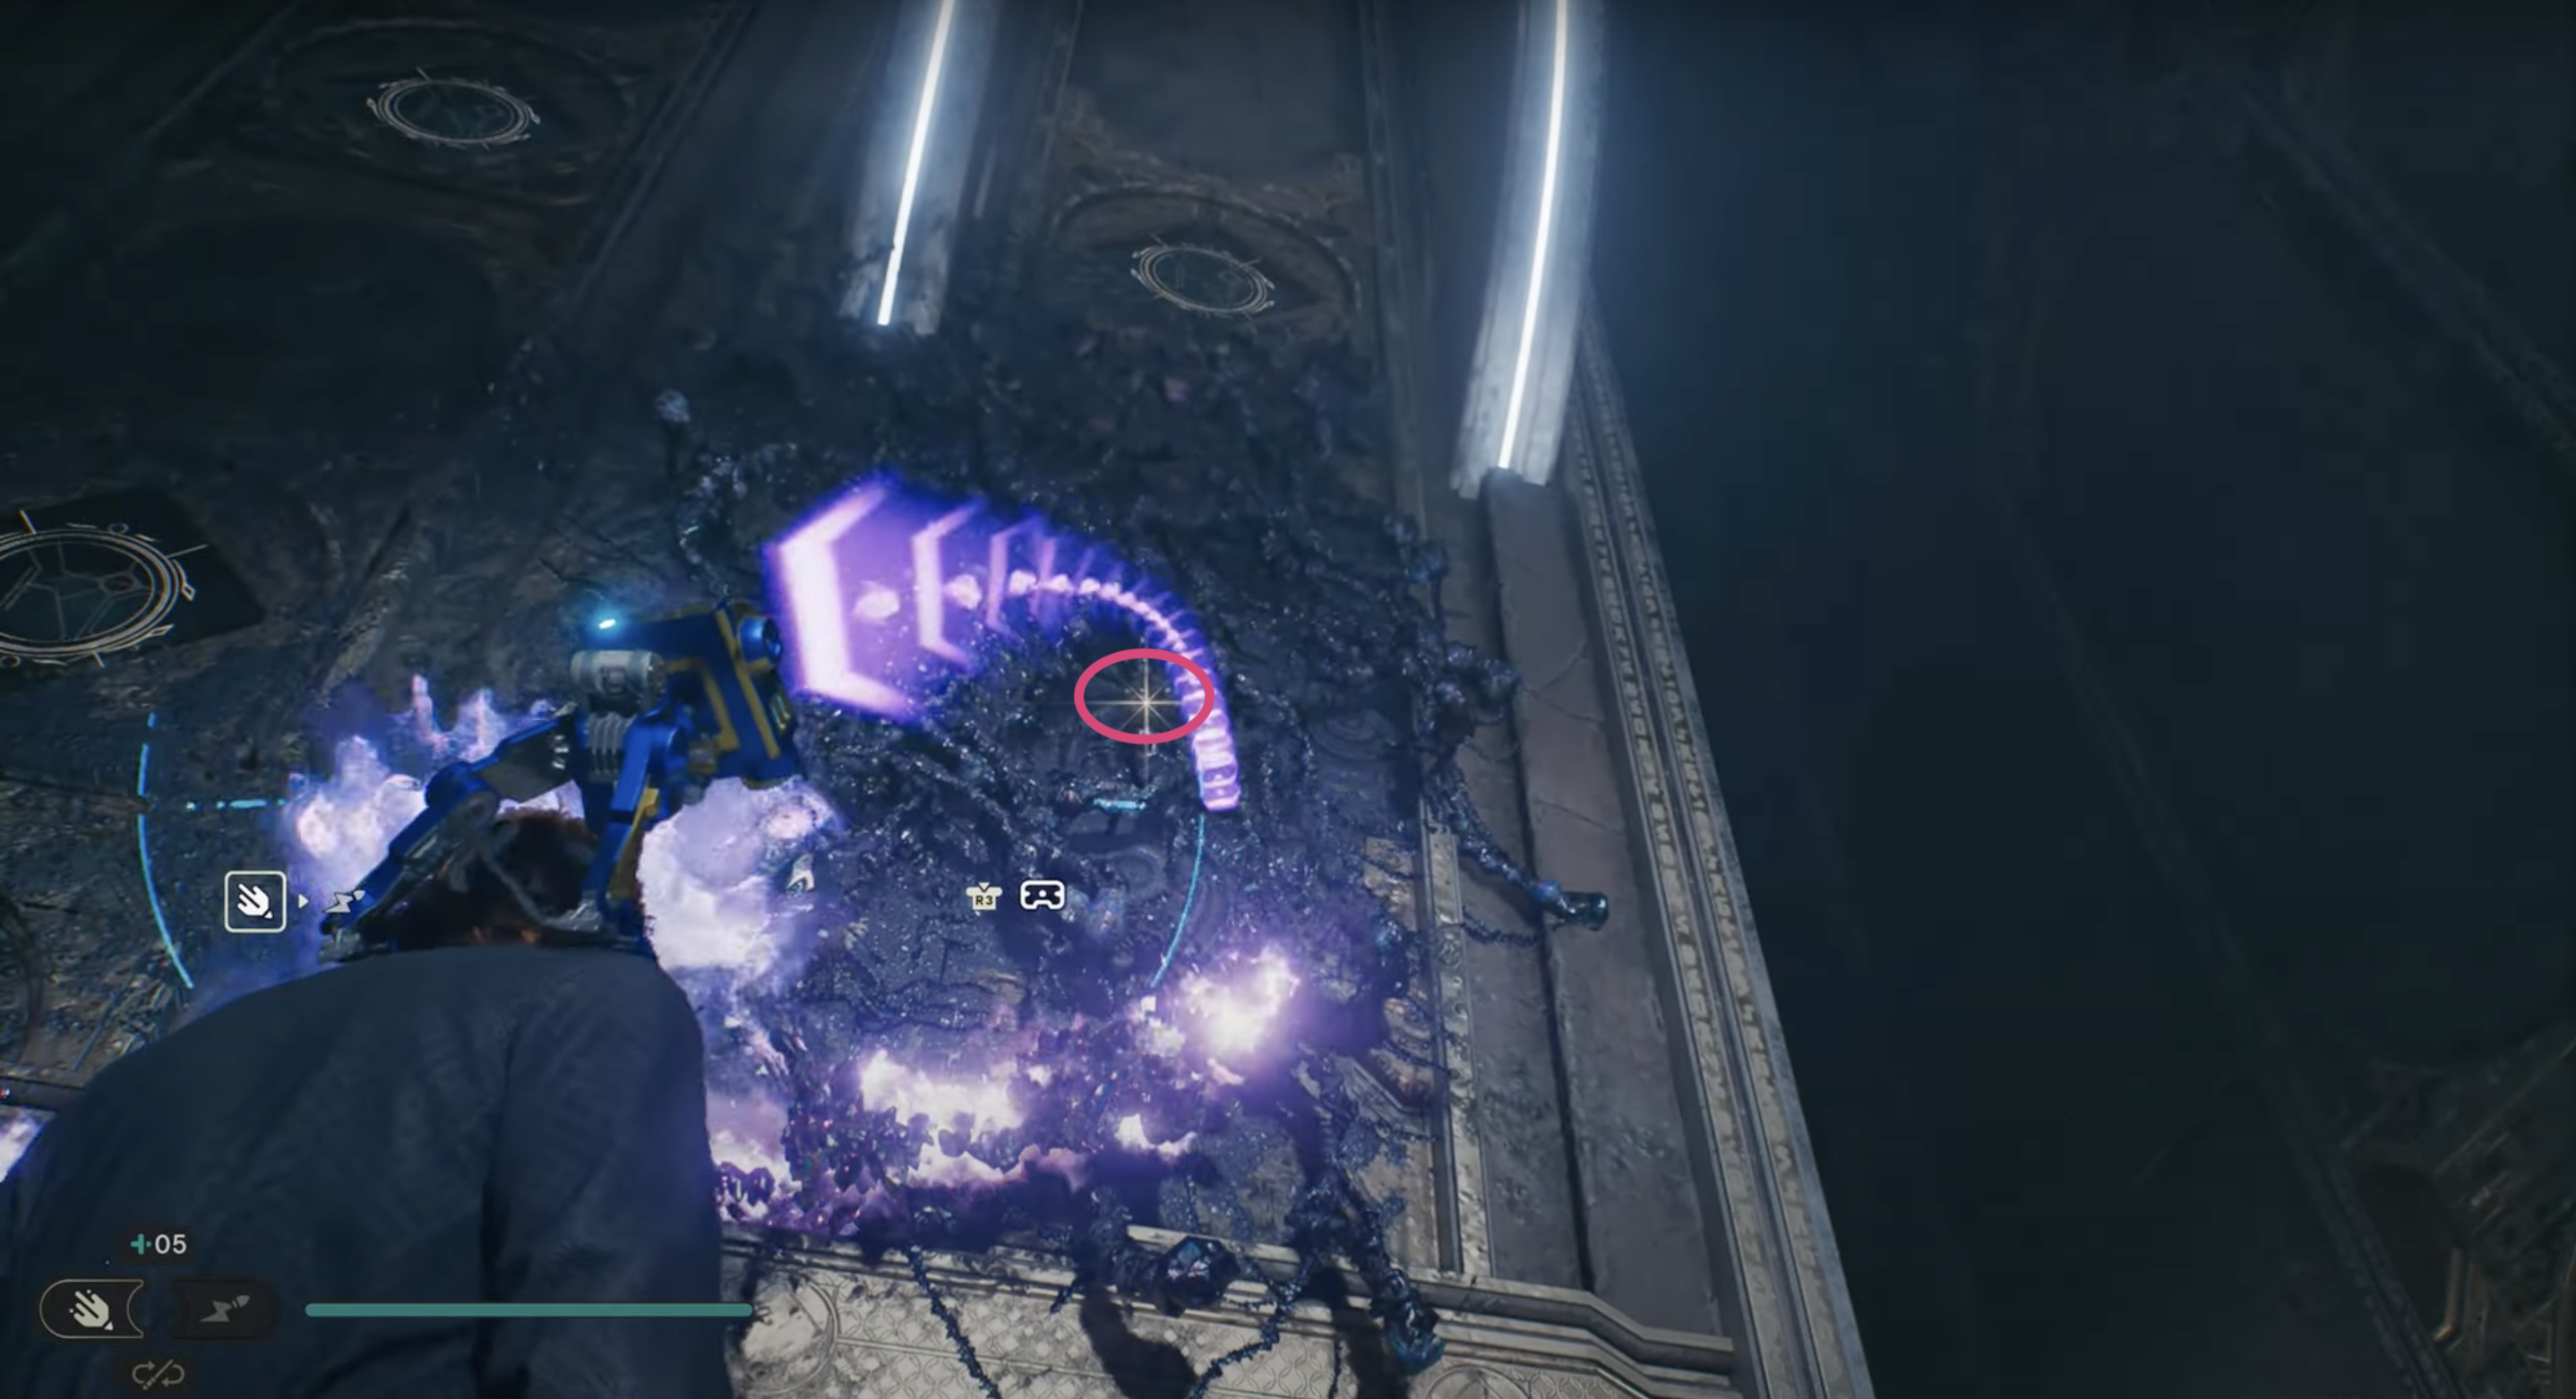
After a little explosion, the fourth piece Collectible Treasure 1/1: Datadisc will fall down to the ground, directly to your feet. [4/6]
After you picked up the disk, you turn around and head to the second cube, which is right next to the entrance. Behind that giant cube is our fifth collectible! Unfortunately we can't just pull it out and collect our chest like we did with the first one, since there is a barrier that is blocking it off.
We, yet again, use our BD-1 Koboh Grinder and build another little connection between the wall and the cube.
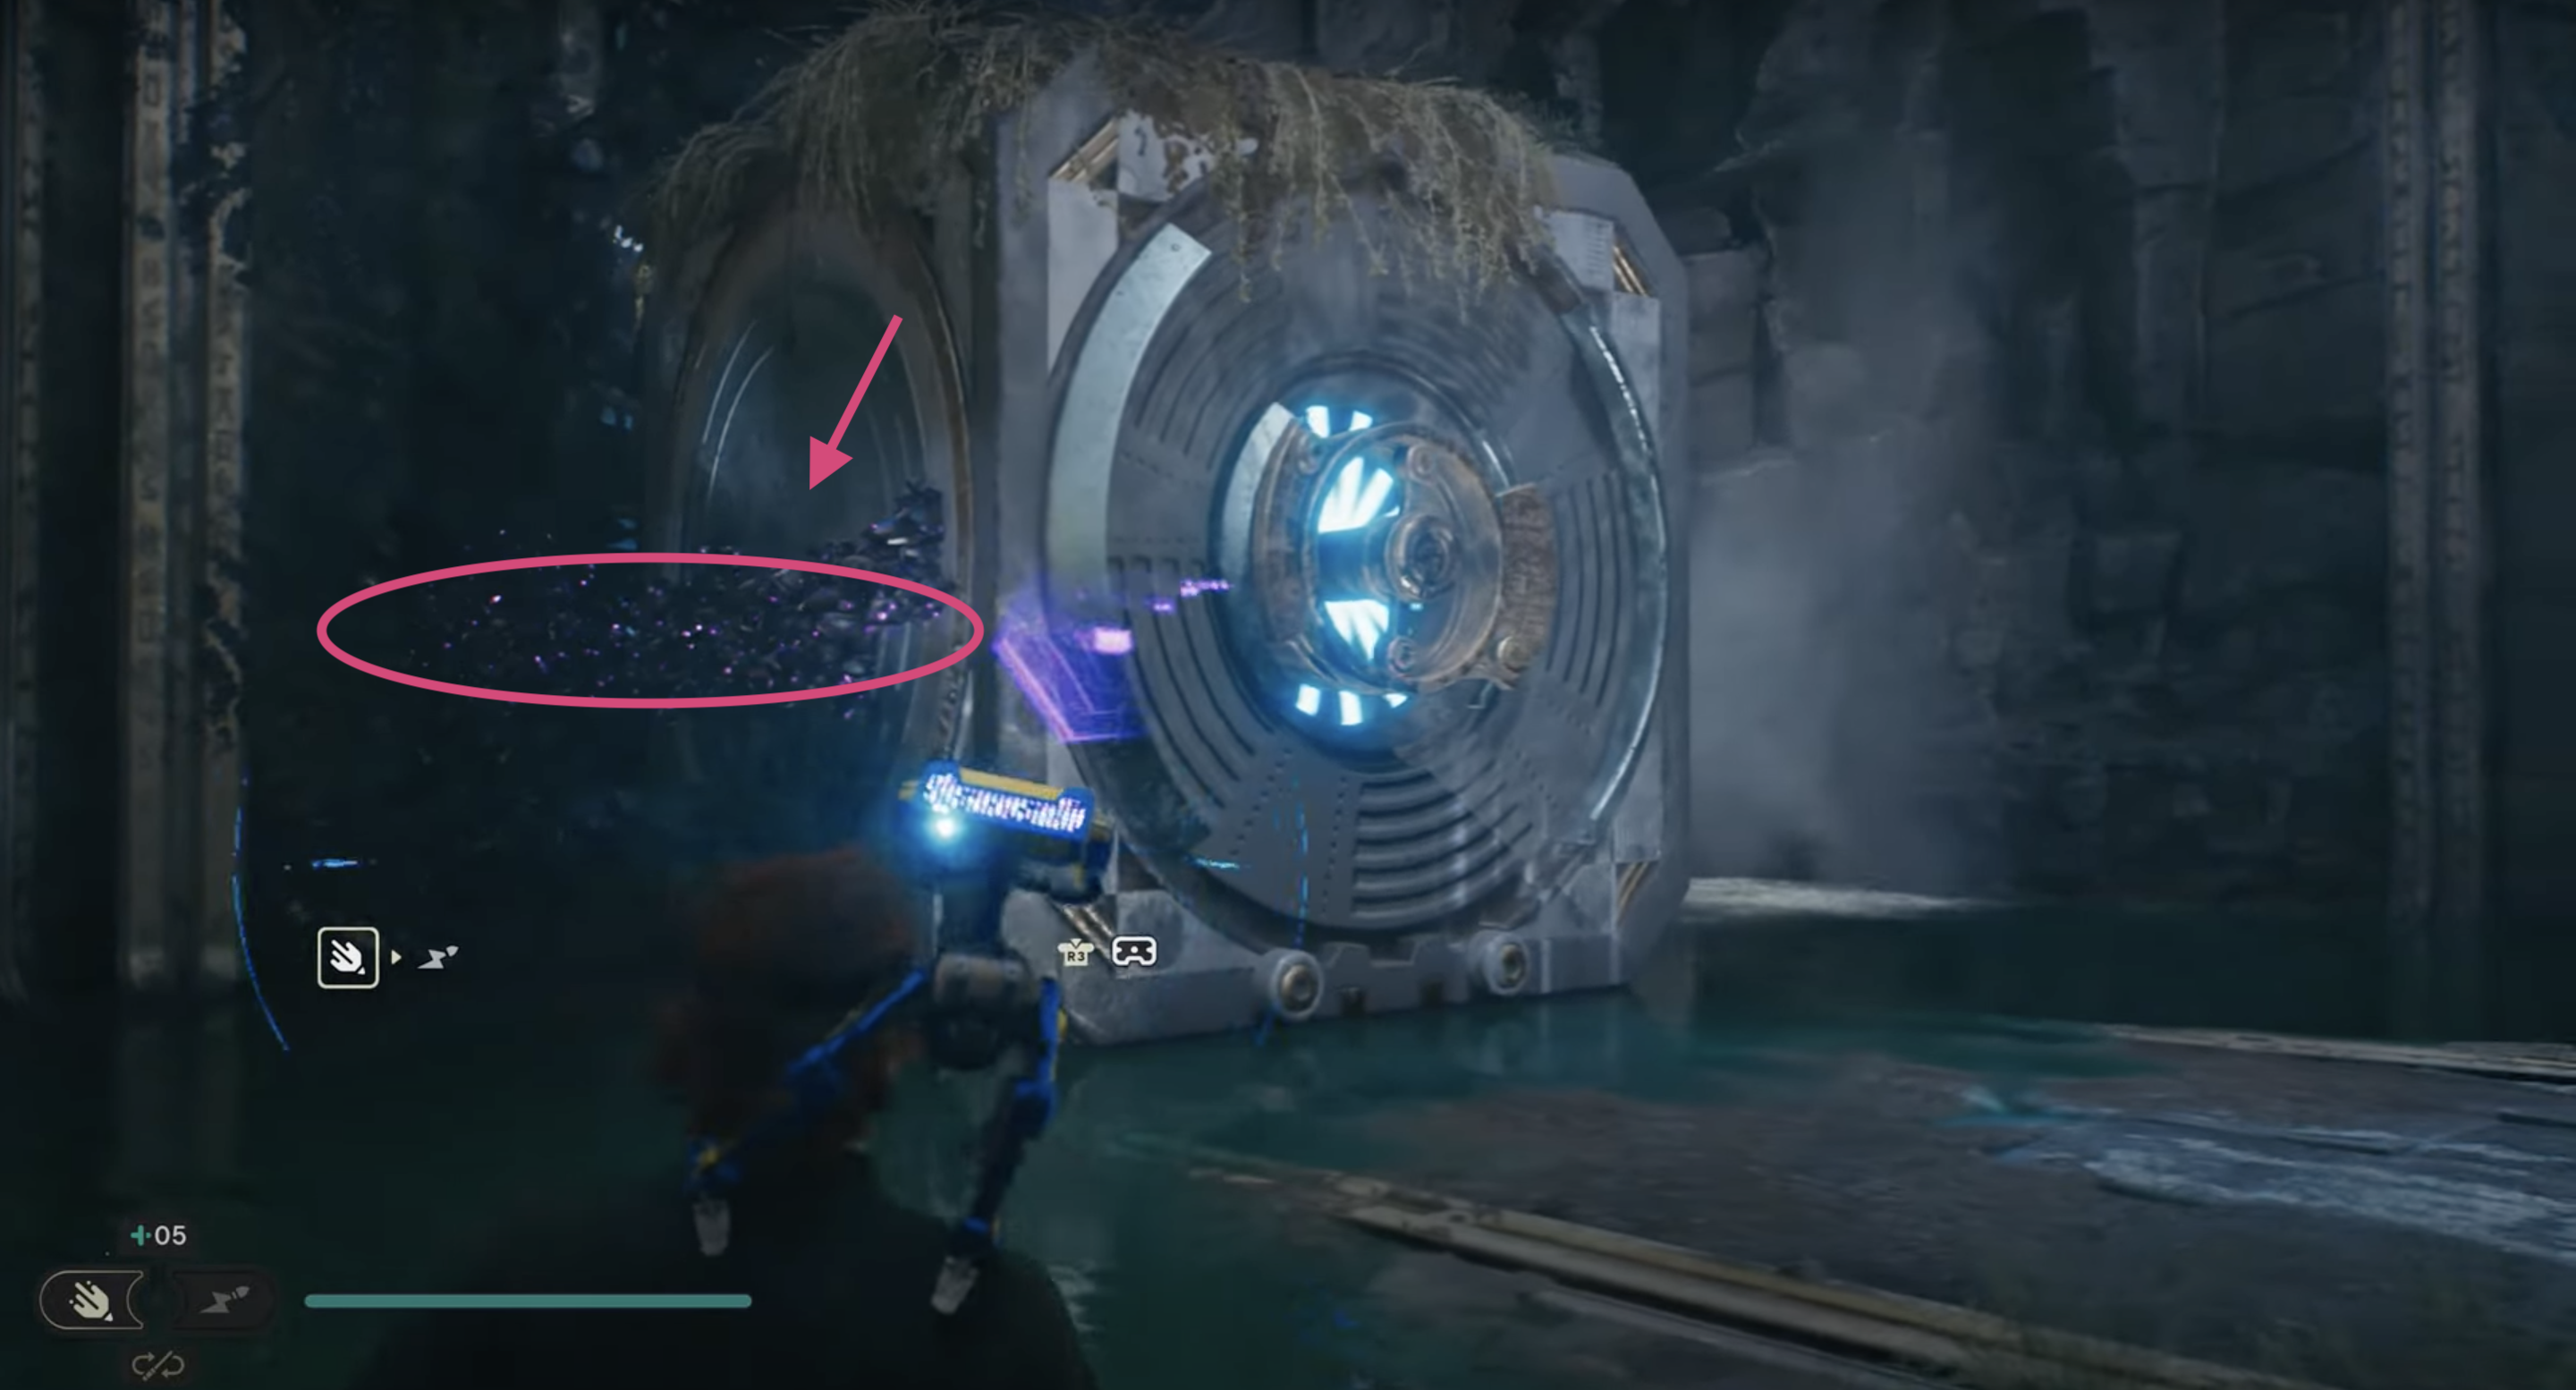
Be careful now with the timing when pulling the cube out, so that the light beam hits the connection we build. Push the cube right back in after the beam hit the cube. There will again be a little explosion which will destroy the barrier. Pull the first and second cube out (There are two now since we pushed the first one in there as well in the beginning, remember?) and head right to your chest! Opening it grant you the Collectible Chest 1/1: Jedi Paint. [5/6]
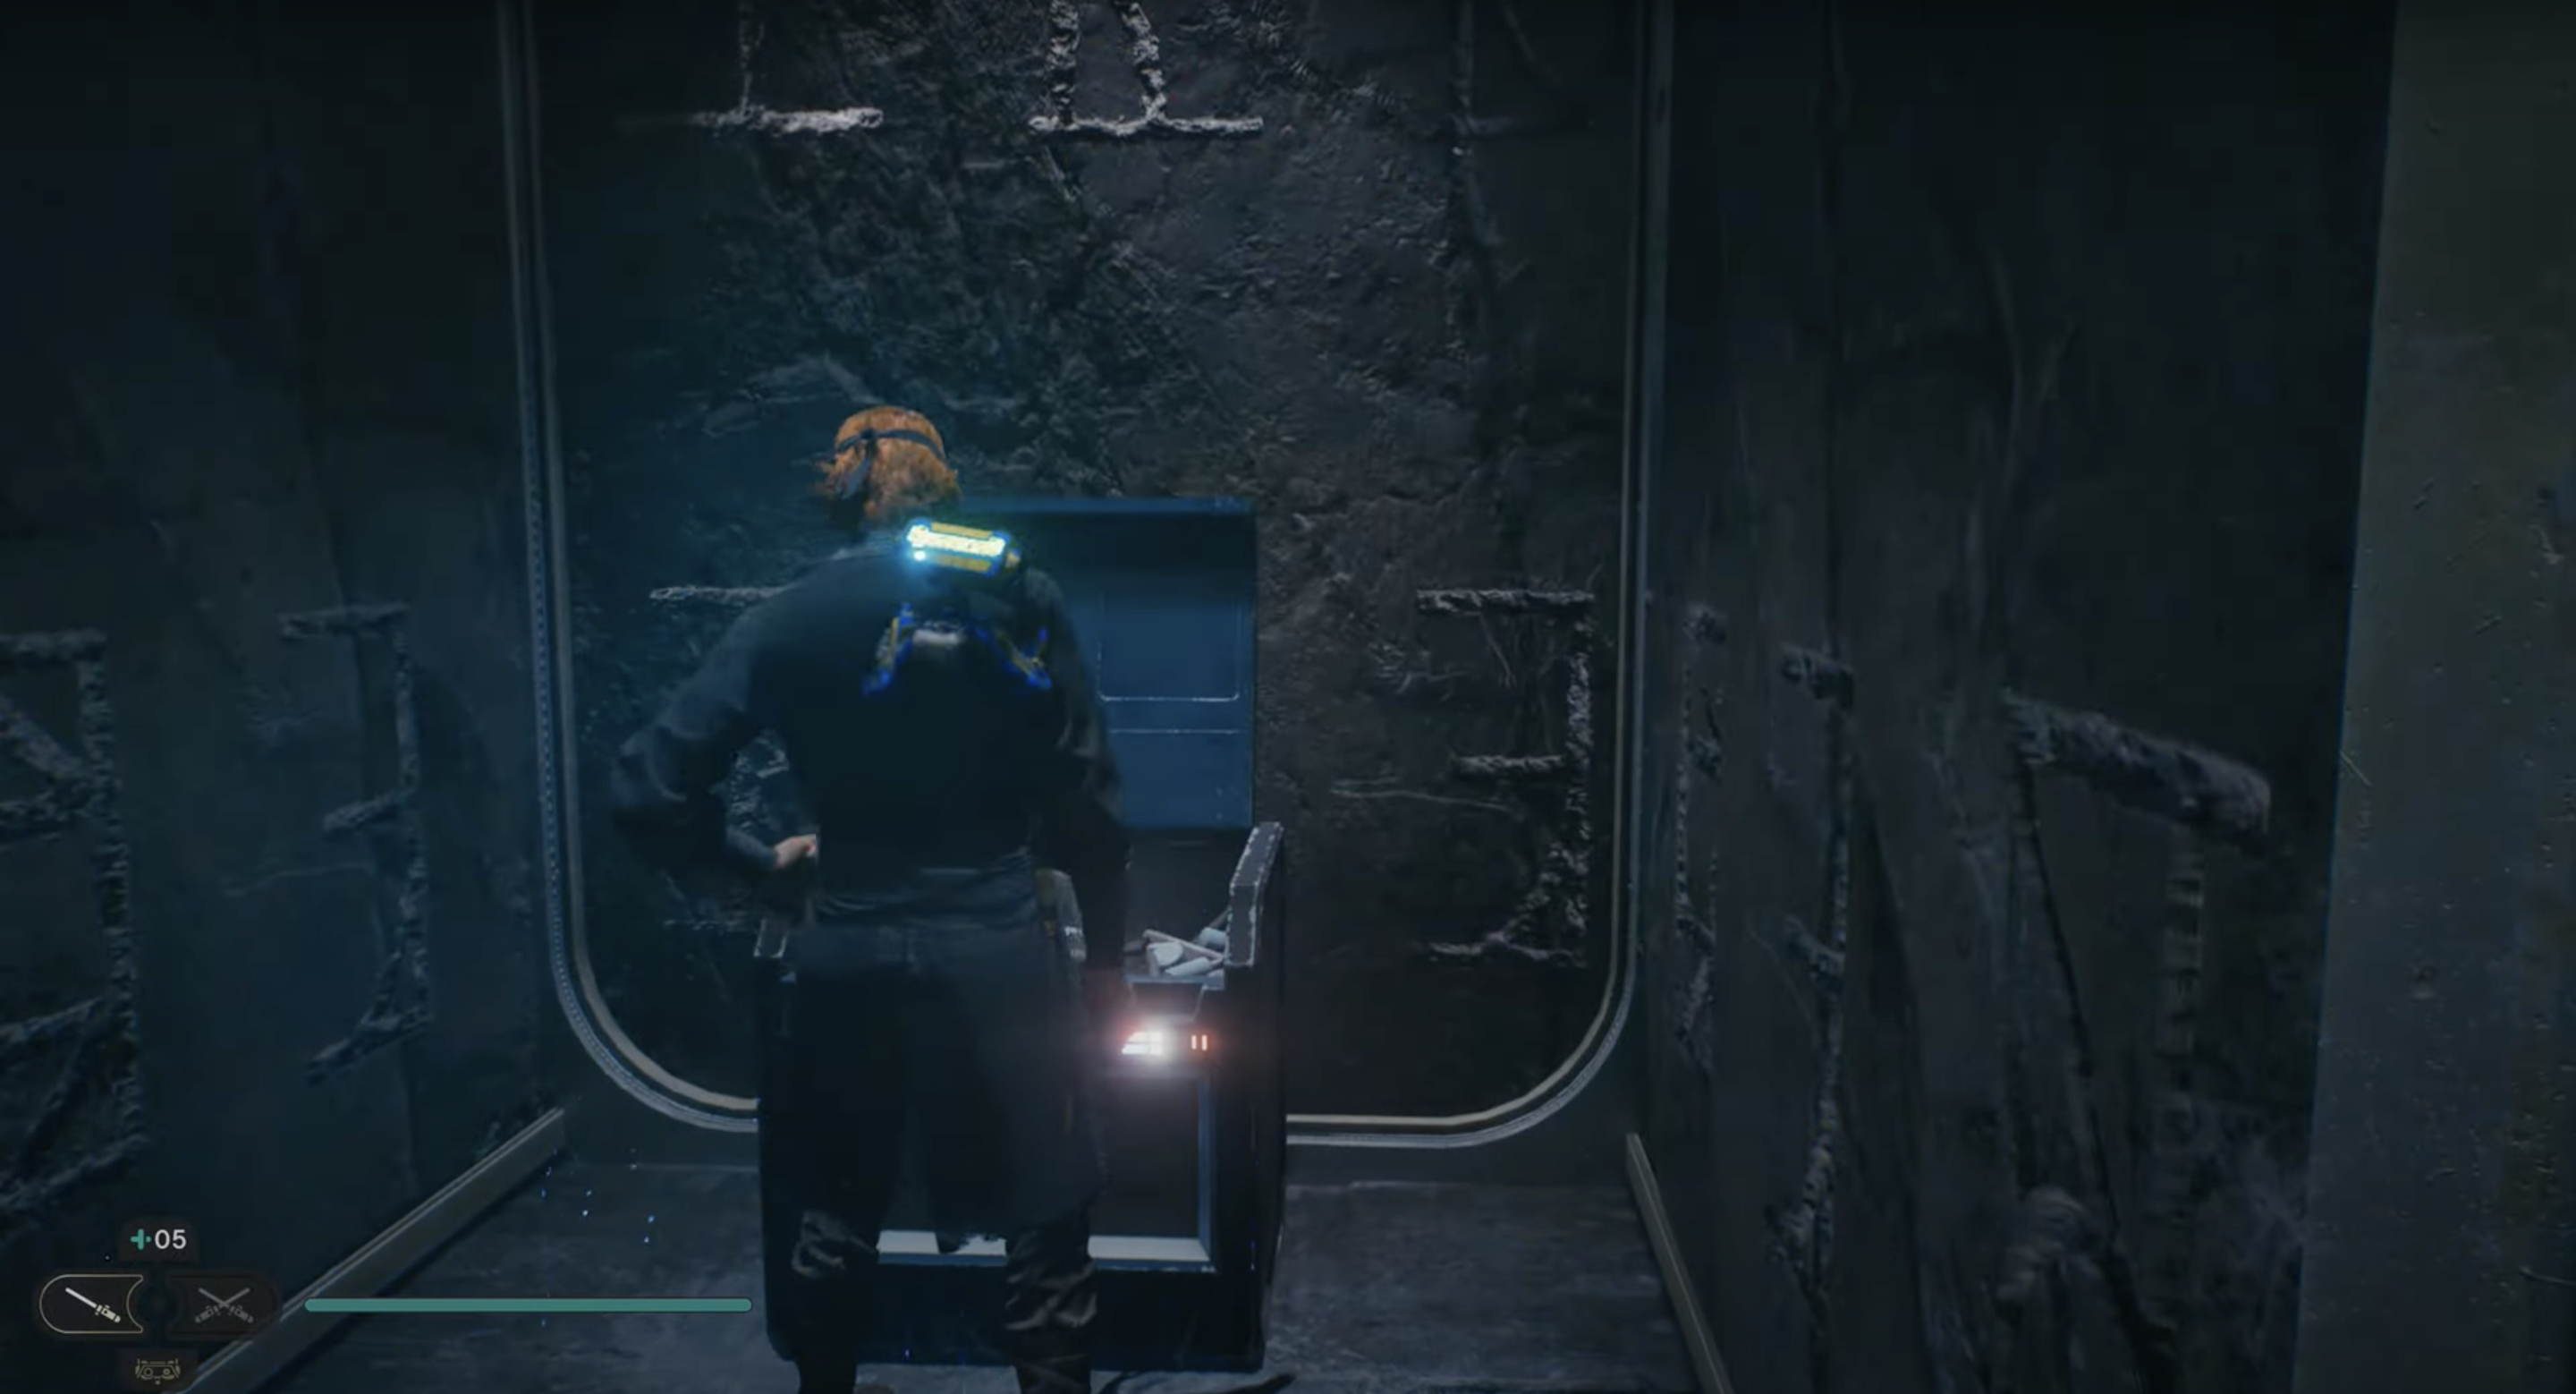
After you looted your chest, it's time to climb the wall and get the last collectible: our perk!
Go back to the centerof the hall and pull both cubes to the middle of the tracks they are on. To achieve that, you need to push both to the one side and pull the first one in the right moment towards you, so that both cubes collide. That is important, since at the middle of the tracks is a pressure plate (highlight green) and both cubes have to stand on it at the same time.
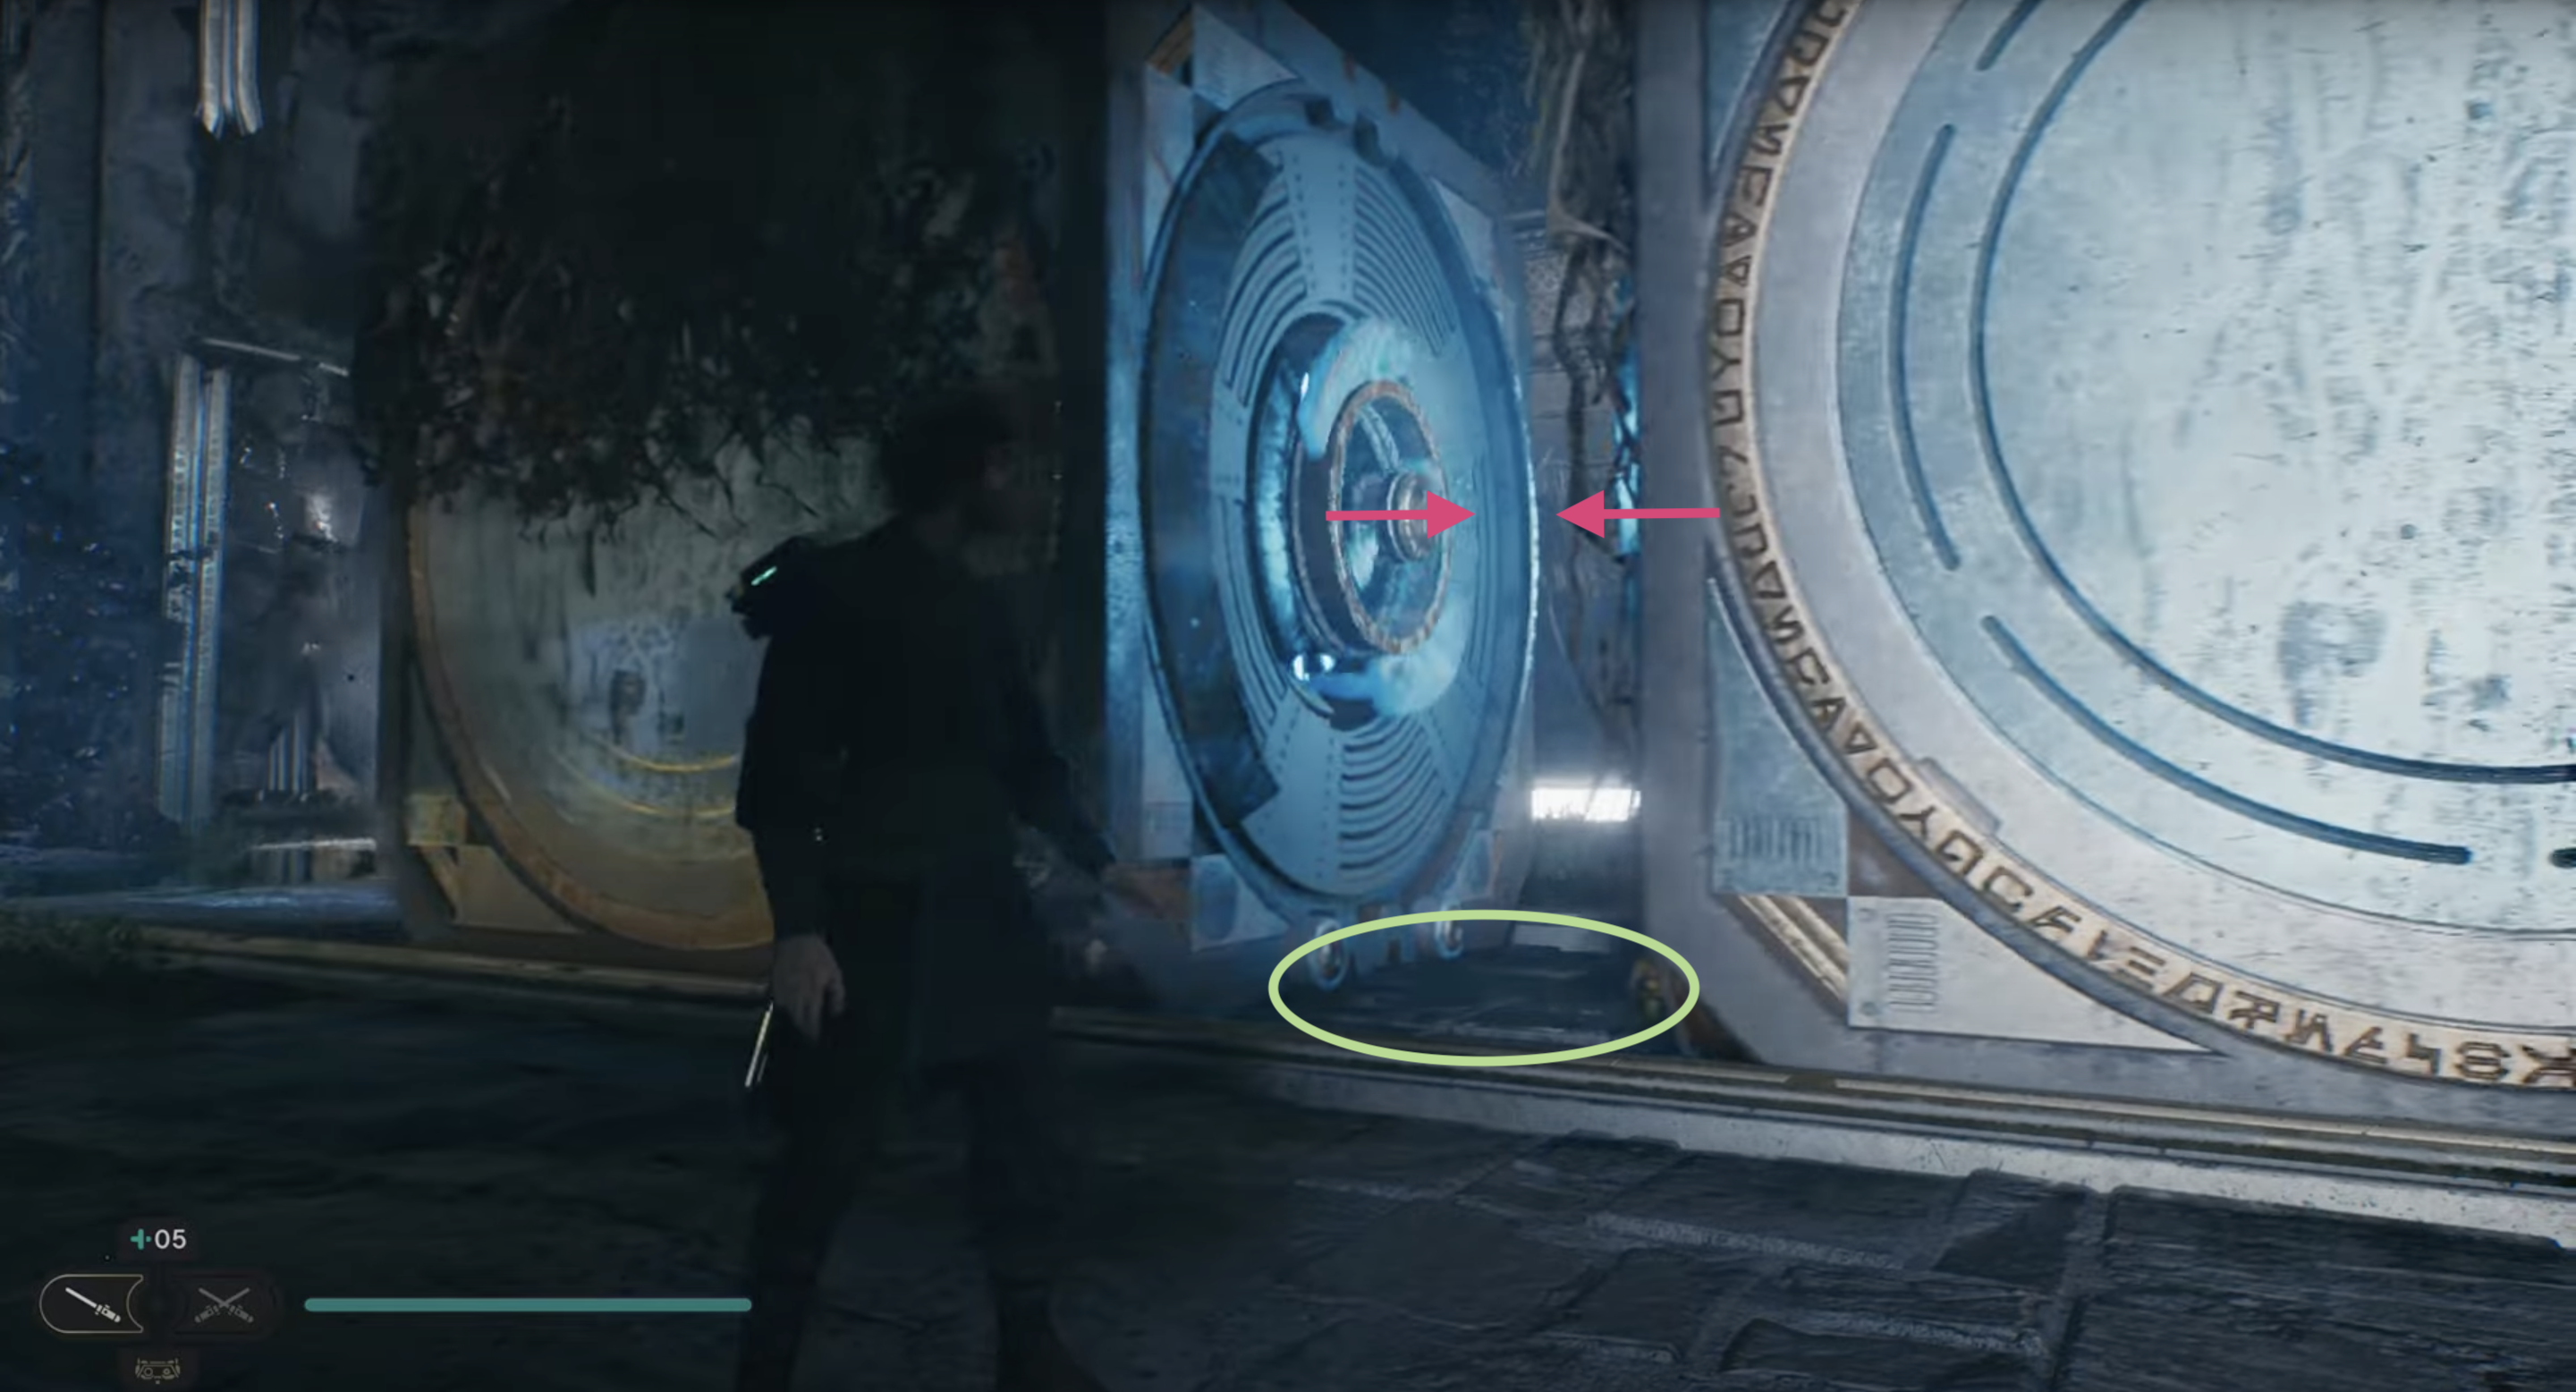
If that's done you need to be fast! The pressure plate is responsible for an elevator and when a cube stands on the plate, the elevator is on the ground, which should be the case by now. At this point you need to pull the right cube in the direction of the elevator until it stands fully on it.
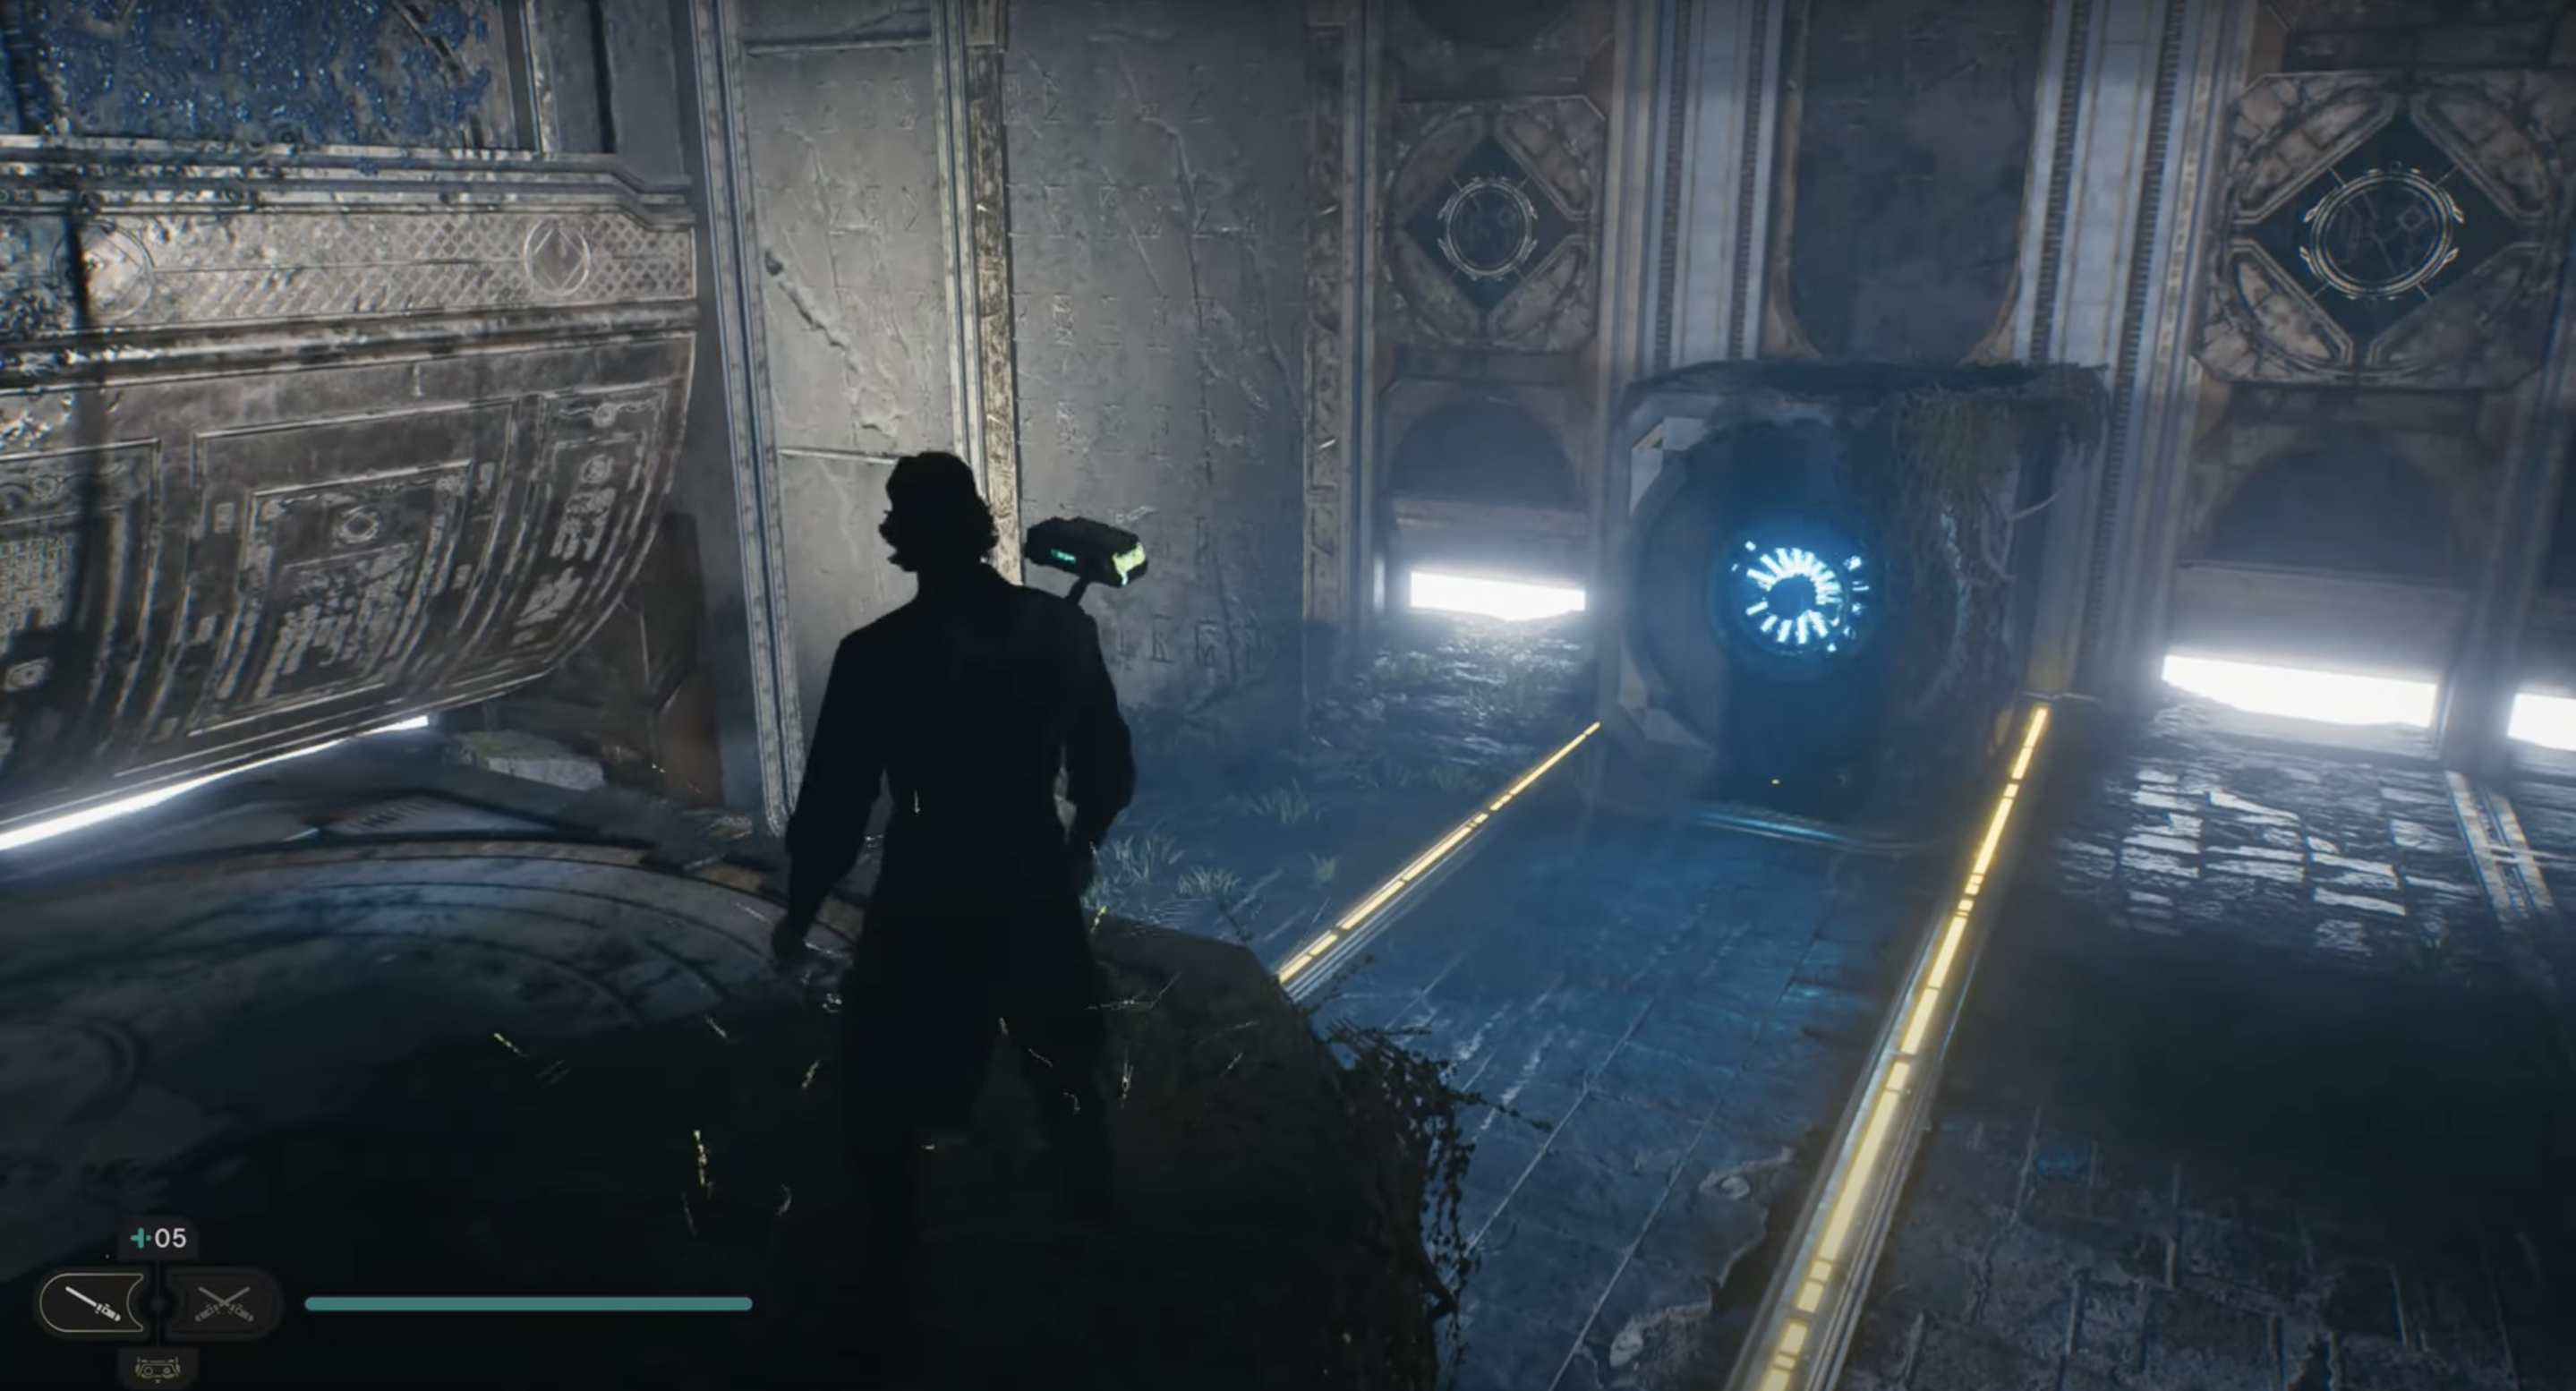
Since the other cube is still on the pressure plate, the elevator is still on the ground.
You now jump off the second cube and pull it in the direction of the elevator as well. That will make it go up with the first cube still on it. While the second cube is slowly going towards the first one you got to be quick and jump on it in the meantime.
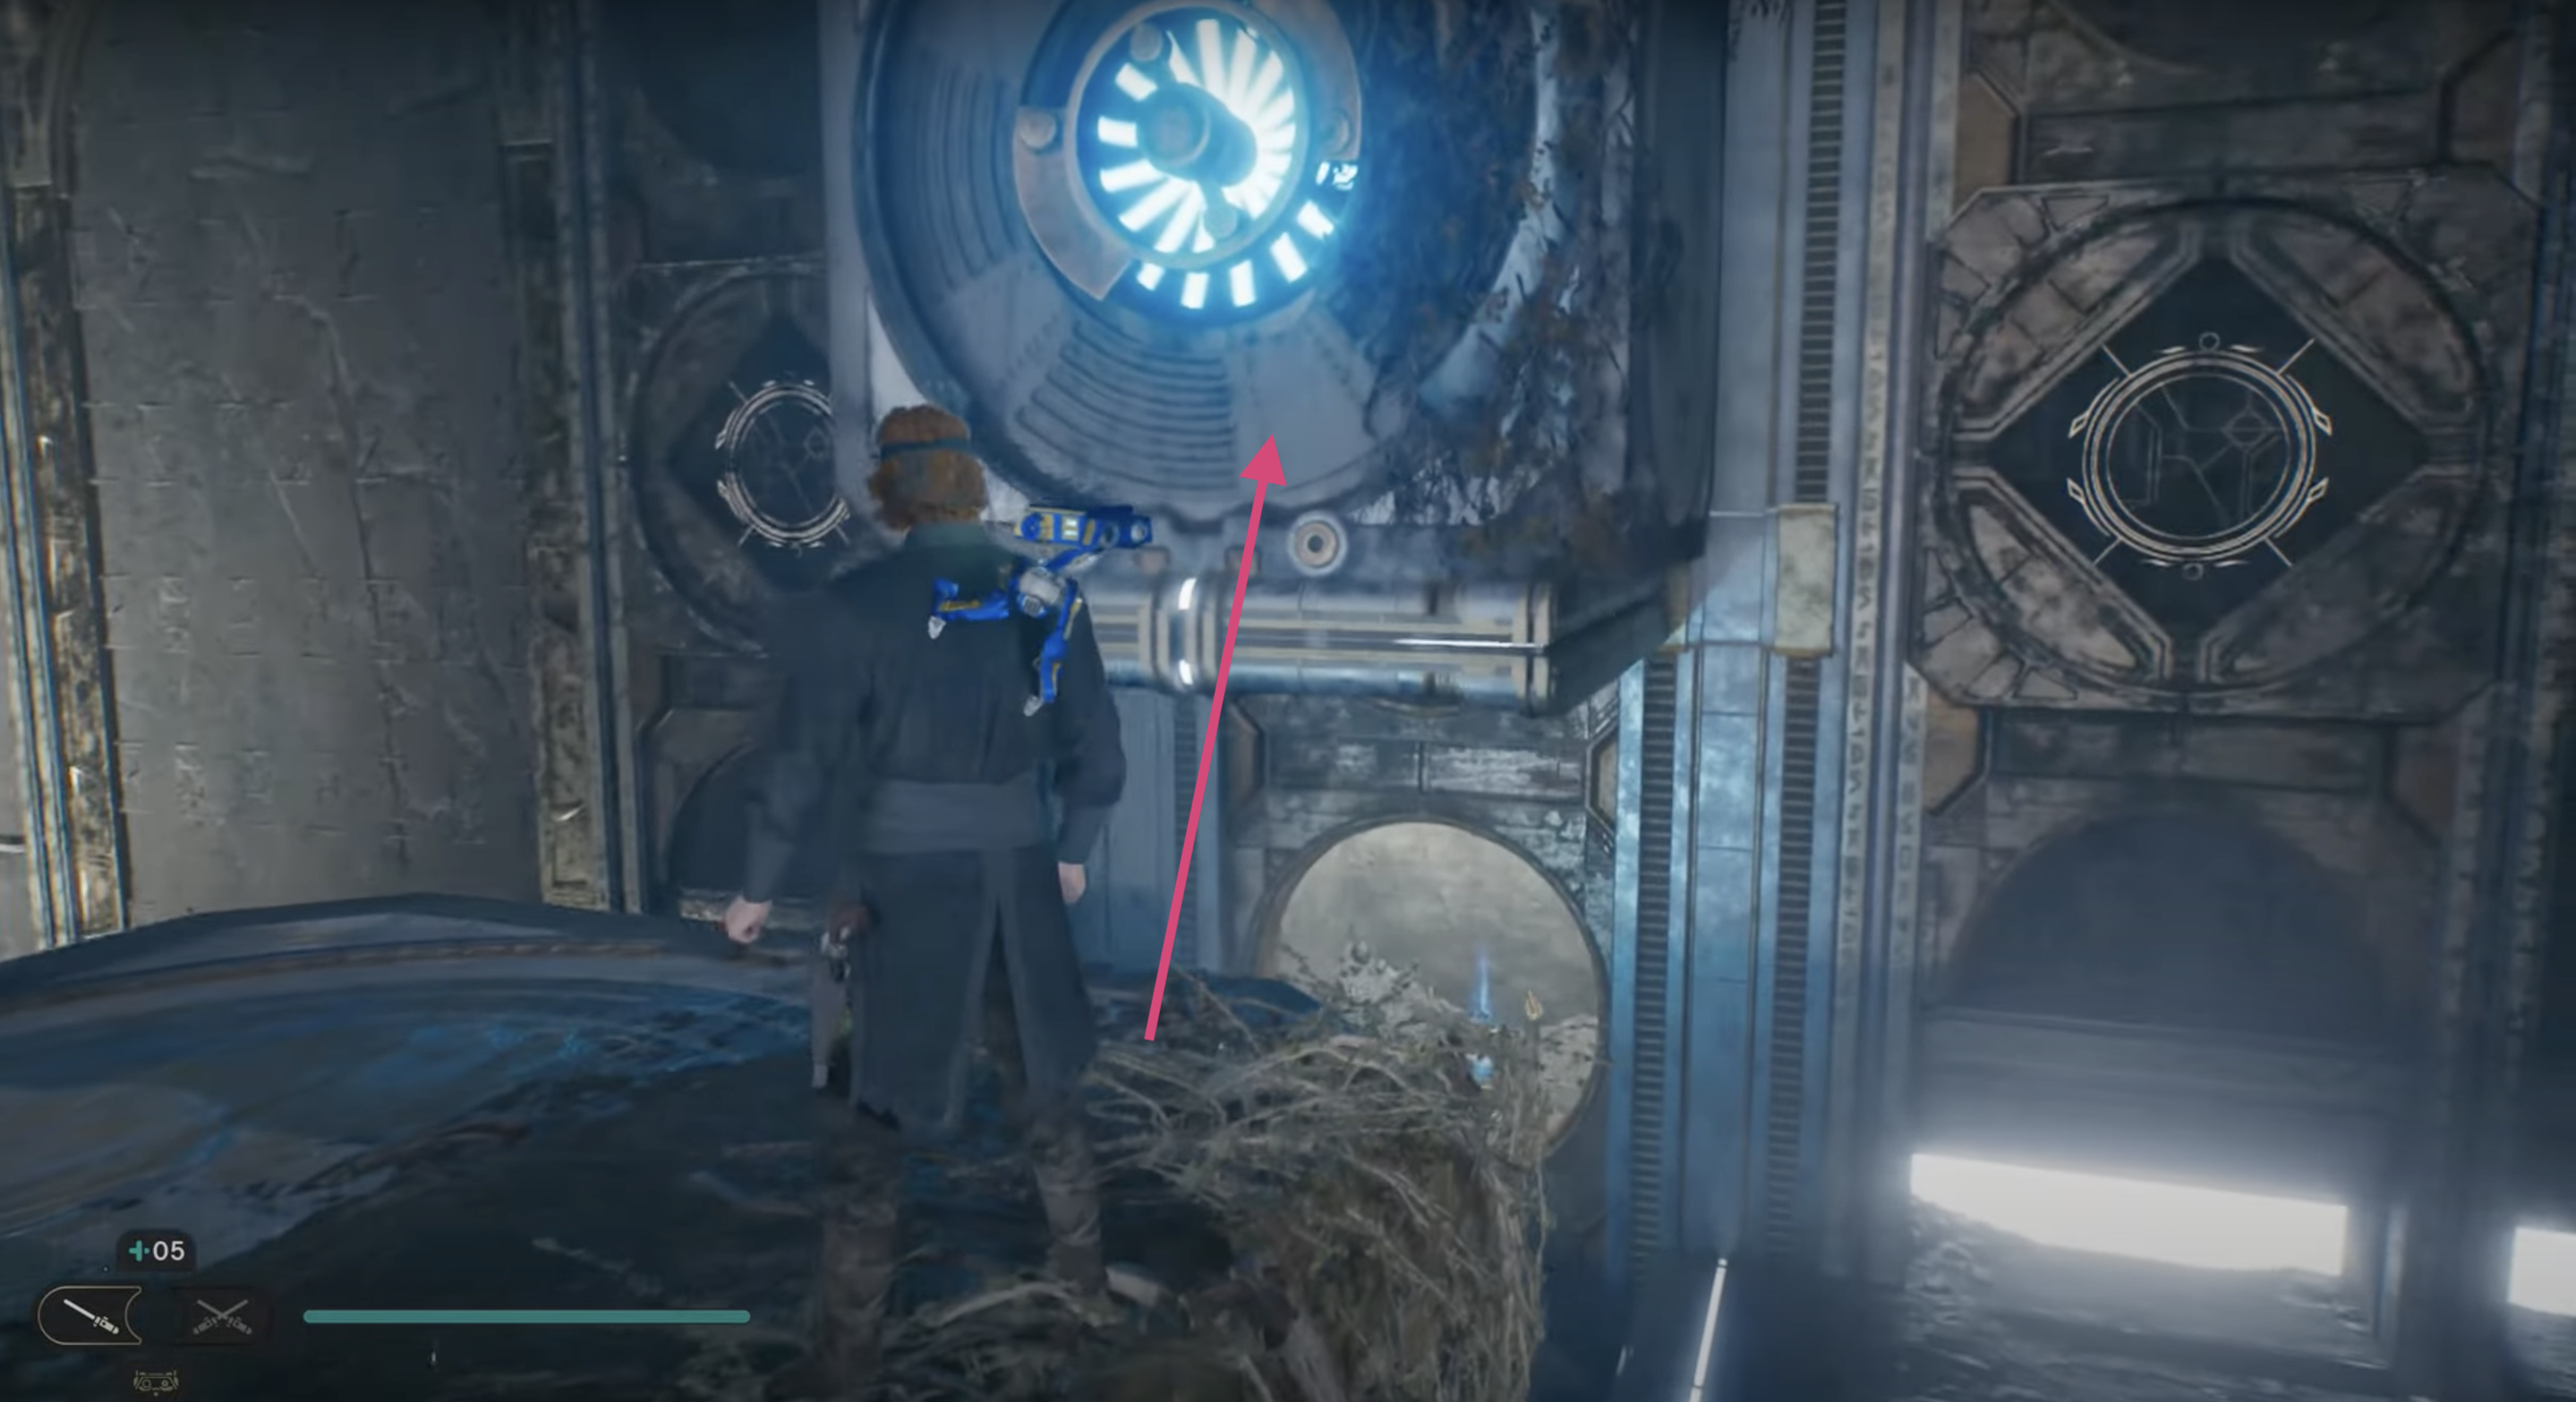
Now just jump on the first cube and the elevator will bring u to the top of the wall. Climb on the top of the wall, and you will be granted with the last Collectible: Force Echo / Perk: Patience [6/6]
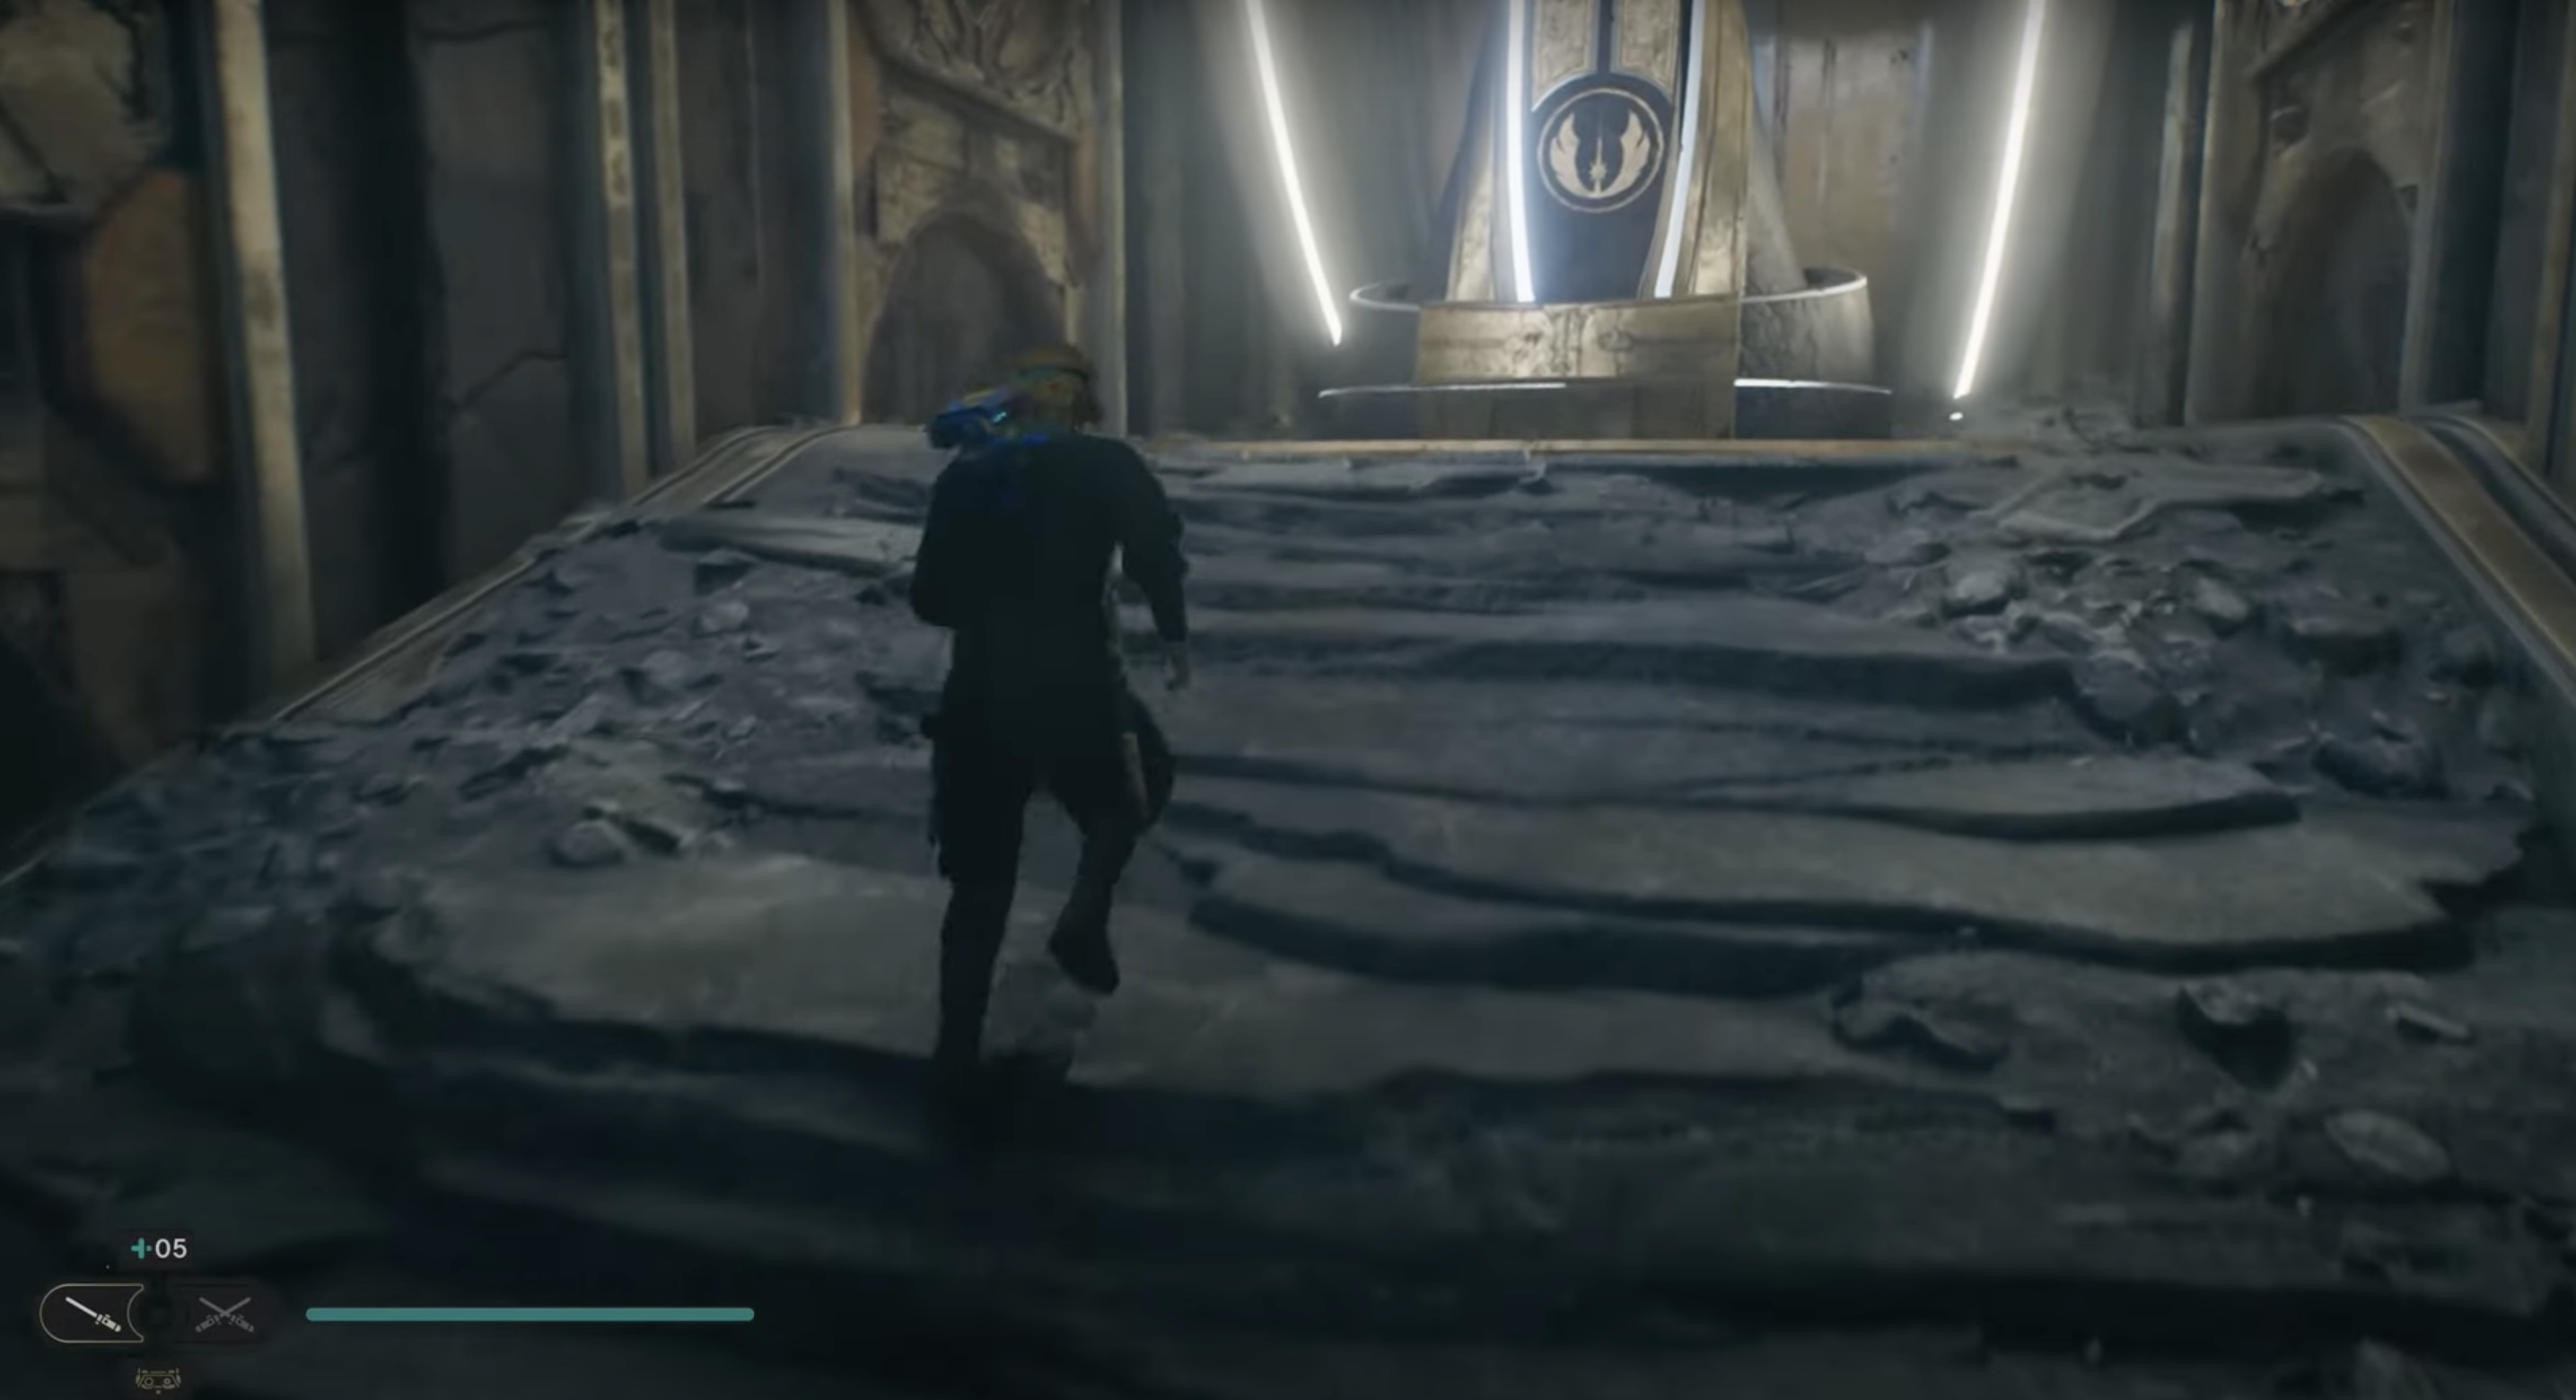
Congratulations, you did it! That wasn't THAT hard, right? You just need a good amount of patience until the cube do what you want!
- If you are a fan of the series, this little LEGO Star Wars BD-1 will be right up your alley!
If you need more help with any of the Chambers, you can check out our other guides right here:
Still in need of a little help with the Chamber of Detachment, check out this little walkthrough:


