


Totems in Dead by Daylight are more than just decoration. They offer various benefits. We'll explain what you can do with these bony effigies.

Dead by Daylight is an incredibly complex game, with many mechanics that are not necessarily beginner-friendly. No matter if you play as a Killer or Survivor, sooner or later you will come across so-called Totems in your matches. Let us explain, what they are actually good for.
Dead by Daylight Totems Explained
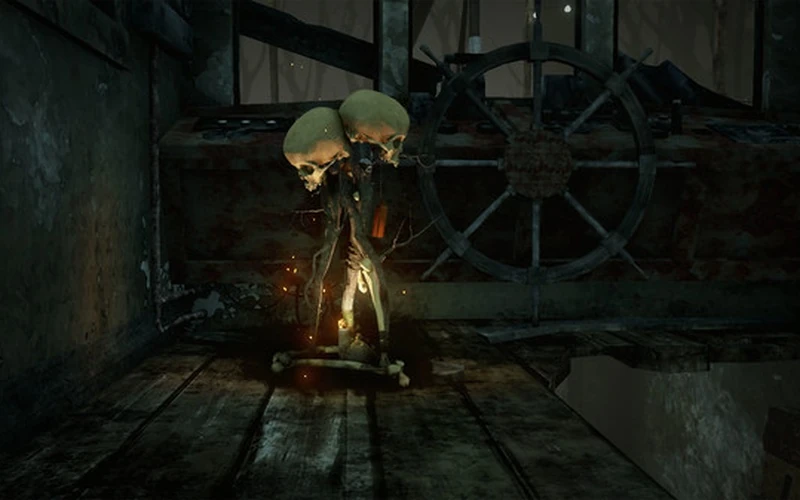
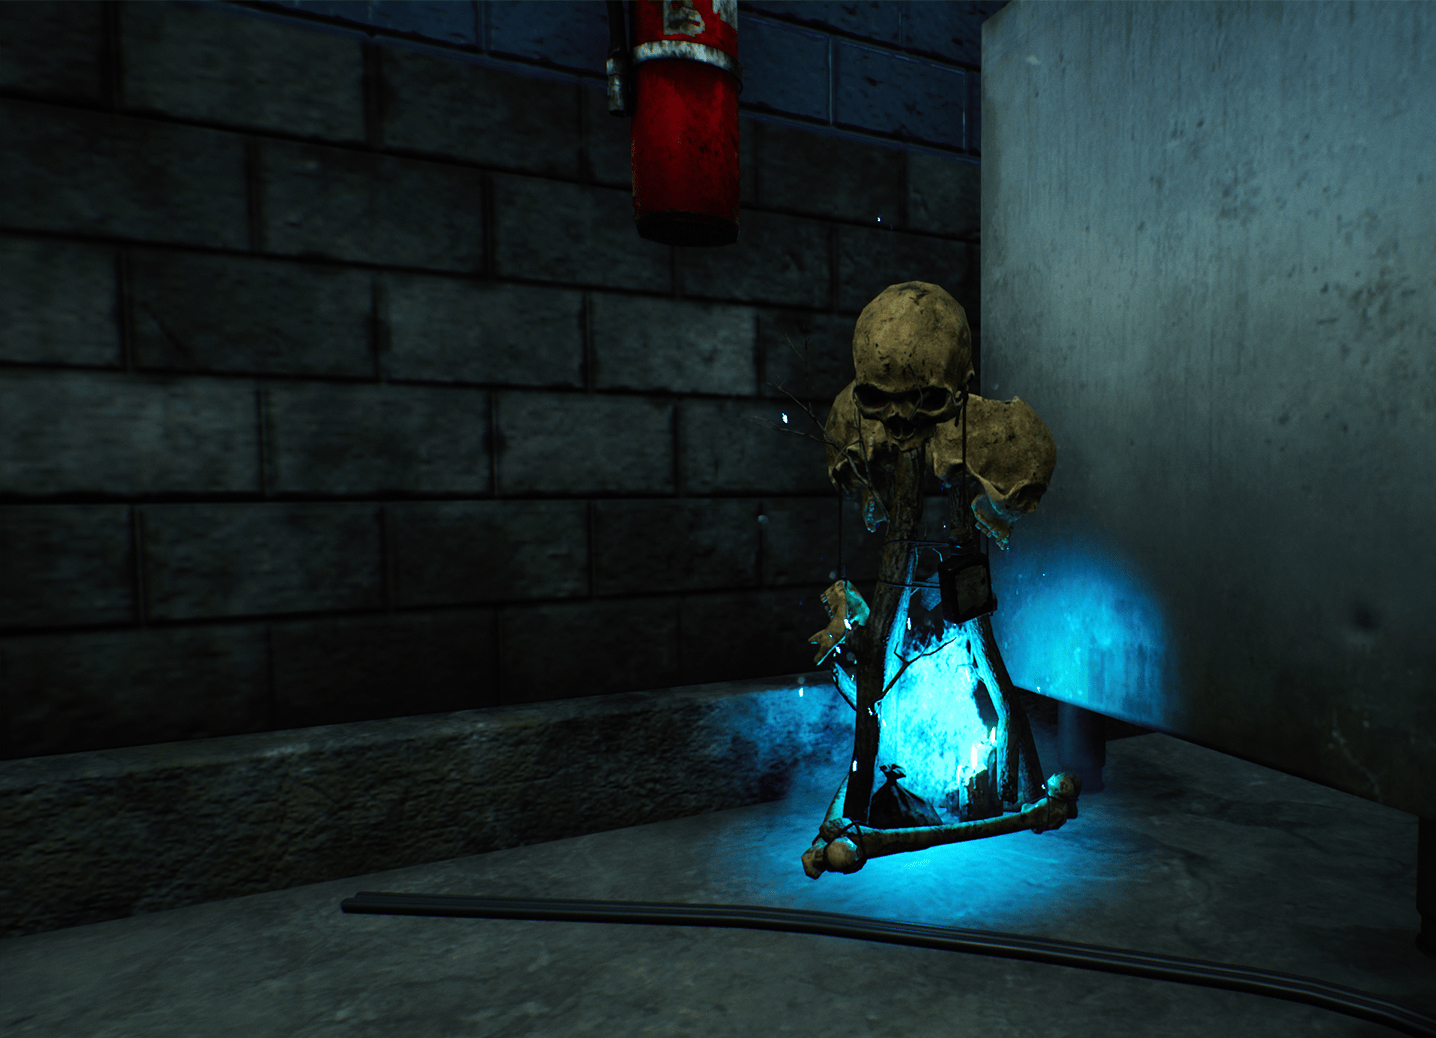
A total of 5 Totems spawn on every map, appearing in random locations. These are small structures consisting of three skulls and a few sticks. If no player in the match brings corresponding perks, every Totem appears as a "dull" Totem. These are only interesting for Survivors if they want to earn Bloodpoints by "cleansing" them.
However, be aware that cleansing a Totem takes a hefty 14 seconds. Time that you might better invest in something else. Killers can completely ignore dull Totems.
Both Killers and Survivors can bring Perks to make use of these Totems. Below, we explain how to use them and which ones are the best.
Best Hex-Perks For Killers
You can equip so-called Hex Perks as a Killer. In this case, at least one random Totem on the map will automatically be lit up.
As a Killer you can see the Aura of that Totem, Survivors don't for the most part. The effect that it casts will expire once a Survivor destroys it, rendering most Hex Perks useless. Usually, as a Killer, you have no opportunity to bring back the effect.
These are the strongest Hex Perks for Killers.
Hex: No One Escapes Death
| Perk Type | General Perk (available to all Killers) |
| Activation | Once the Exit Gates are powered and at least one dull Totem is remaining |
Hex: No One Escapes Death (NOED) is a perk that has the potential to turn around a seemingly lost match. The hex only comes into play once the Exit Gates are powered, meaning 5 Generators have been repaired by the Survivors. Only then does one of the Totems on the map start to light up. If there is no dull Totem at this point, the perk will not be activated. However, this almost never happens.
NOED has the following effects:
- It increases your movement speed by up to 4%.
- Survivors suffer from the Exposed status effect, meaning you can down them with a single hit using your base weapon.
The Aura of the corresponding Totem will be revealed not only to the Killer, but also to the Survivors in a specific range, that expands over the course of 30 seconds.
With this Hex perk, you make it difficult for survivors to unhook their mates and open the Exit Gates in the endgame. As a result, you can secure your 4 kills, even if it didn't seem possible before.
Hex: Devour Hope
| Perk Type | Unique Perk (available after leveling The Hag to Bloodweb Level 50) |
| Activation | From the beginning of the match |
- 2 Tokens: 10 seconds after hooking a Survivor, you move 5% faster for 10 seconds.
- 3 Tokens: All Survivors suffer from the Exposed status effect, meaning you can down them with a single hit using your base weapon.
- 5 Tokens: You get the ability to instantly kill a downed Survivor.
If you manage to have 5 survivors unhooked outside your range and your still Totem remains, you can not only quickly down all Survivors but also directly kill them without having to hook them again. Even if the Survivors succeed in destroying your Totem, they have lost a lot of time, during which no Generators were repaired.
Hex: Undying
| Perk Type | Unique Perk (available after leveling The Blight to Bloodweb Level 50) |
| Activation | From the beginning of the match |
The effectiveness of Hex Perks largely depends on how long the Totem remains undetected by Survivors. This is where Hex: Undying comes into play. You should always use this Hex Perk in combination with another Hex Perk.
Undying has the following effects:
- The Auras of Survivors within 4 meters of a dull Totem are revealed to you.
- When another Perk's Hex Totem is destroyed, its Hex is transferred to the Hex: Undying Totem, disabling Hex: Undying instead.
Undying works as a sort of protective shield for other Hex Perks. For example, if you have Hex: Devour Hope, Survivors must first find and destroy two Hex Totems before the Devour Hope effect is removed.
Since Undying is active from the beginning, it doesn't work well with NOED, as Survivors typically destroy it before NOED is even activated.
Best Boon-Perks For Survivors
As a Survivor, you can bring Boon Perks, but you first have to bless a Totem before the effect comes into play. As long as the blessing is maintained, every survivor benefits from its effect, which affects a certain area around the Totem, that you can recognize by a blue glow. The Killer can interrupt the Boon's effect by interacting with the corresponding Totem. Unlike Hex Perks, Survivors can always reapply their Boon Perk as long as there are still Totems on the map.
These are the strongest Boon Perks for Survivors.
Boon: Circle of Healing
| Perk Type | Unique Perk (available after leveling Mikaela Reid to Bloodweb Level 50) |
| Activation | Blessing a Totem |
Boon: Circle of Healing is a true treasure for survivor groups. With its help, healing each other will be significantly easier for you. If you place it away from the action, you'll have a proper infirmary that will drive killers insane.
All Survivors benefit from the following effects when inside the Boon Totem's radius:
- It increases your healing speed when healing others by up to 100%.
- The Aura of injured Survivors will be revealed to all other Survivors.
So if you're ever injured, try to make your way to the Boon Totem, whose aura is revealed to you across the entire map. Especially when you can communicate with your team, this Boon Perk is helpful. But be careful where you bless the Totem. The Boon is the most effective when the Killer has to take a long detour to find it.
Boon: Exponential
| Perk Type | Unique Perk (available after leveling Jonah Vasquez to Bloodweb Level 50) |
| Activation | Blessing a Totem |
Boon: Exponential is particularly strong when you're dealing with a Killer who likes to slug, meaning they prefer to leave you on the ground rather than picking you up and hooking you. You can even create these situations yourself.
All Survivors benefit from the following effects when they lay on the ground inside the Boon Totem's radius:
- You gain up to a 100% bonus on Recovery Speed.
- You unlock the ability to recover from the Dying State by yourself.
If you've been knocked down by the Killer, it's usually not possible to get back up on your own. Another Survivor needs to help you with that. However, if you're within the Exponential radius, you can get back up without needing assistance. Combining this Boon Perk with Sabotage Perks and items makes it difficult for the Killer to hook you or let you bleed out.
Boon: Shadowstep
| Perk Type | Unique Perk (available after leveling Mikaela Reid to Bloodweb Level 50) |
| Activation | Blessing a Totem |
Meanwhile, there are a variety of Killer Perks that reveal Survivor Auras, thereby giving away your position. Boon: Shadowstep serves as a direct counter to this.
All Survivors benefit from the following effects when inside the Boon Totem's radius:
- The Scratch Marks that you would normally leave behind while running are suppressed.
- Your Aura is hidden from the Killer.
With Shadowstep, no Aura Perk in the world can reveal you. Good positions for the Boon are near Generators at the map's edges and Jungle Gyms, structures where you can most effectively evade the Killer. Here, the absence of Scratch Marks can confuse your opponent.
Overall, Totem Perks are an interesting and fun addition to your builds, but you should always ensure that they complement the rest of your loadout well. Also, remember that Hex Perks for Killers always involve a certain element of randomness, as you never know which Totem will be lit and how quickly Survivors will destroy it. However, Killer's Totem Perks are also much stronger than Survivor's Boon perks.
Good luck in your matches and have fun discovering new combinations for your Totem Builds. See you in the fog!